Interacting with Polkadot
Gaining an understanding of the material covered in this section will allow you to debug quickly and easily, should you run into issues.
Developers can interact with Polkadot and its parachains using the Polkadot{.js} portal. Let's run through a few simple tasks to help you get accustomed to the interface.
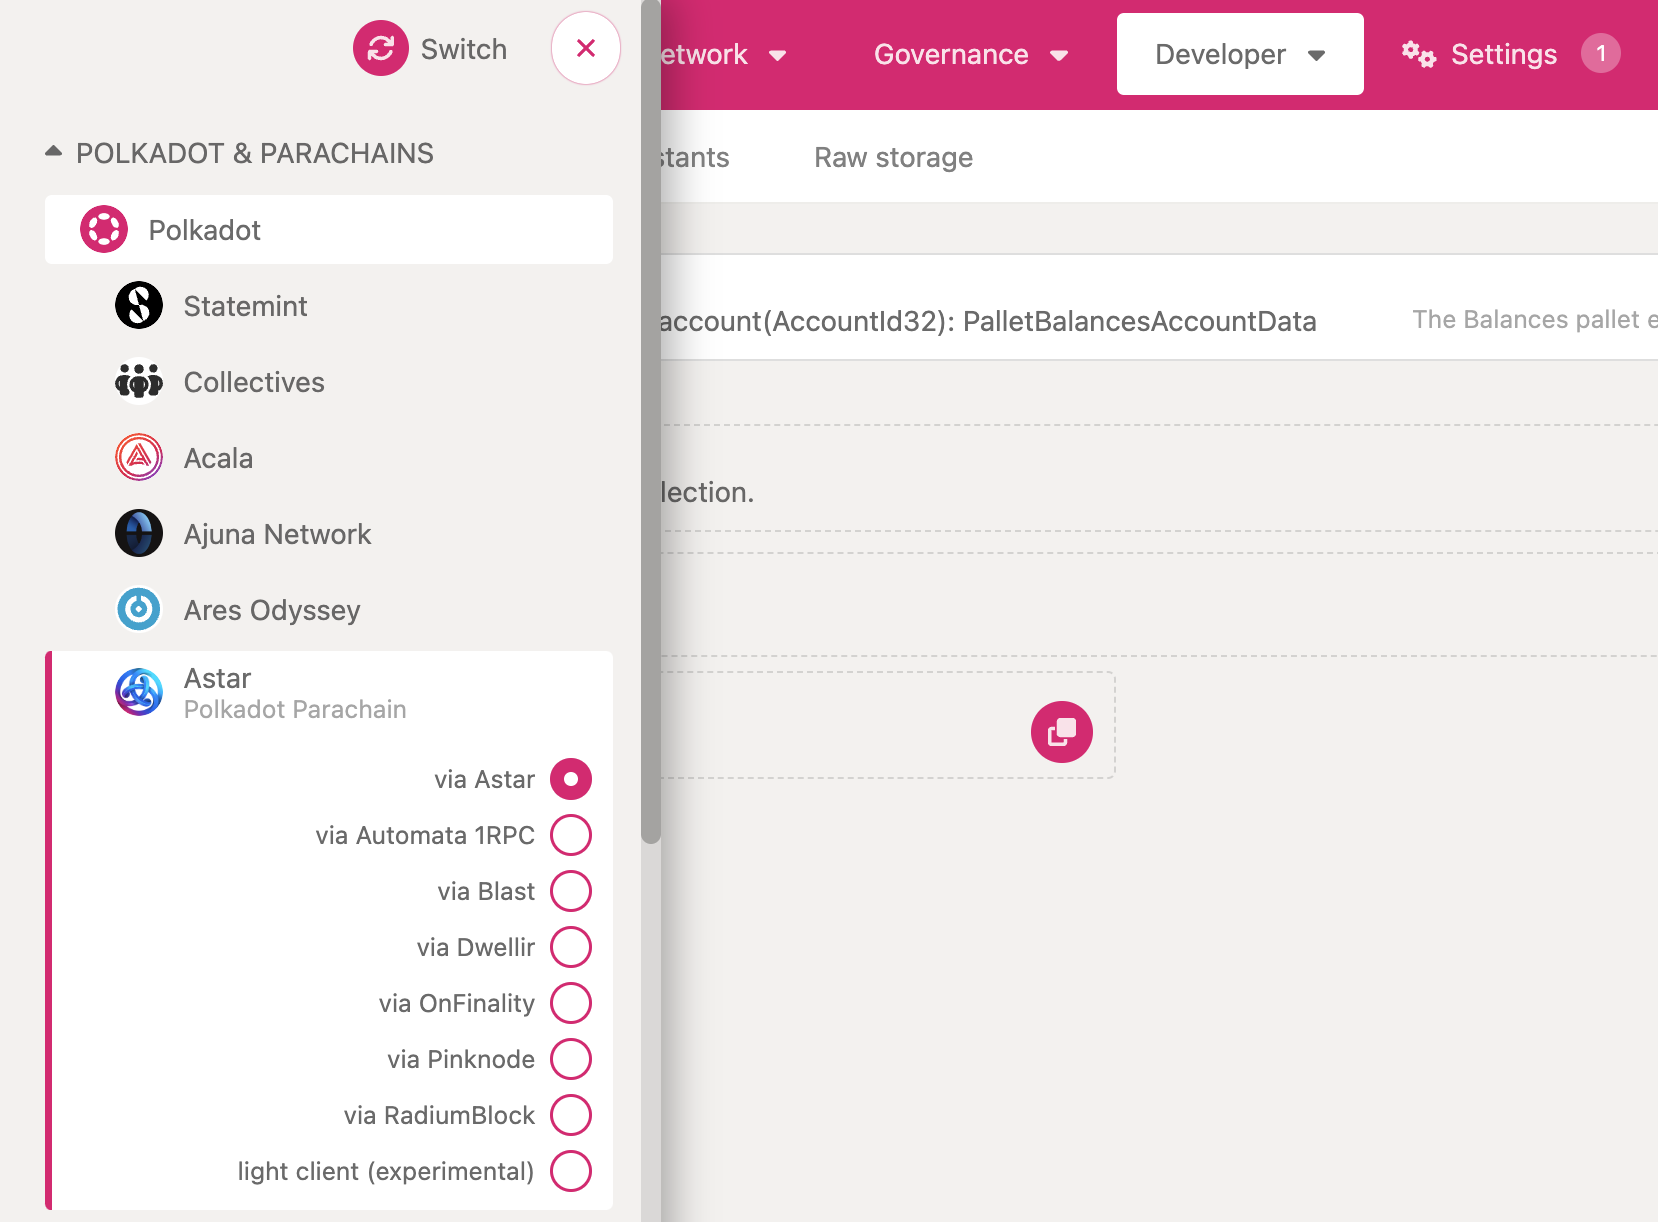
First, visit the Polkadot apps portal, and switch to an Astar node by selecting Astar under Polkadot & Parachains and press Switch. You will be able to toggle network selection by clicking on the network name in the top left.
Review Accounts and Balances
Under the Accounts tab, you will be able to review your accounts and balances. If you are using Polkadot.js UI for the first time, you should not see any accounts. You will learn how to create accounts in the next section.
Explore Block Production
New blocks will appear on screen as they are finalized. Note the block production time.
Explore Contents of the Latest Block
Select Explore under the Network tab.
Click on the latest block.
Notice the calls that were inputs to the state change for this block. These calls are called extrinsics.
Browse through the events that were emitted during the production of this block. Many of you will notice events like balances.Deposit and balances.Withdrawal, which are emitted when a transfer of funds occurs within a block.
Storage query
Select Chain State under the Developer tab.
Here you will find a drop down menu with all the pallets used on Astar network. You can query the state of any storage item in these pallets.
Let's check which assets are defined in Astar Network.
Select the assets pallet and read the storage item called asset. Disable include option to list all the available values, and press the + button. The output will be the list of all available assets. This is raw data, so for a more user friendly presentation, you can view the same information by selecting Assets under the Network tab.