How to Stake on Astar Network
I. Overview
In this guide, you'll learn how to stake ASTR on Astar Network (L1) using the Astar Portal and the Talisman wallet on the Astar Native (Substrate) version. To complete this tutorial, you'll need:
- A wallet that supports the Substrate format, we'll use Talisman
- ASTR tokens in your Native wallet on Astar L1
- Minimum of 500 ASTR required to stake
- A small amount of extra ASTR for transaction fees
:::info Wallet Setup
Don't have an Astar wallet yet? Follow → this guide to set one up on Astar Network.
:::
II. Step-by-step Guide
:::warning dApp Staking Parameters
Before staking, make sure you understand all the parameters described here.
- At most 16 dApps are reward-eligible per era (across tiers) at the protocol level.
- An address can stake on a maximum of 16 contracts (dApps).
:::
2.1. Step 1: Access the Astar Portal
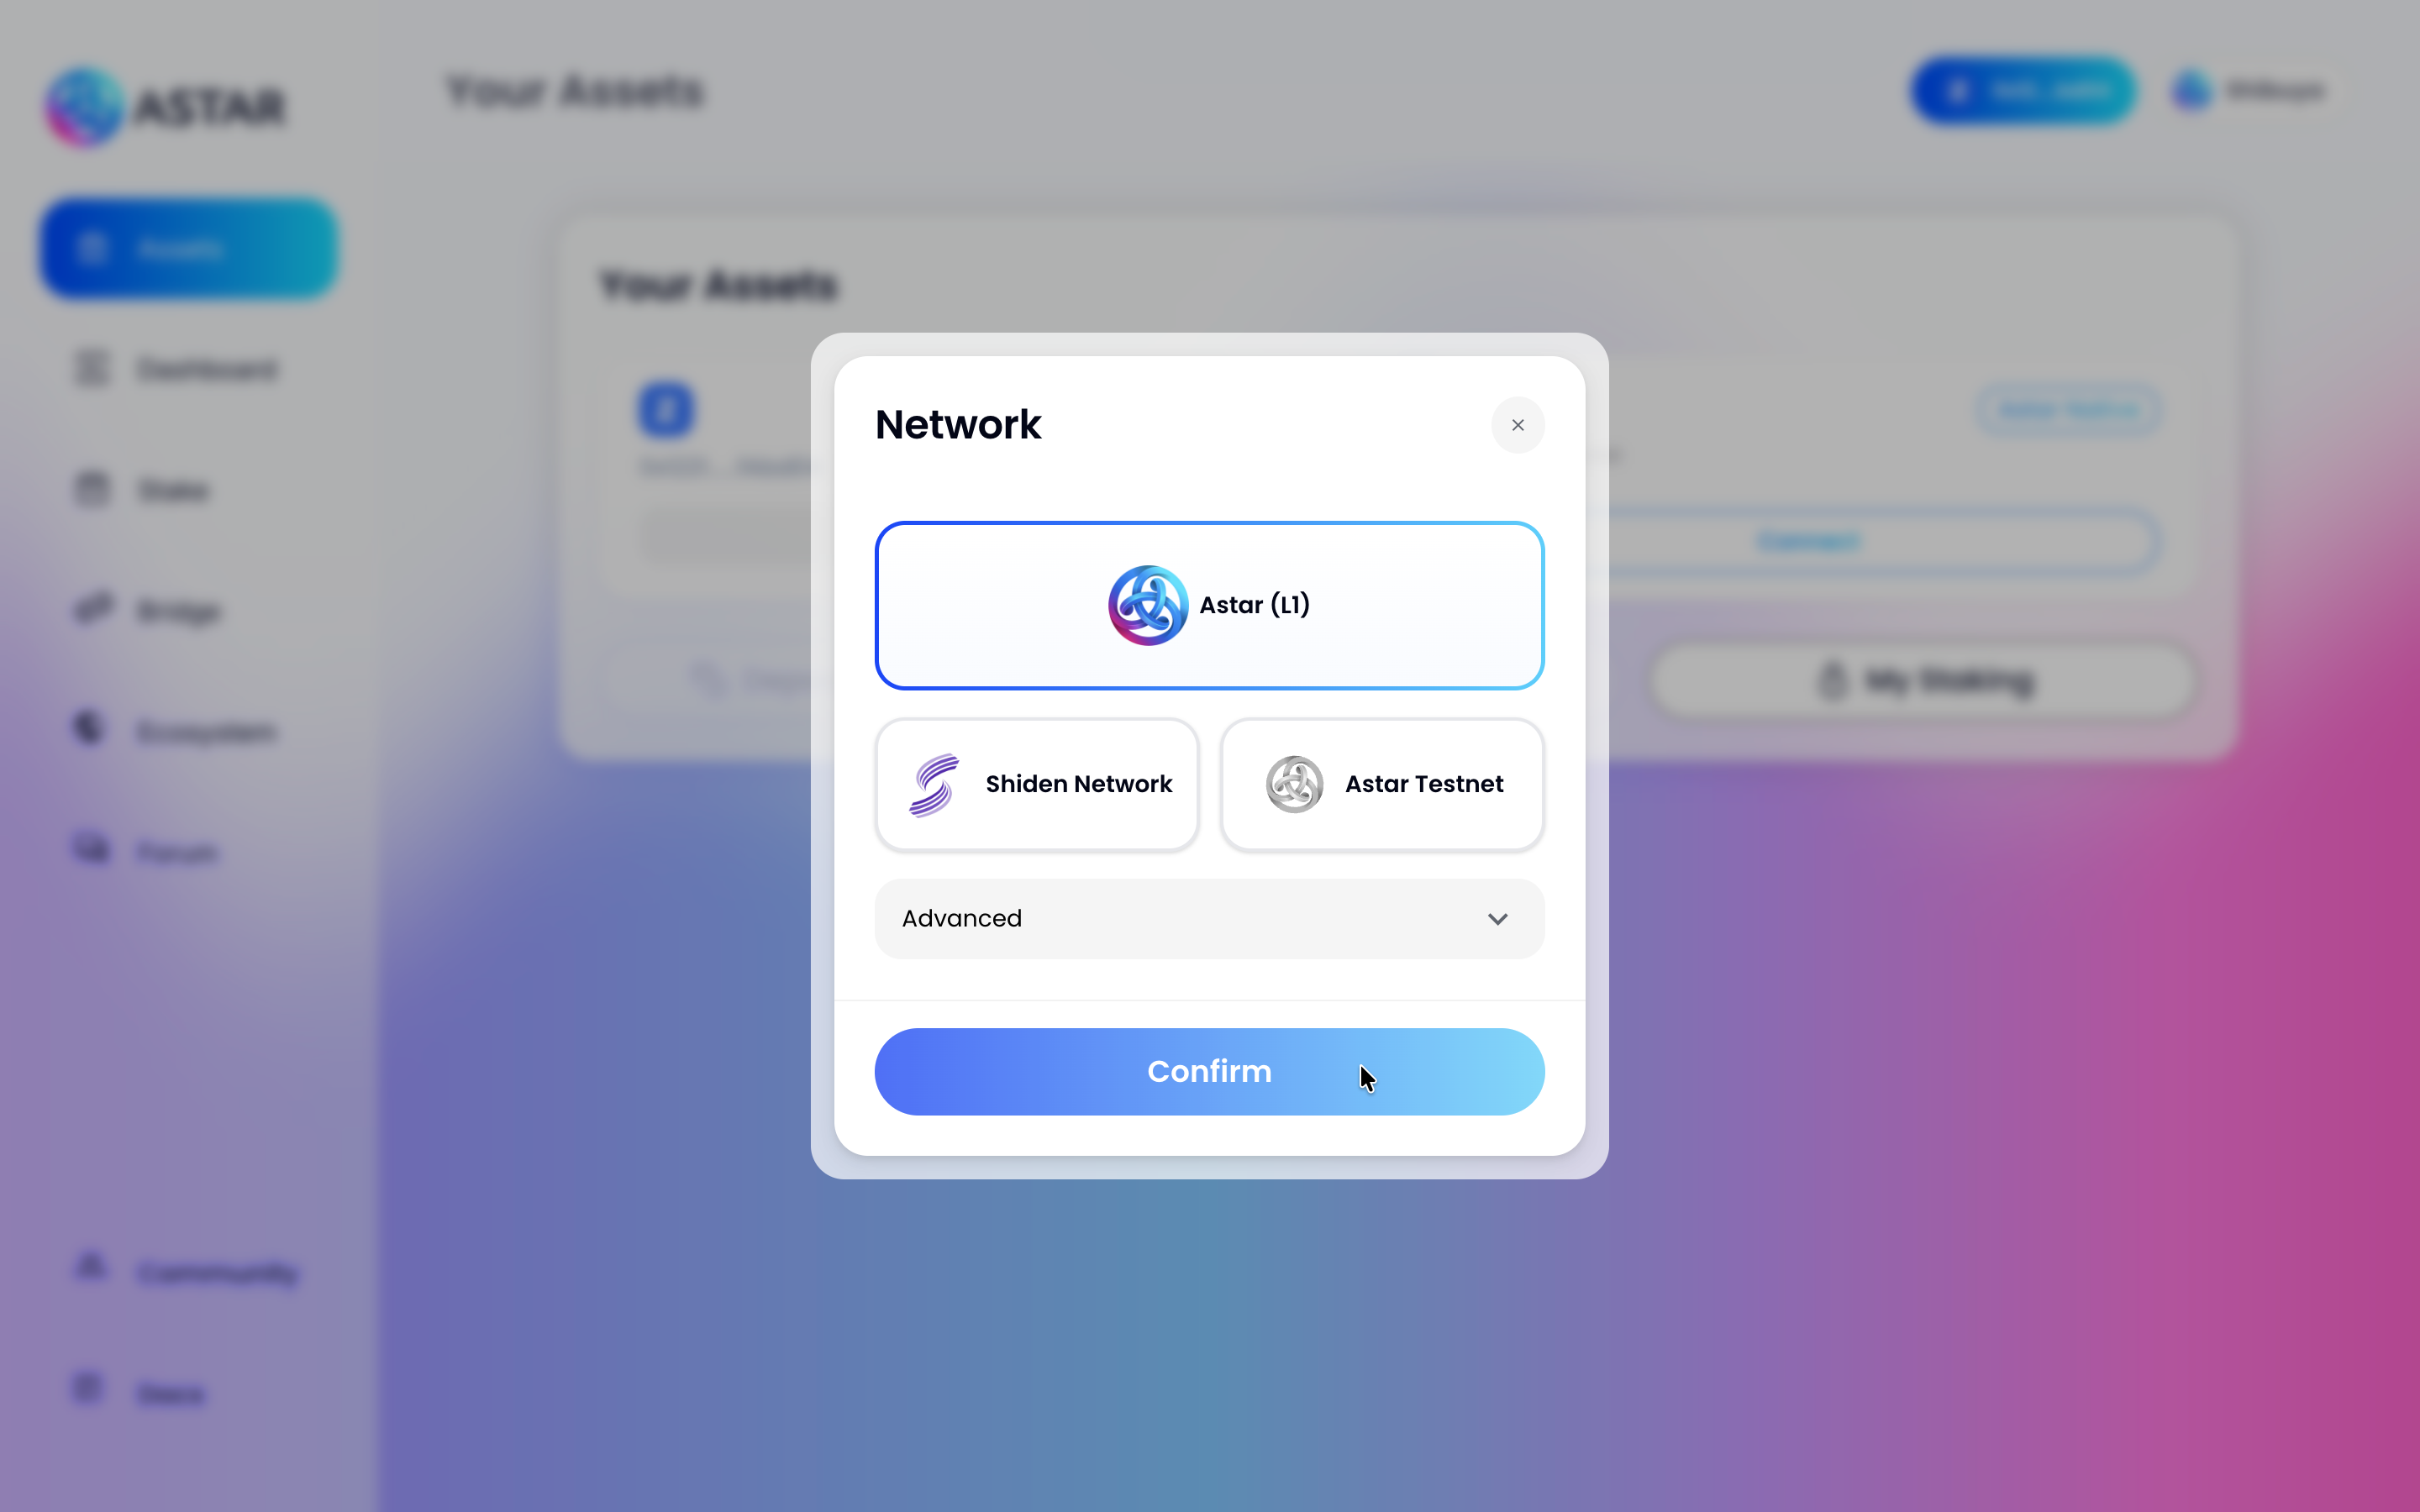
Go to the Astar Portal. A network selection modal will appear, choose Astar (L1) and click Confirm.
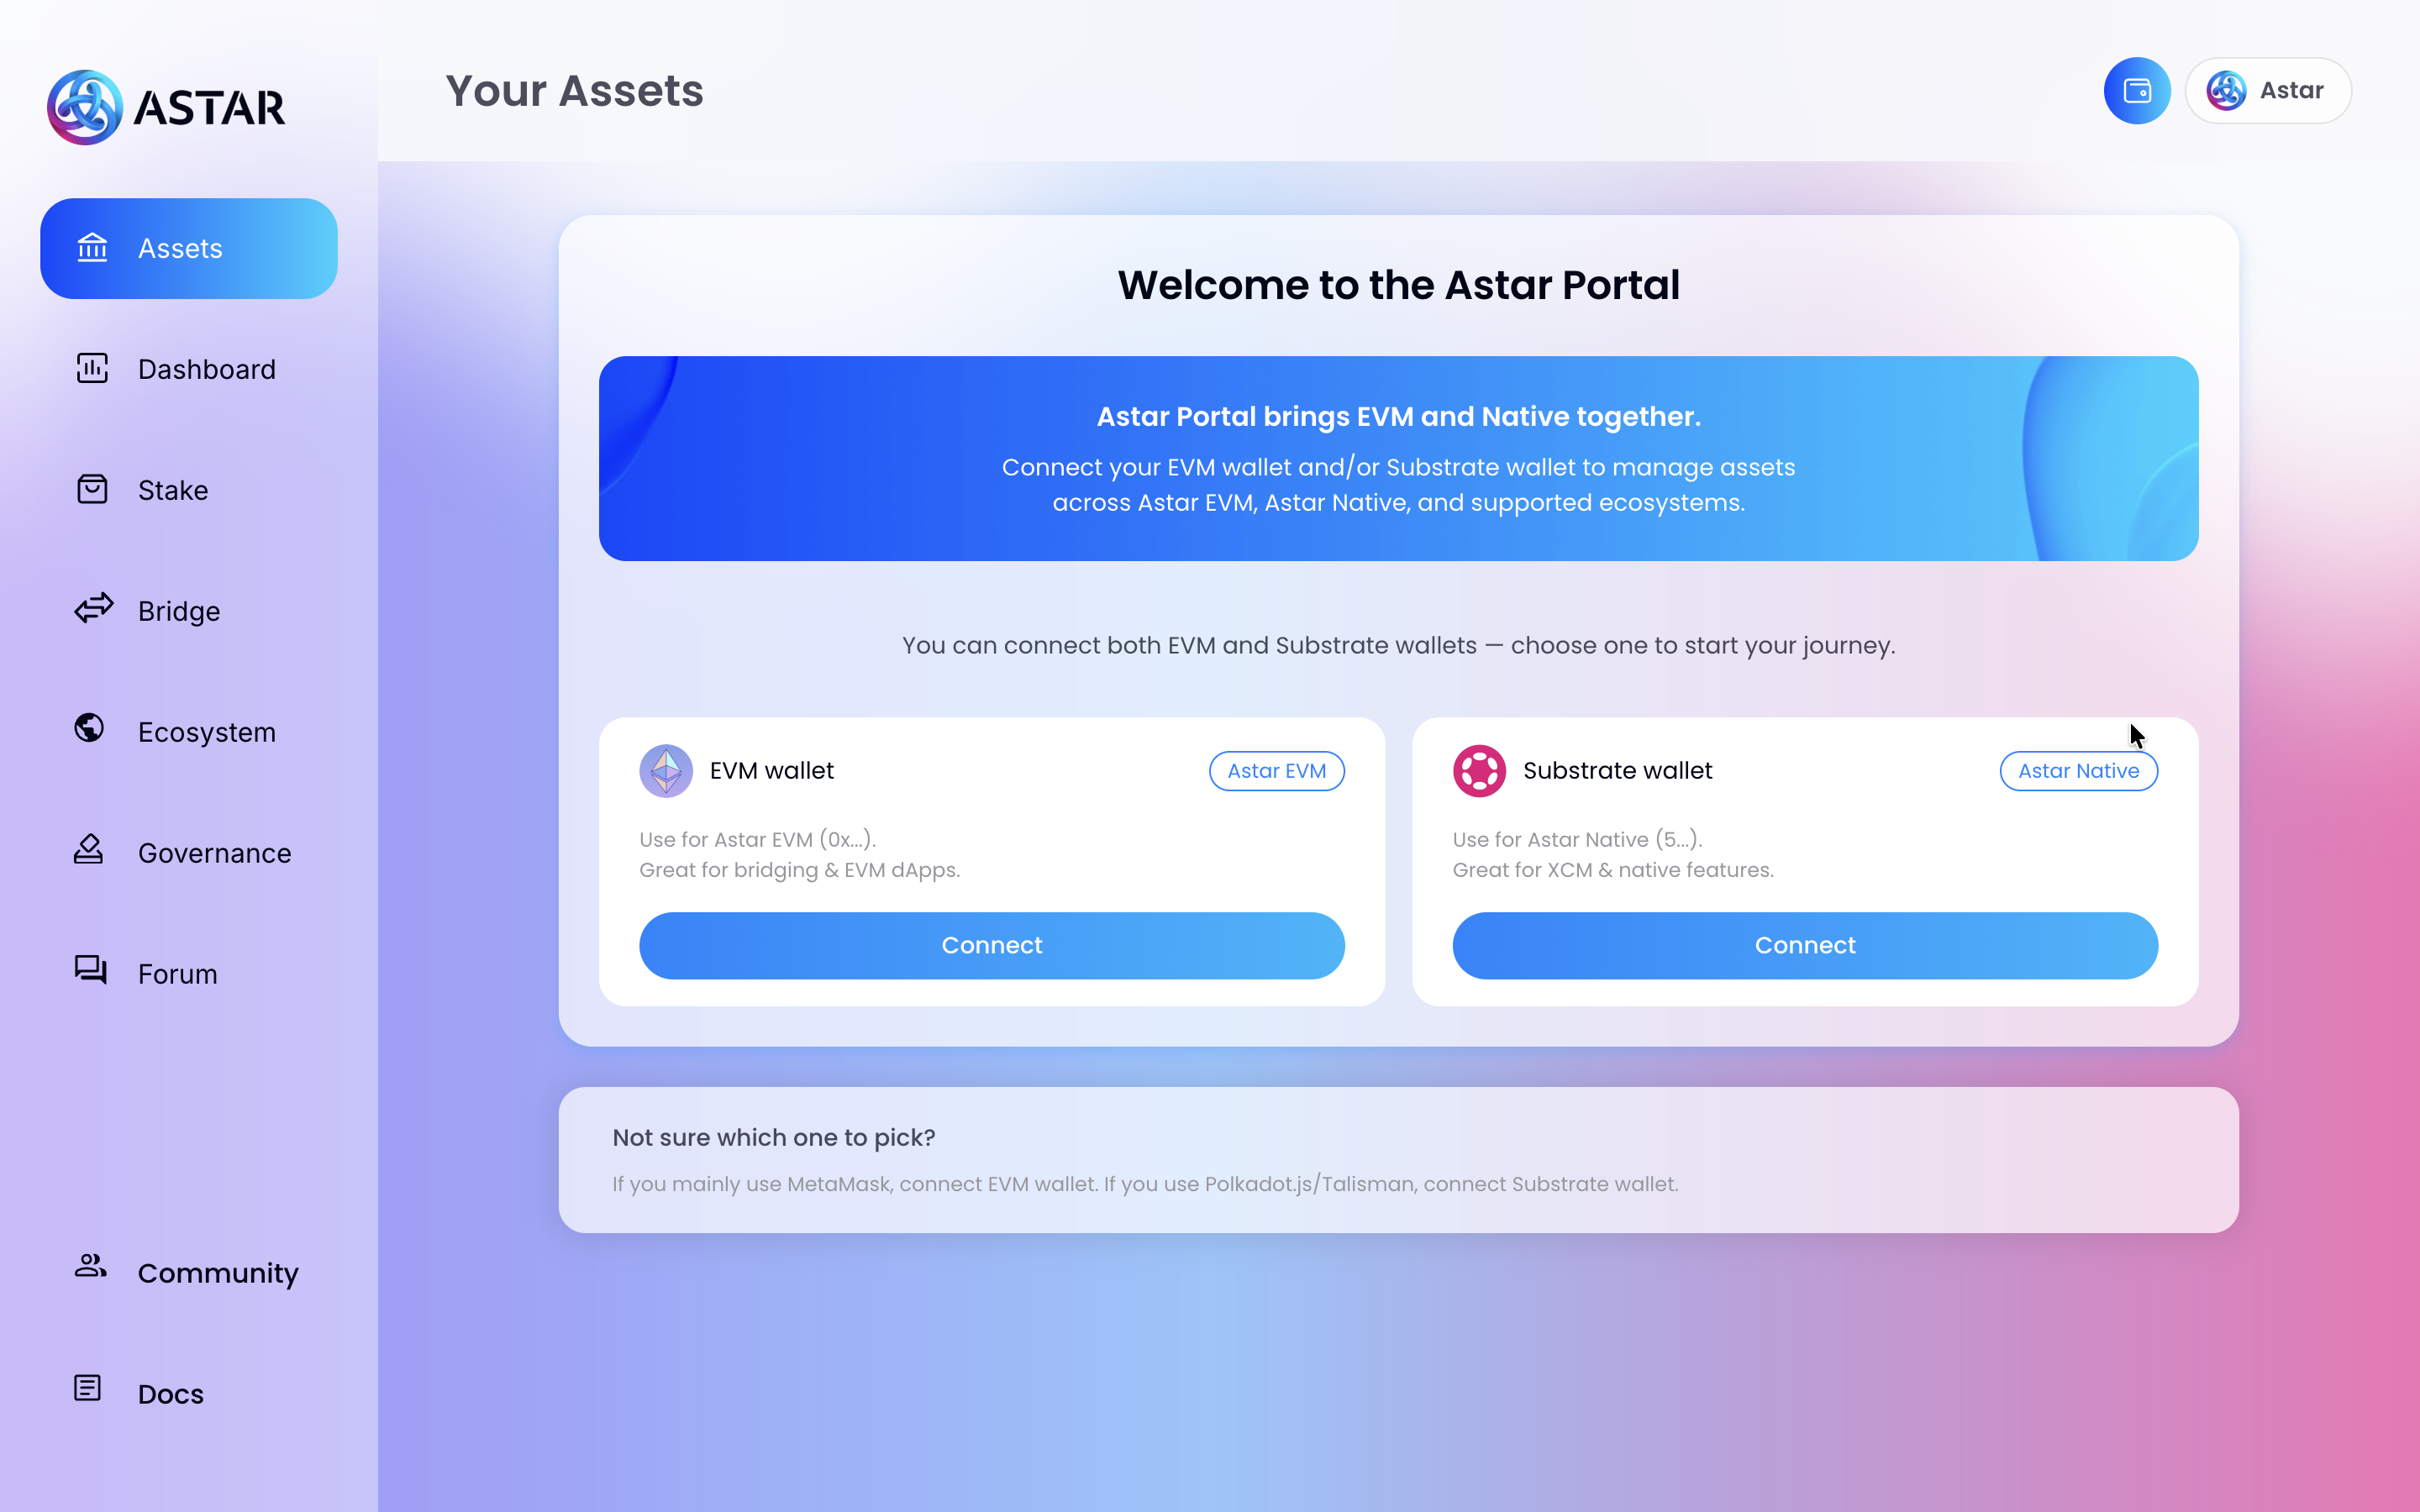
You'll land on the Welcome to the Astar Portal page, which lets you connect both an EVM and a Substrate wallet. Since we're using Talisman (Substrate), click Connect under the Substrate wallet panel.
2.2. Step 2: Connect Talisman Wallet
A Connect Native Wallet modal will appear listing all supported Substrate wallets. You'll see Talisman marked as Detected, click on it.
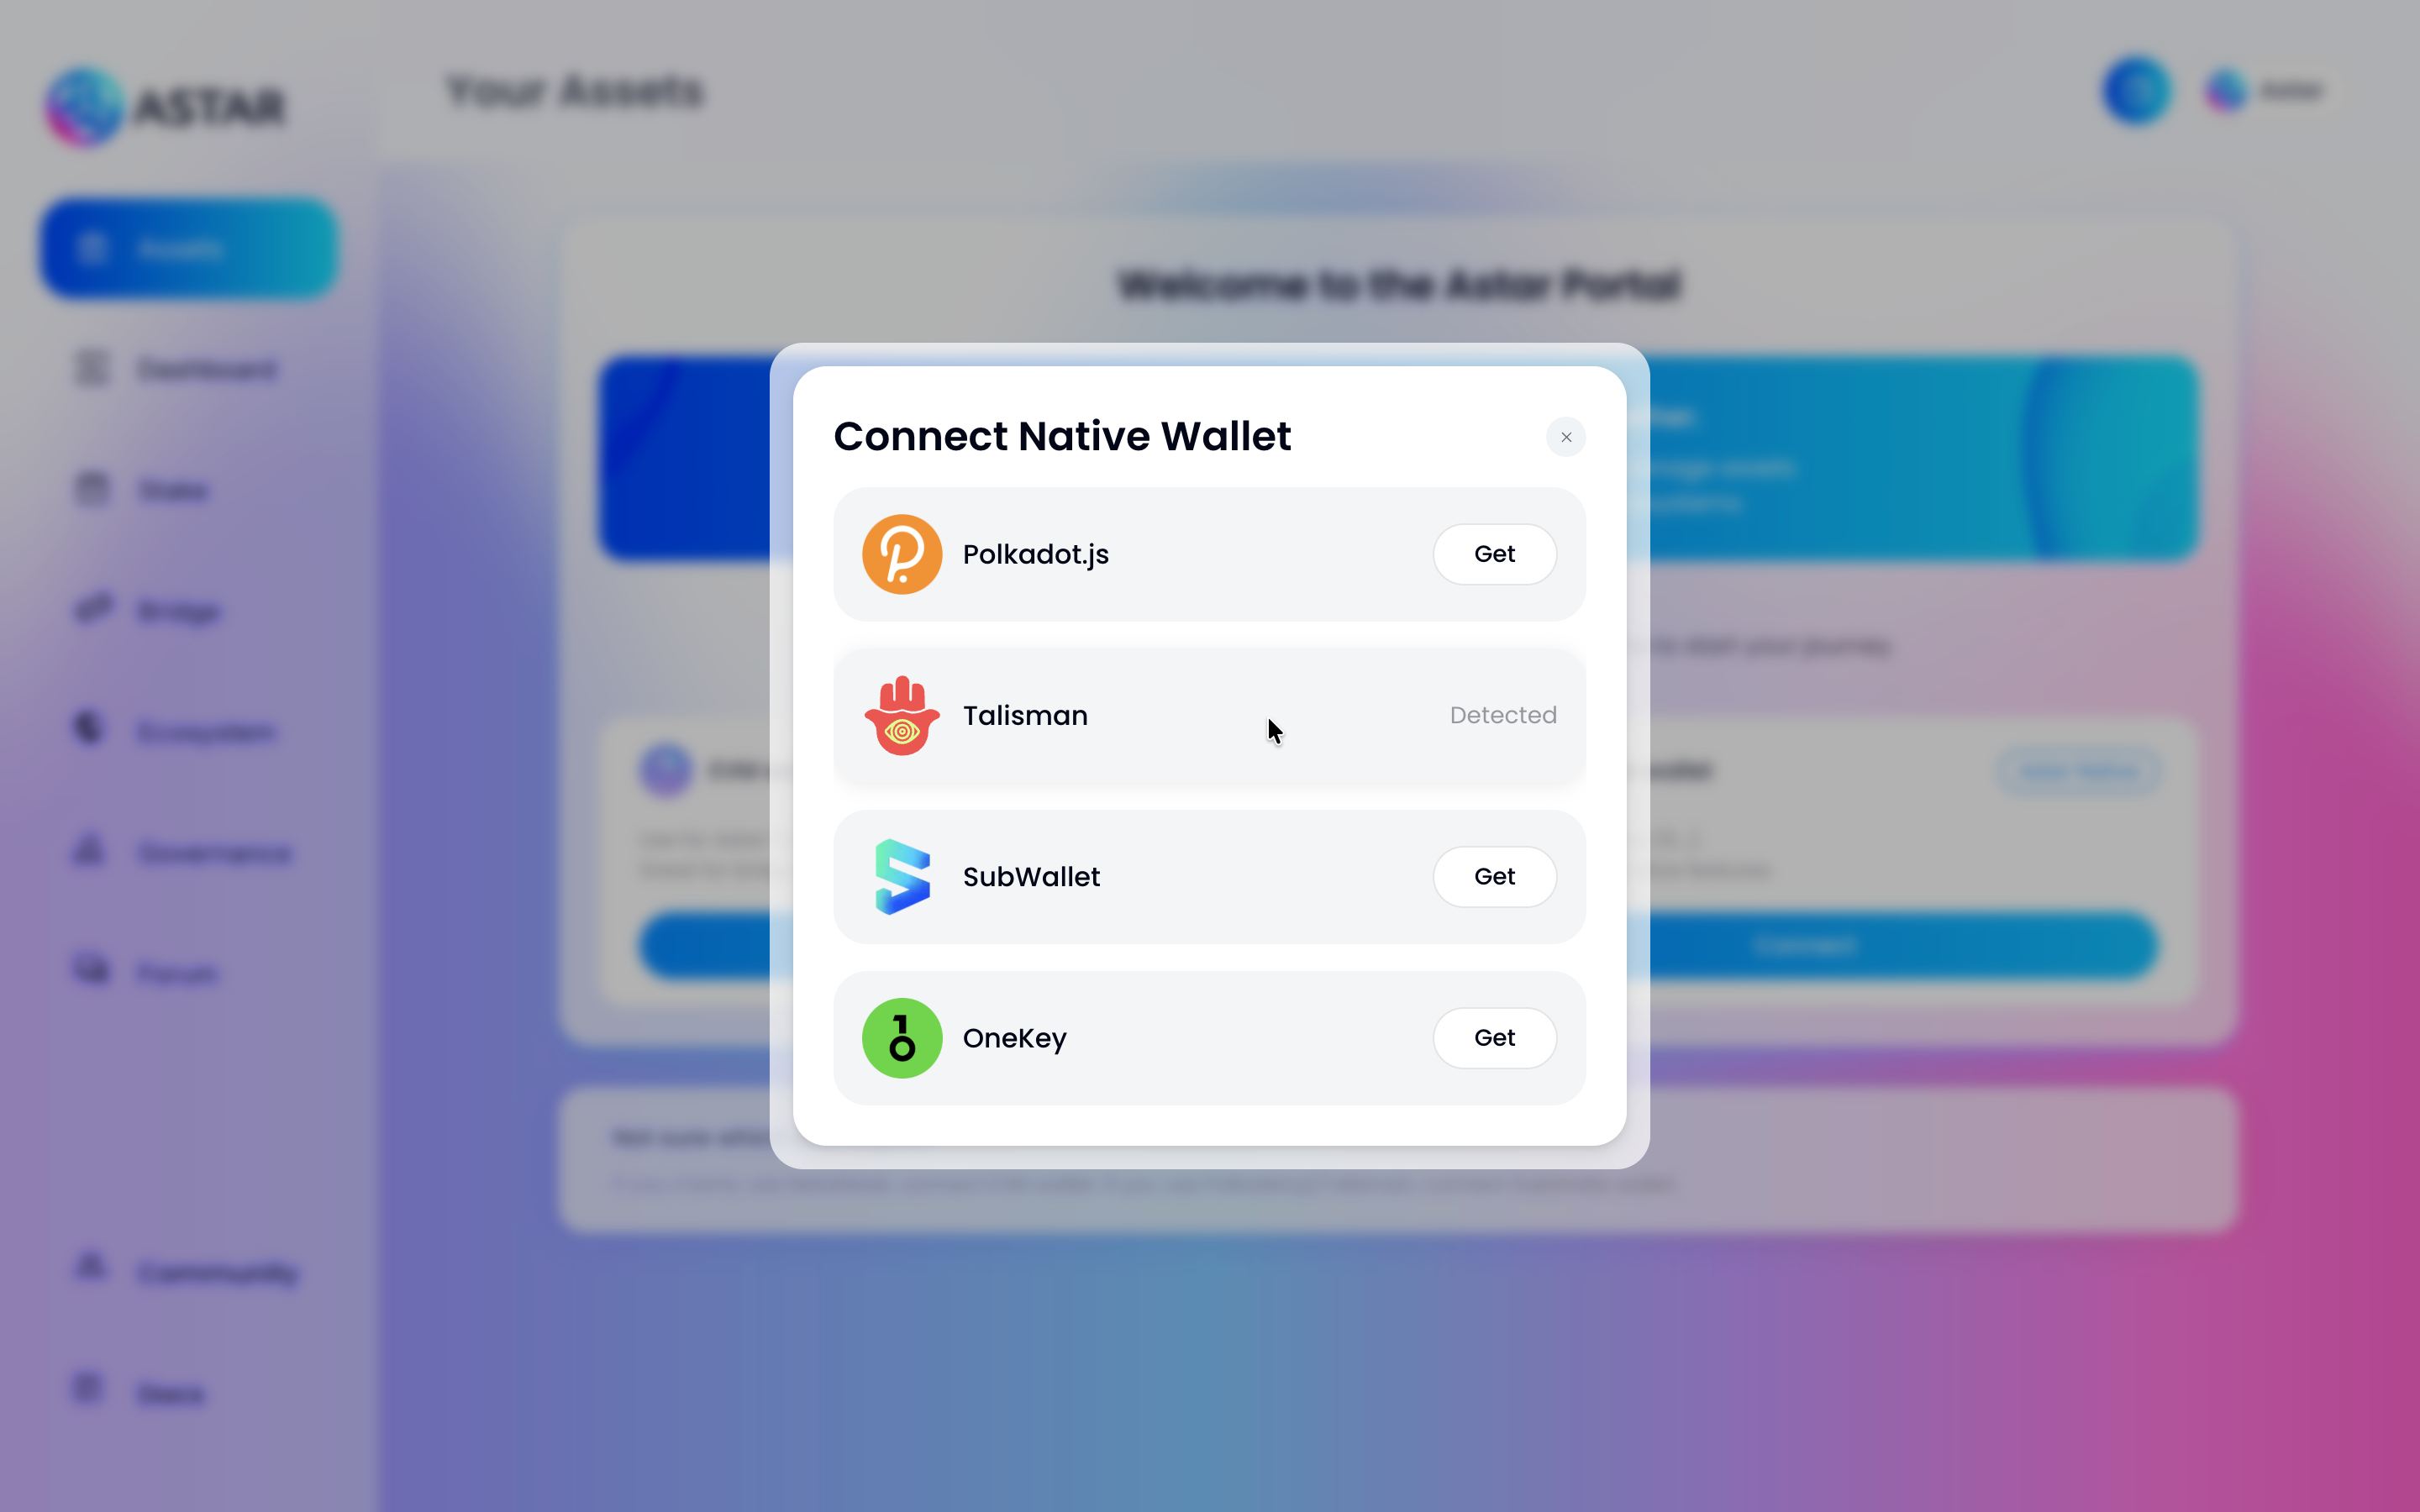
:::tip Other Substrate Wallets
Polkadot.js, SubWallet, and OneKey are also supported. The steps are the same for all of them.
:::
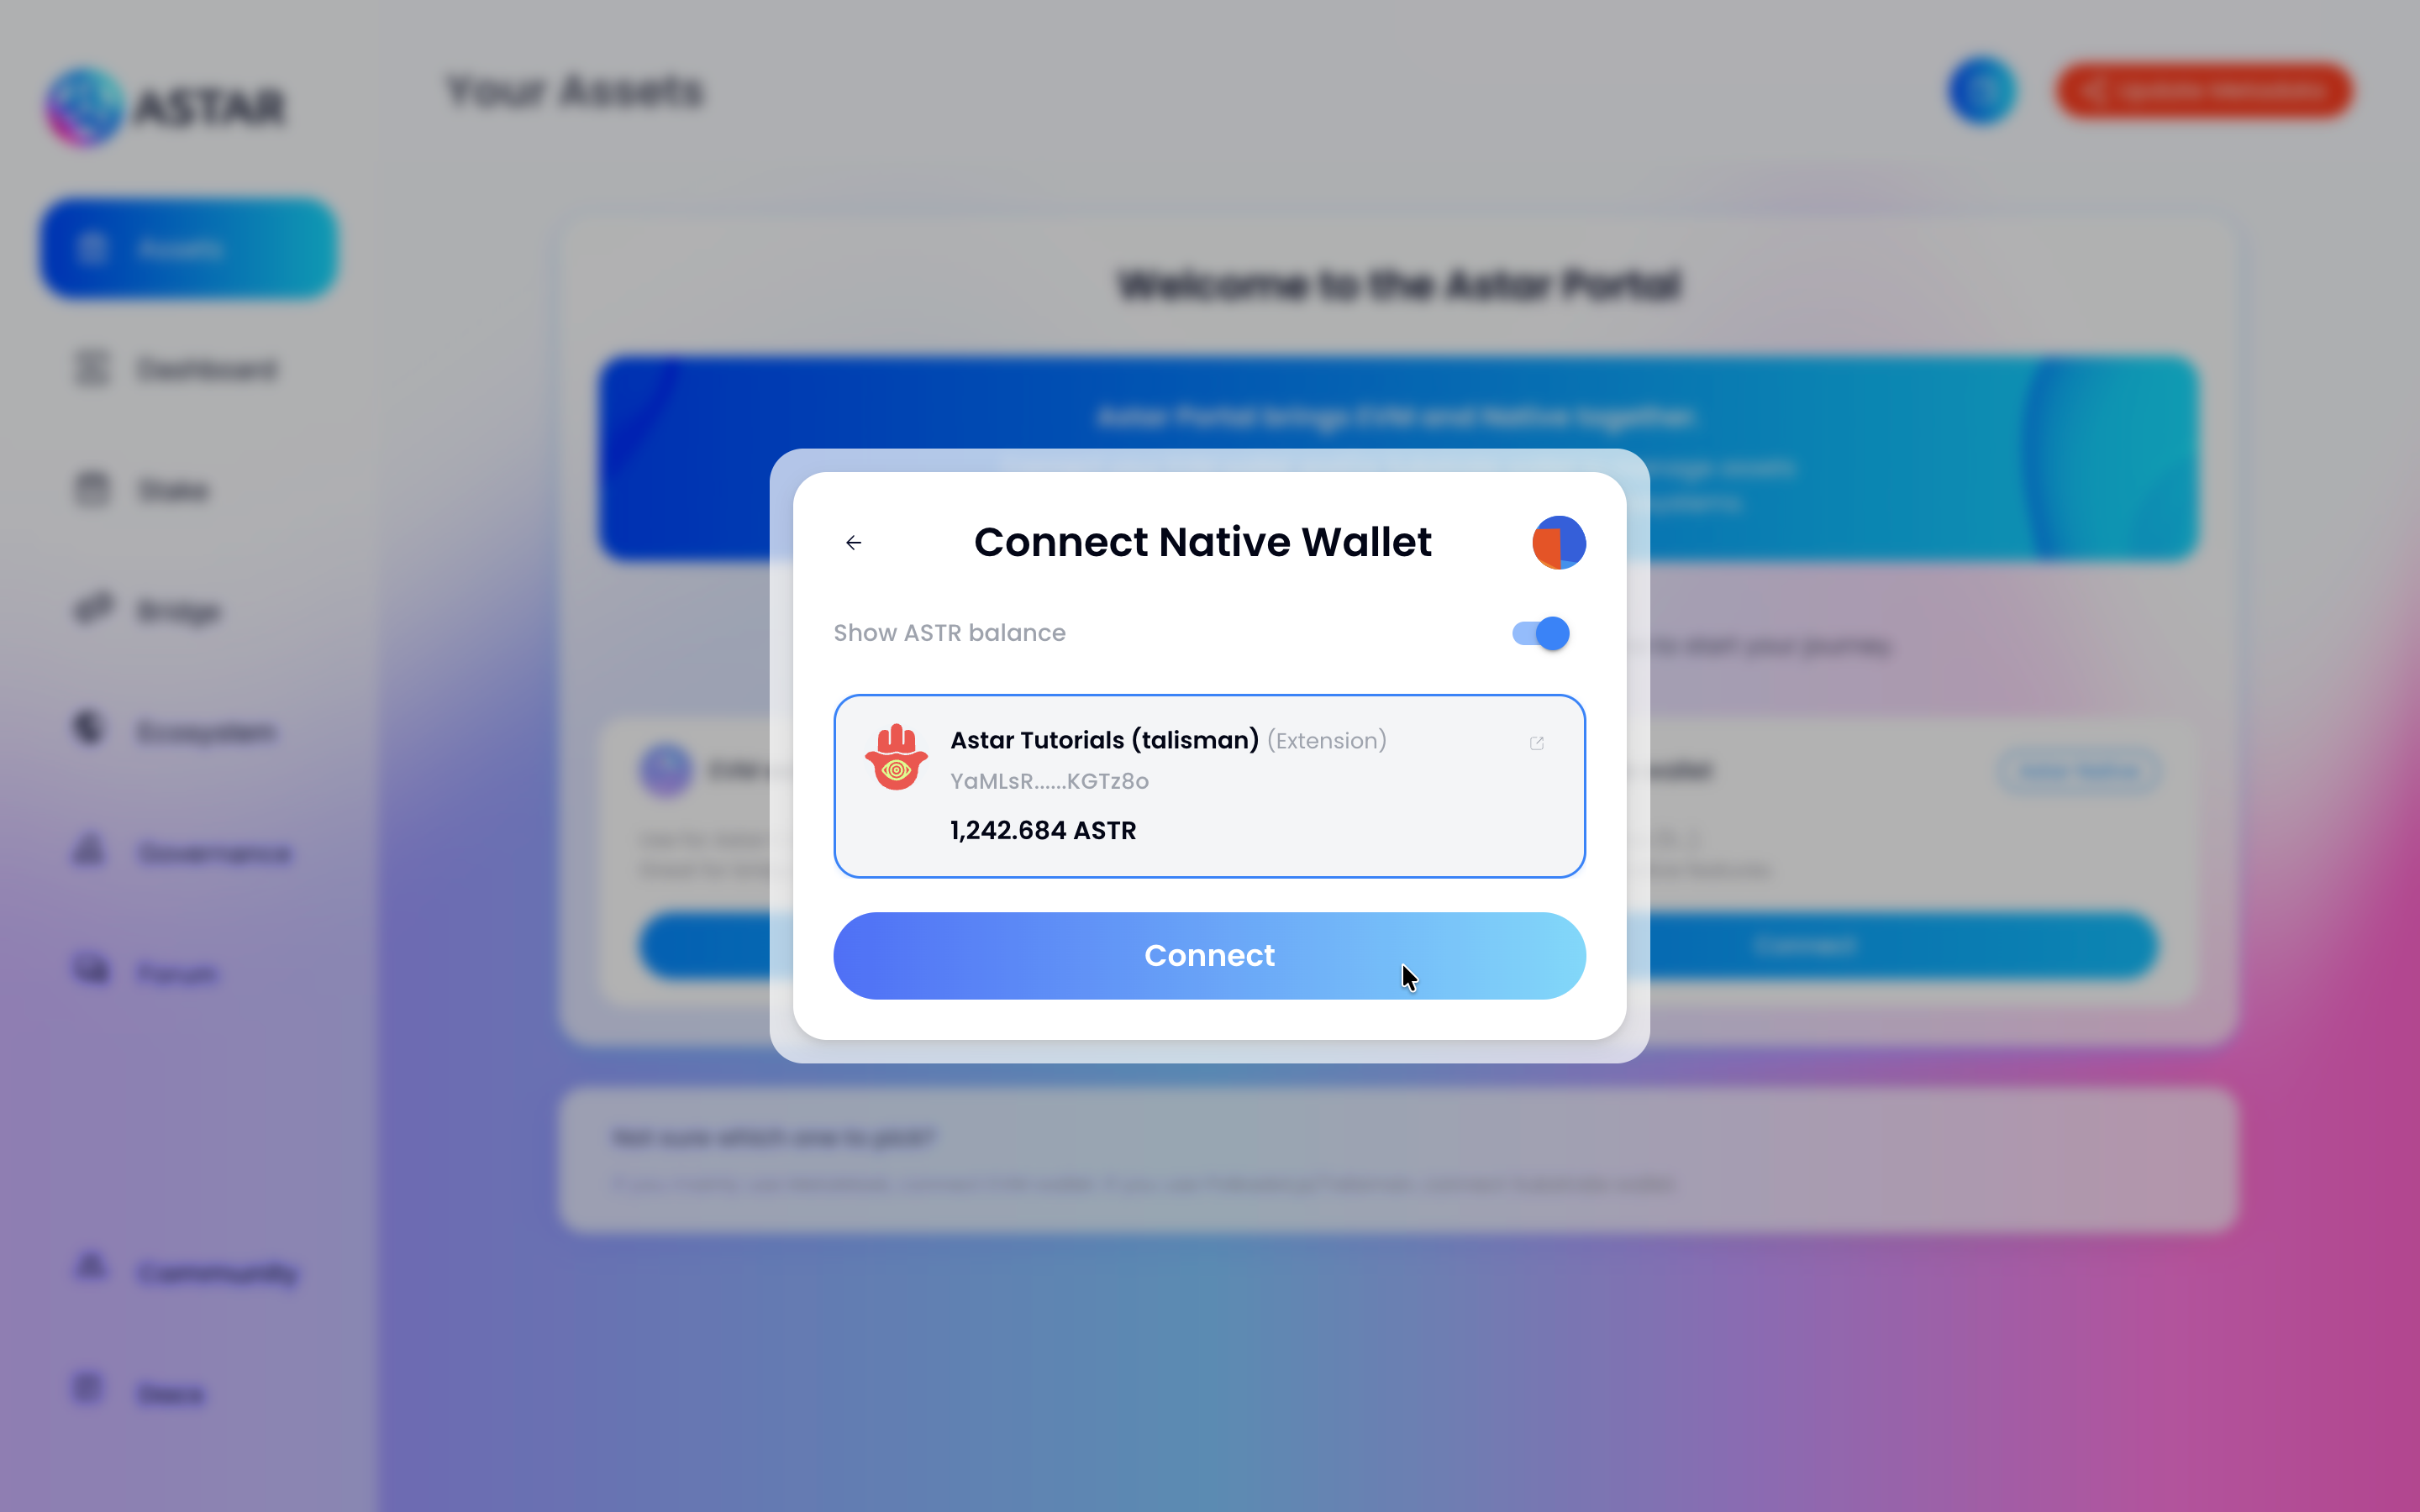
Your Talisman accounts will appear. Select the account you want to use and click Connect.
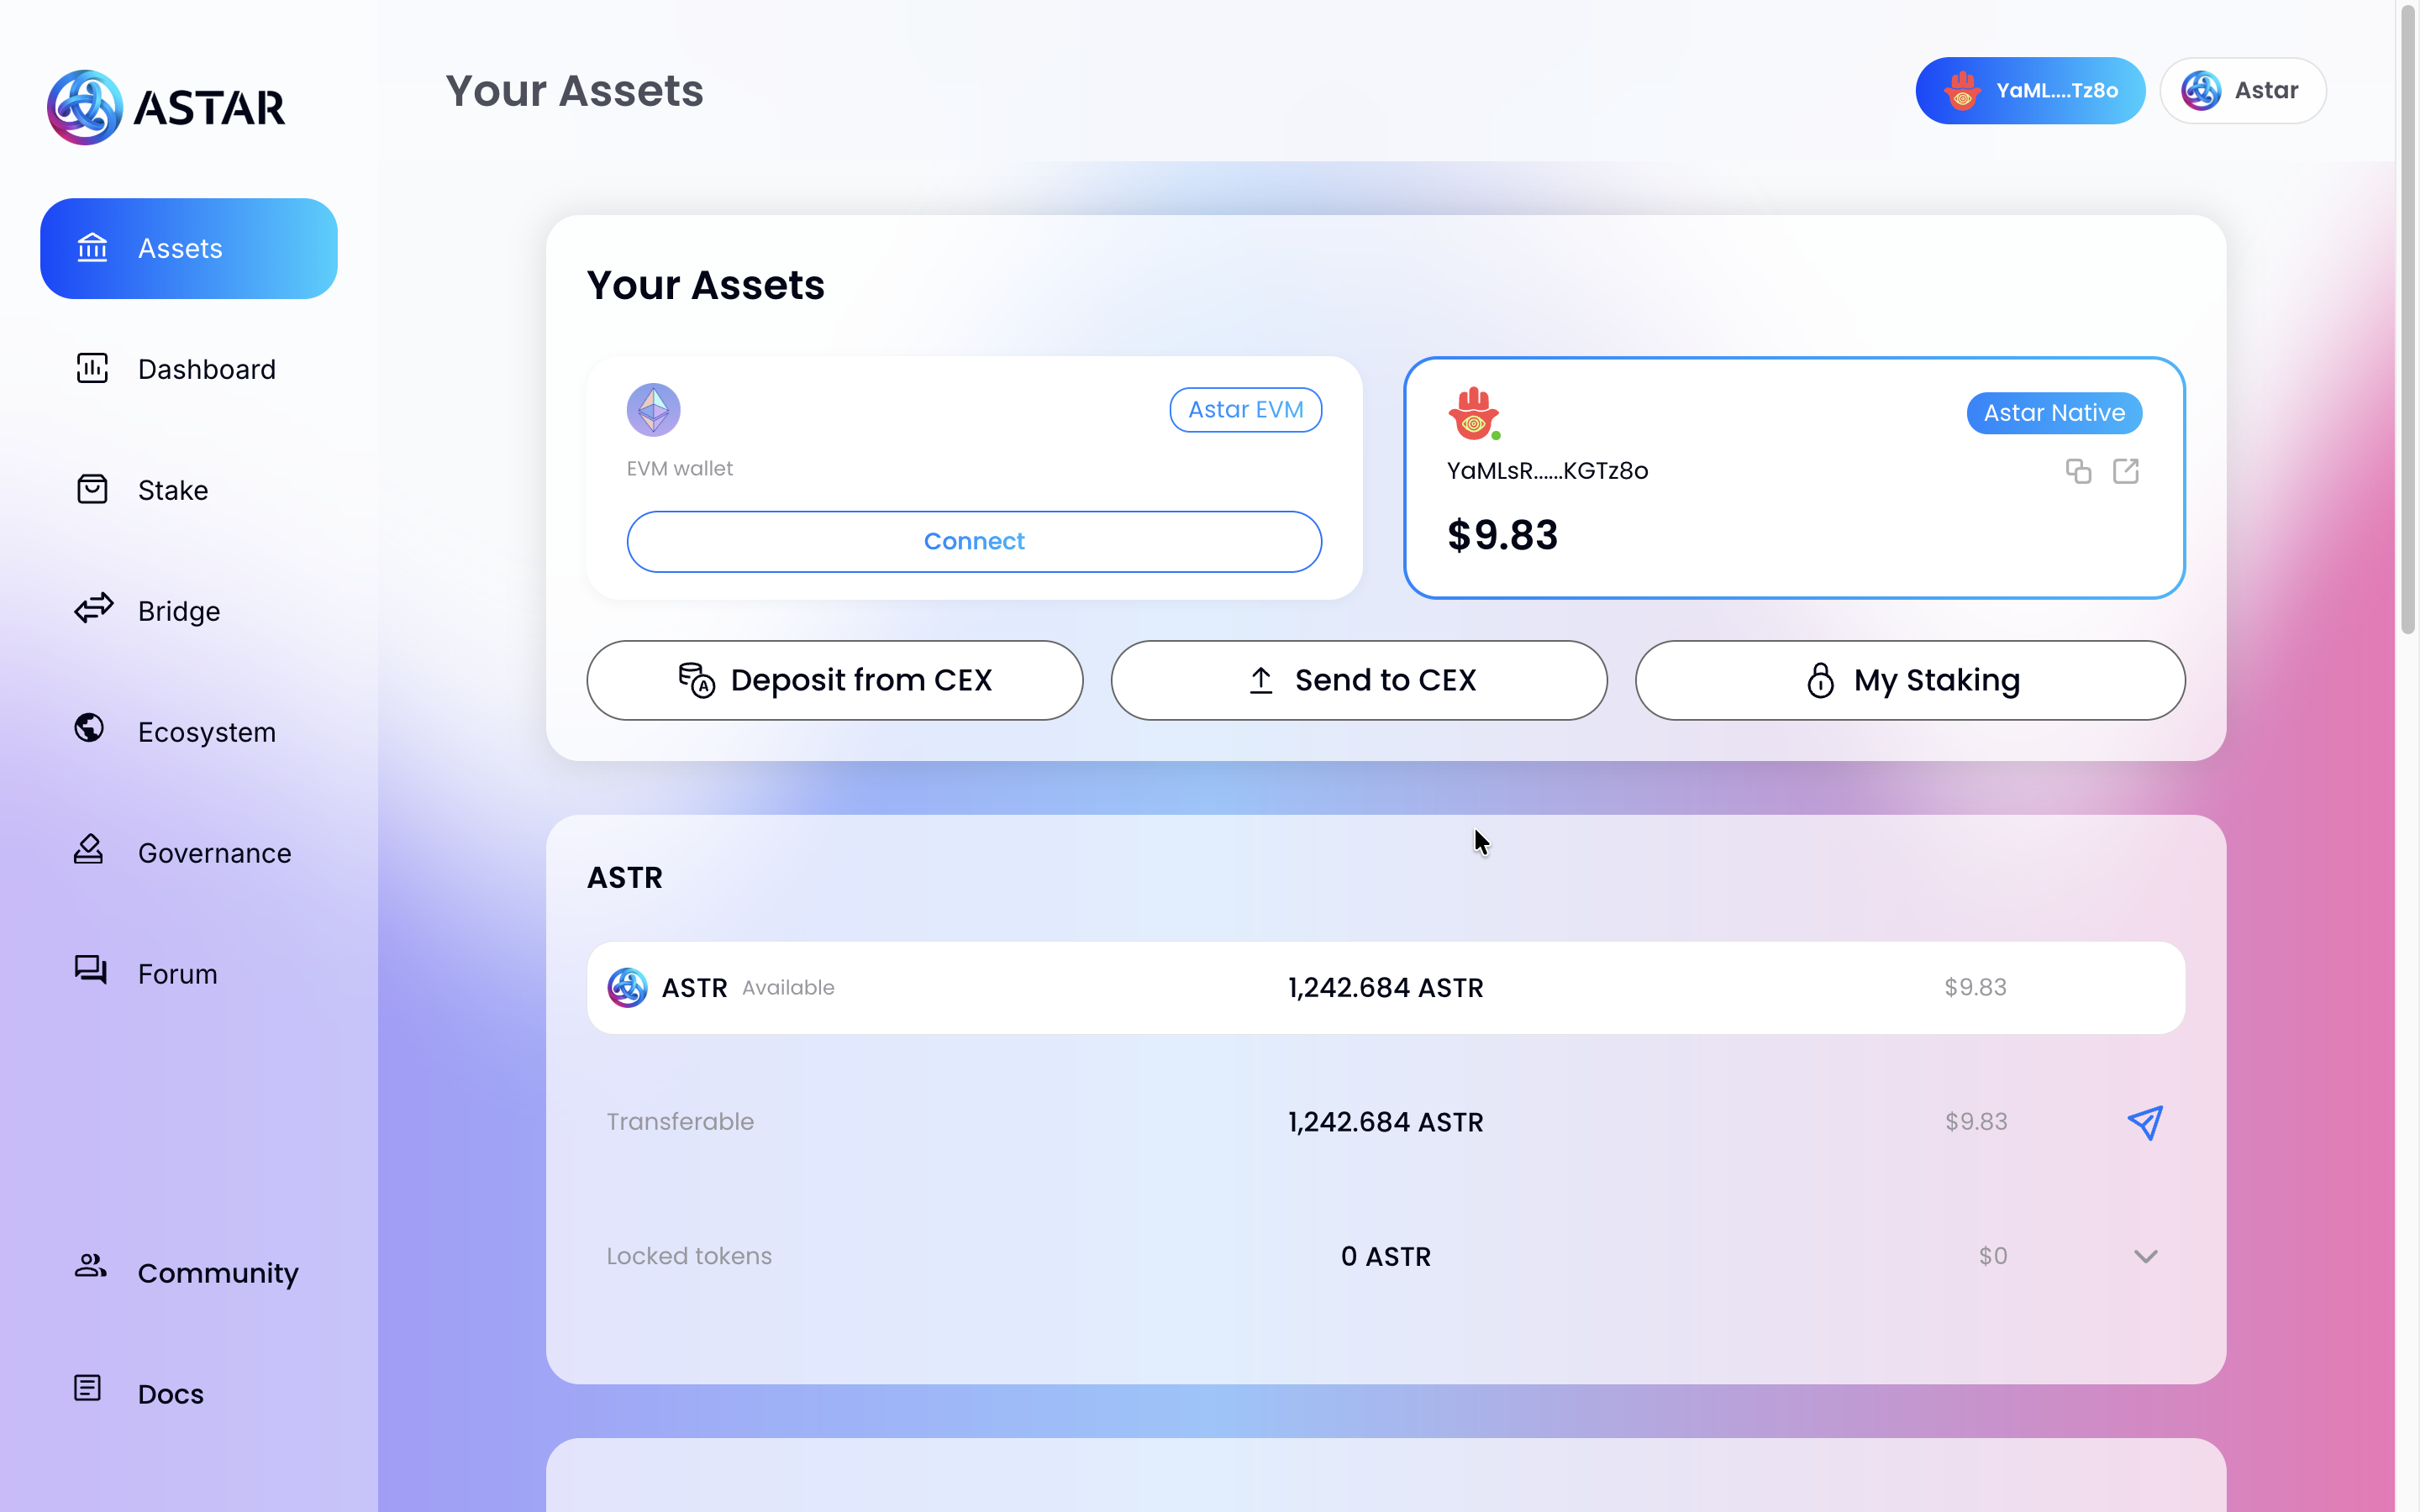
2.3. Step 3: Verify Your Assets
After connecting, you'll be taken to the Your Assets page. Your Astar Native wallet will be shown with your current ASTR balance, confirm everything looks correct before proceeding.
2.4. Step 4: Navigate to the Stake Section
Click on Stake in the left sidebar to go to the dApp Staking section.

2.5. Step 5: Explore the Staking Section
The Stake page shows you a summary panel with your available balance, current rewards, and network stats (APR, remaining time). Below it, the dApp Rankings table lists all available projects to stake on.
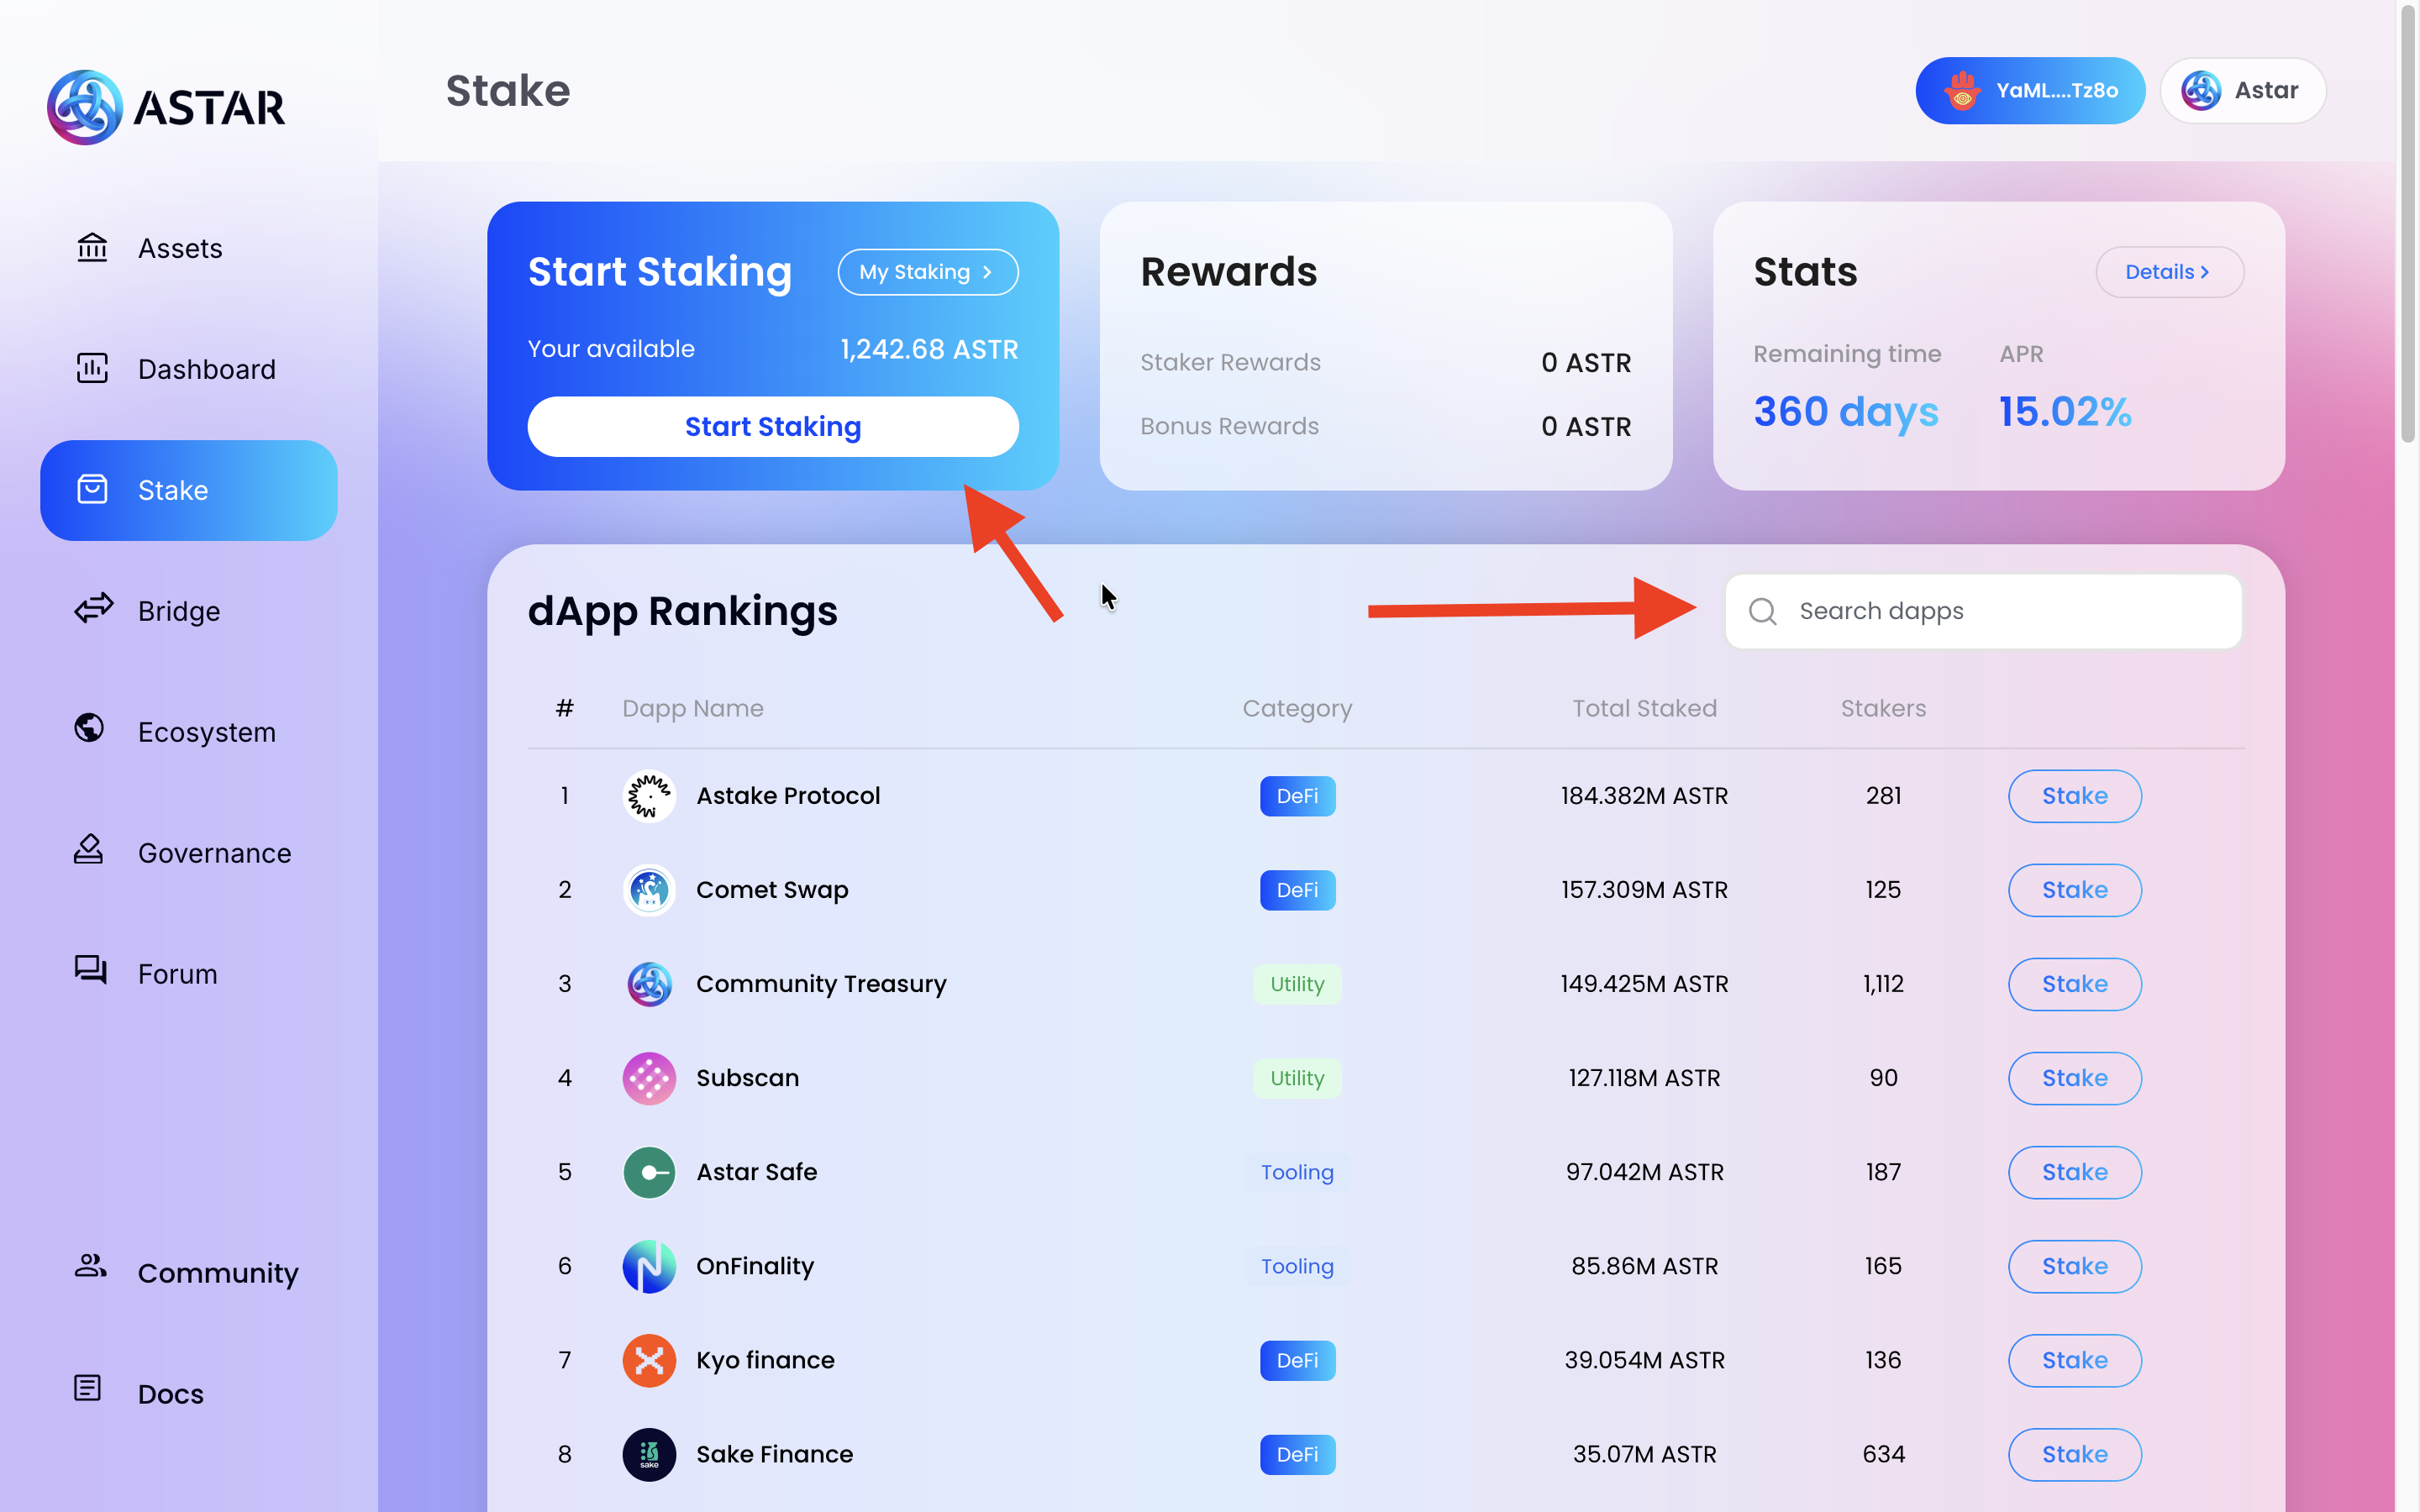
You can start staking by clicking Start Staking in the top panel, or by clicking Stake next to any dApp in the rankings table. Use the Search dapps bar to quickly find a specific project.
:::tip Project Research
Click on any project card for more details, team profiles, community links, and resources. You can also check DeFiLlama or our Forum for additional context.
:::
2.6. Step 6: Select a dApp and Enter the Amount
:::note Maximum Supported dApps
You can support up to 16 projects simultaneously from a single address.
:::
Click Stake next to the dApp you want to support. You'll be taken to its staking page. Enter the amount of ASTR you want to stake and review the summary.
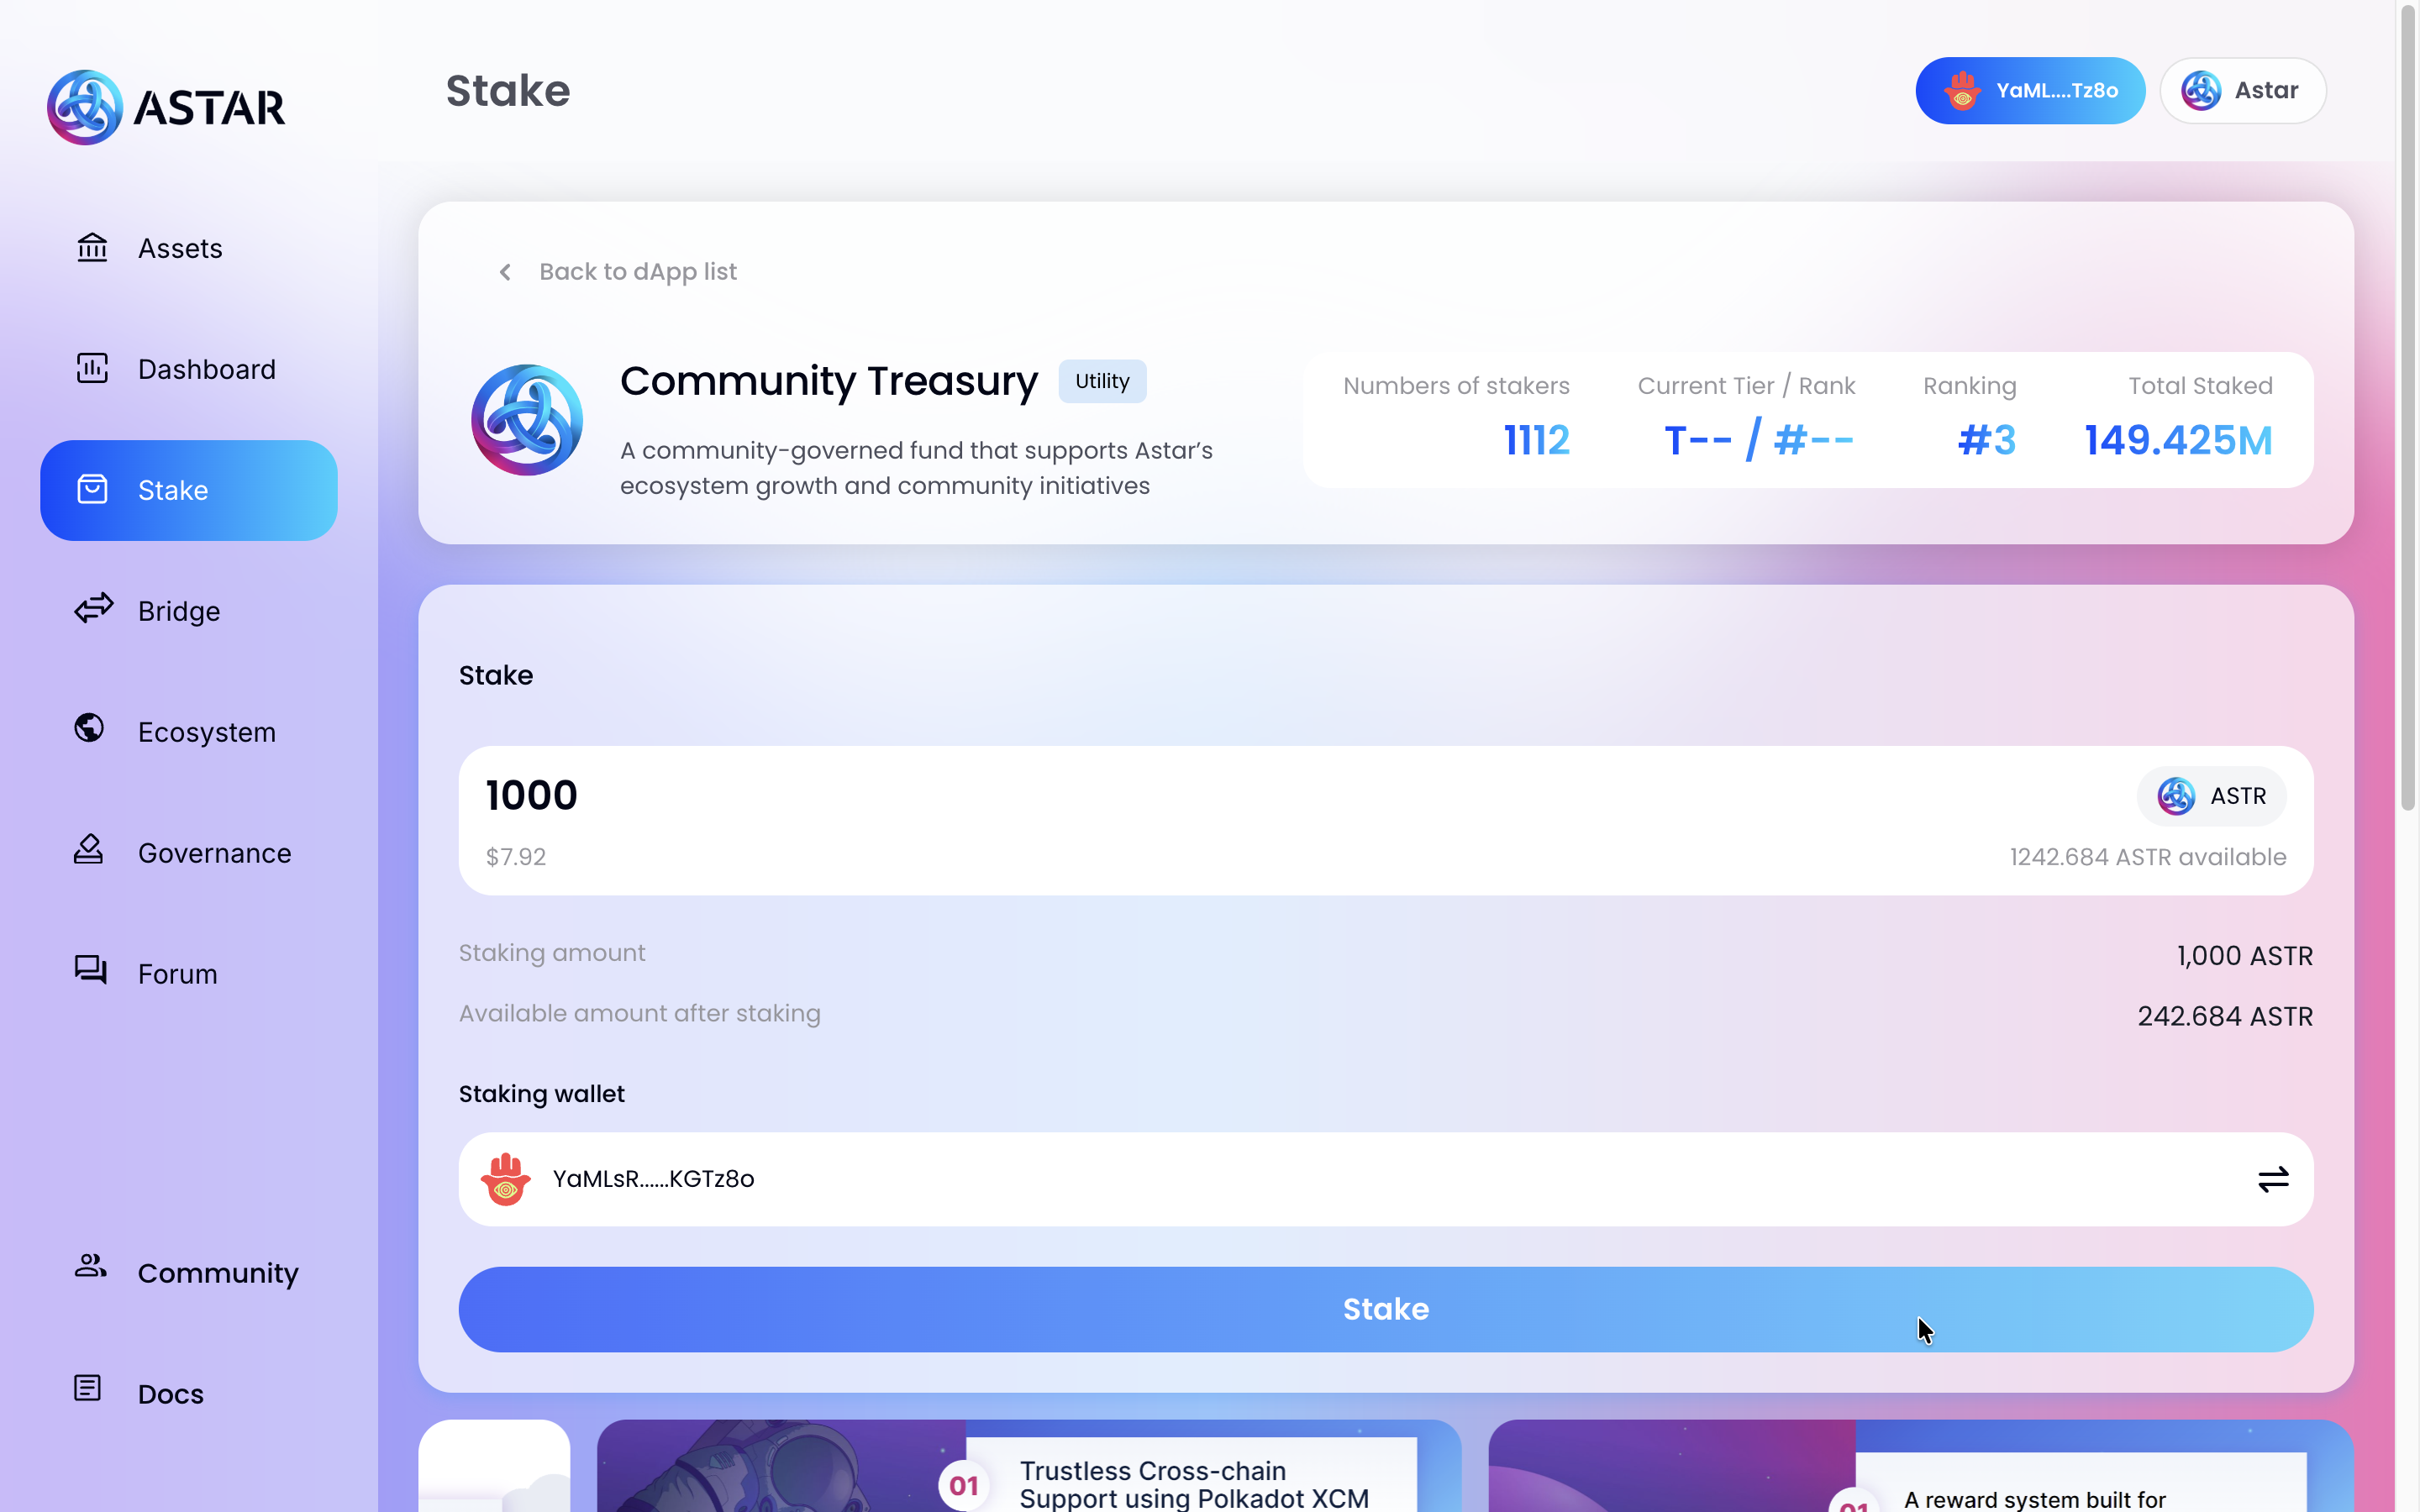
:::info Available Balance
Your available balance includes tokens locked in governance. Make sure to keep some ASTR free for transaction fees.
:::
Click Stake and sign the transaction in your Talisman wallet popup.
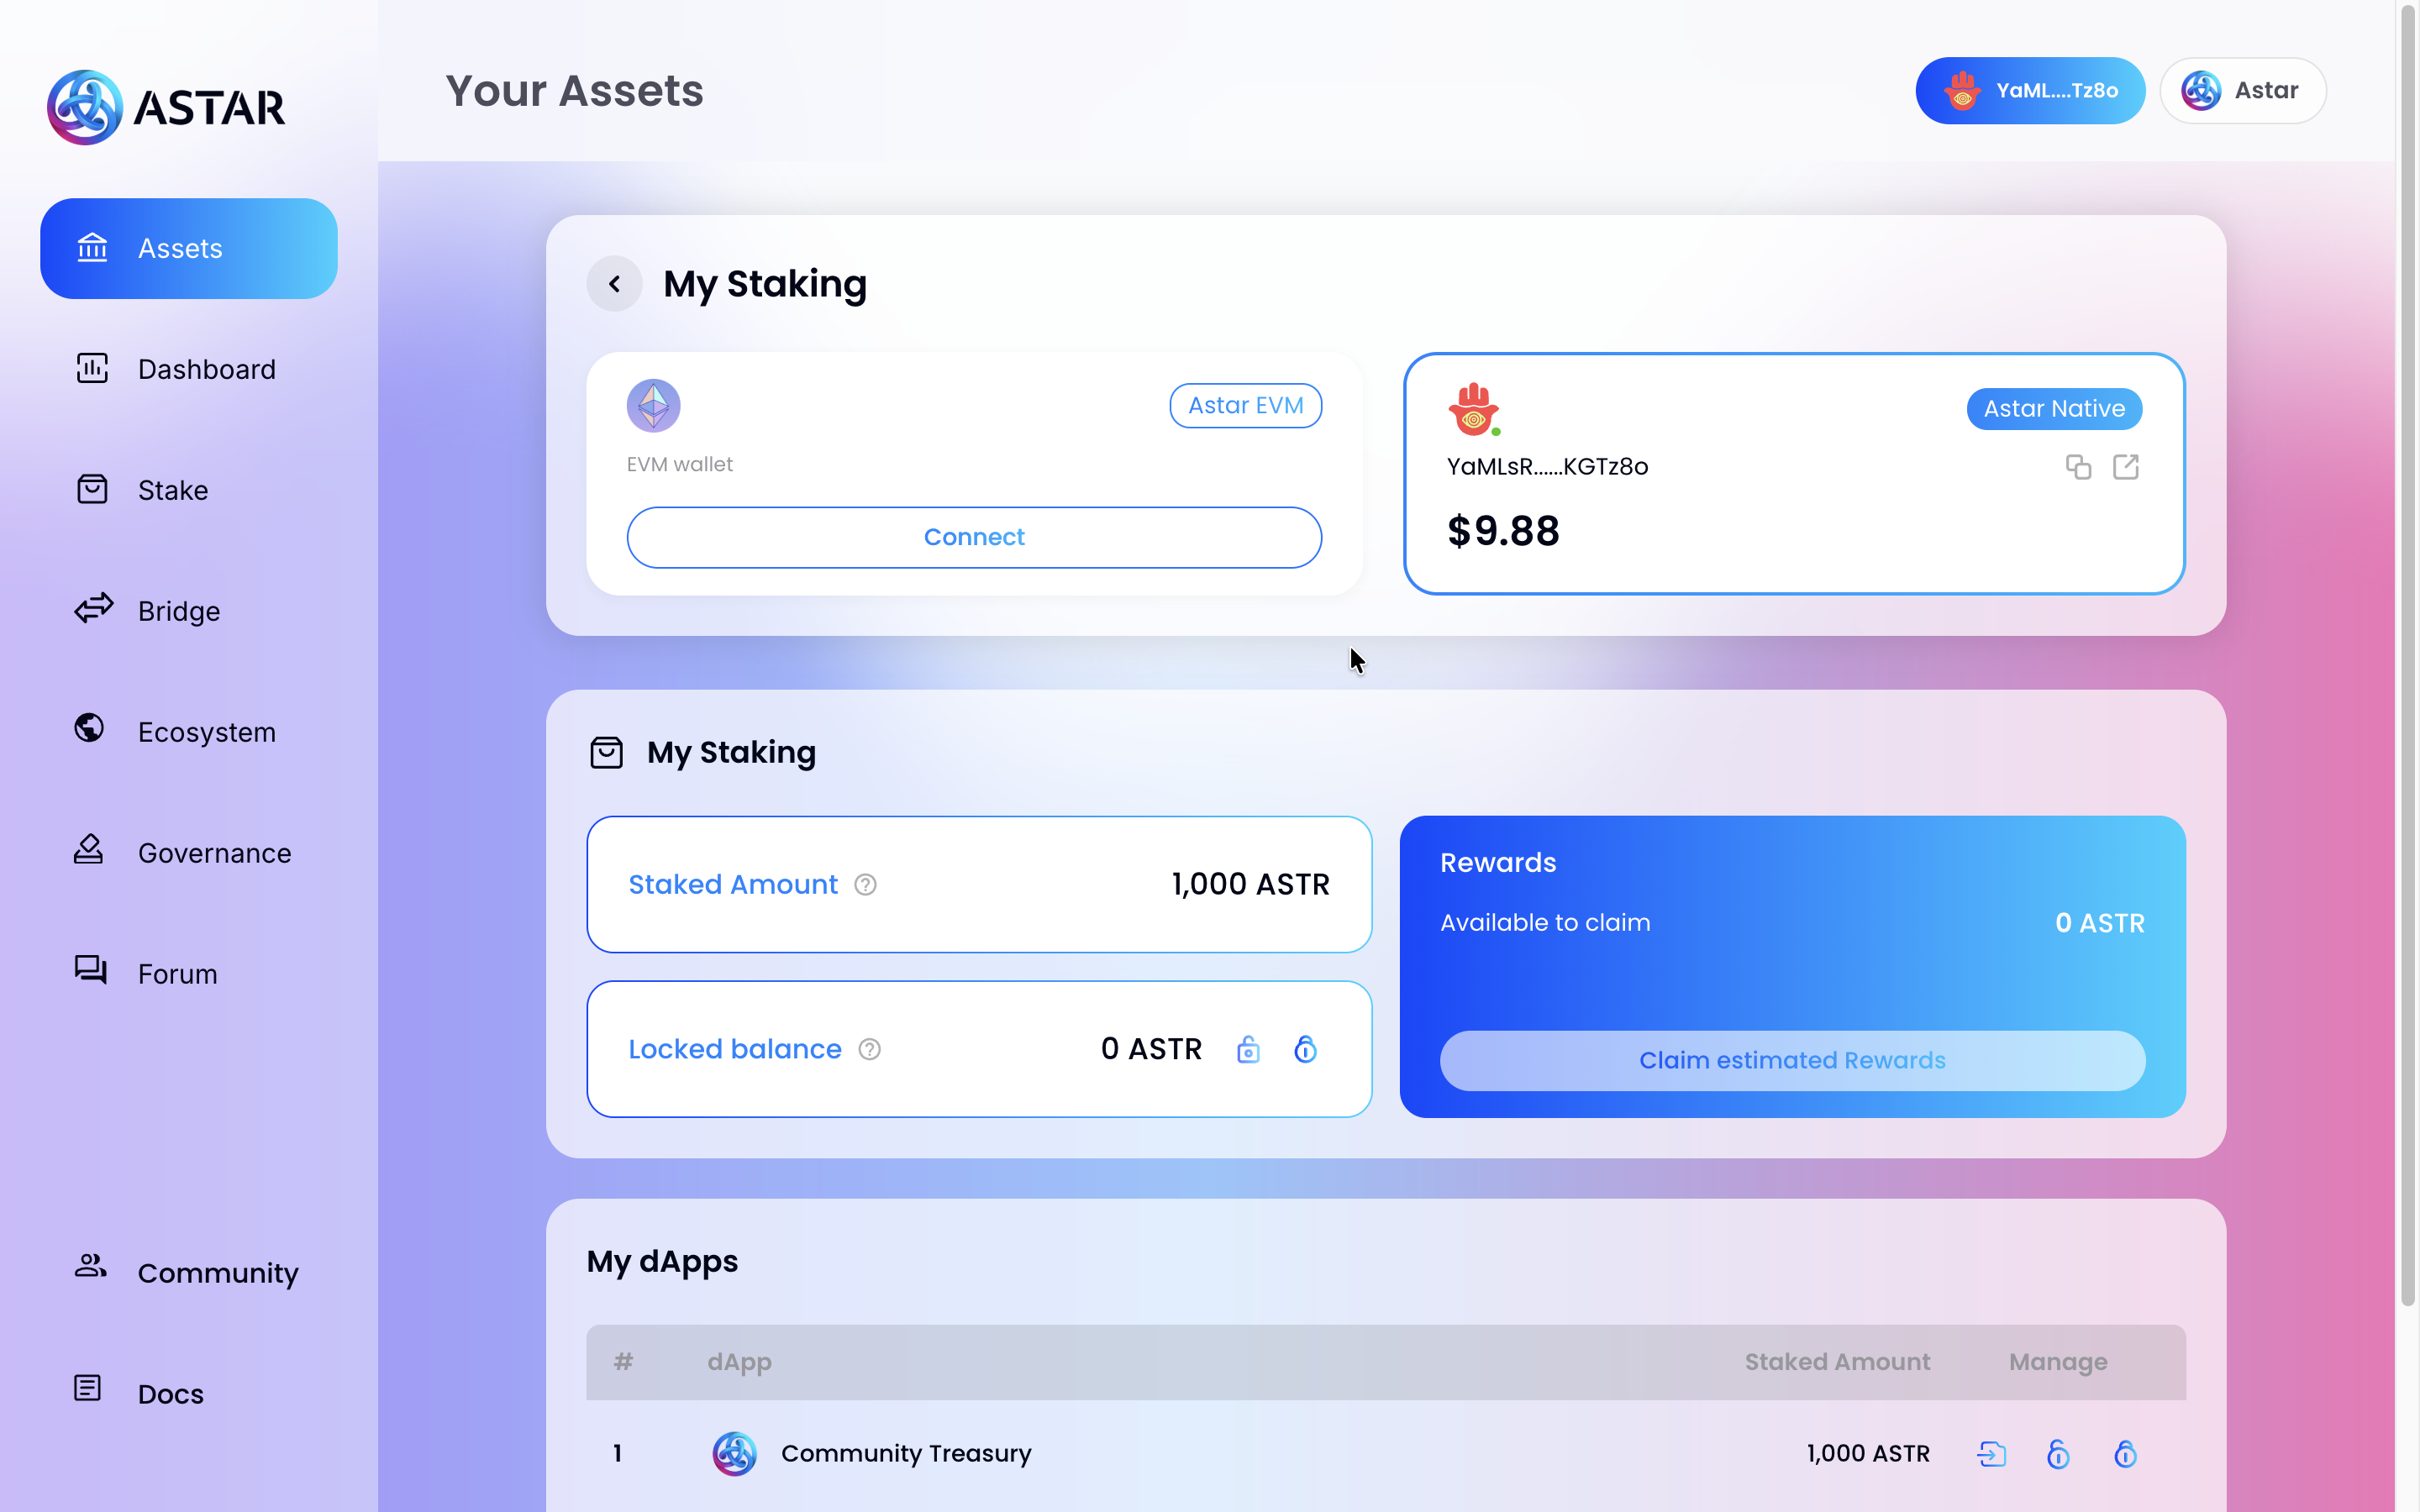
2.7. Step 7: Check Your Staking Dashboard
Once the transaction is confirmed, go back to Assets and click My Staking. You'll see your total staked amount, locked balance, available rewards, and the list of dApps you've staked on.
:::info Token Unlock at Period End
At the end of each Period, tokens are automatically unstaked from all dApps. They remain locked on your account but must be re-staked for the new Period to keep earning rewards.
:::
Have questions? Join us in the official Astar Discord.