Create an Astar wallet on Fearless
1. What is Fearless Wallet
The DeFi Wallet for the Future.
Fearless Wallet is a mobile wallet designed for the decentralized future of multi-chain ecosystems, with support for iOS and Android platforms, as well as a Chrome browser plugin developed by SORAMITSU. An awesome user experience, fast performance, and secure storage for your accounts.
2. Installing Fearless Wallet Mobile App
The Fearless Wallet app is available as:
A. A Mobile App on:
B. A browser extension on Chrome
In this tutorial we will walk you through the mobile account creation process and the browser extension.
You can also import an account using a passphrase (mnenomic) or JSON file.
1. Create a new wallet
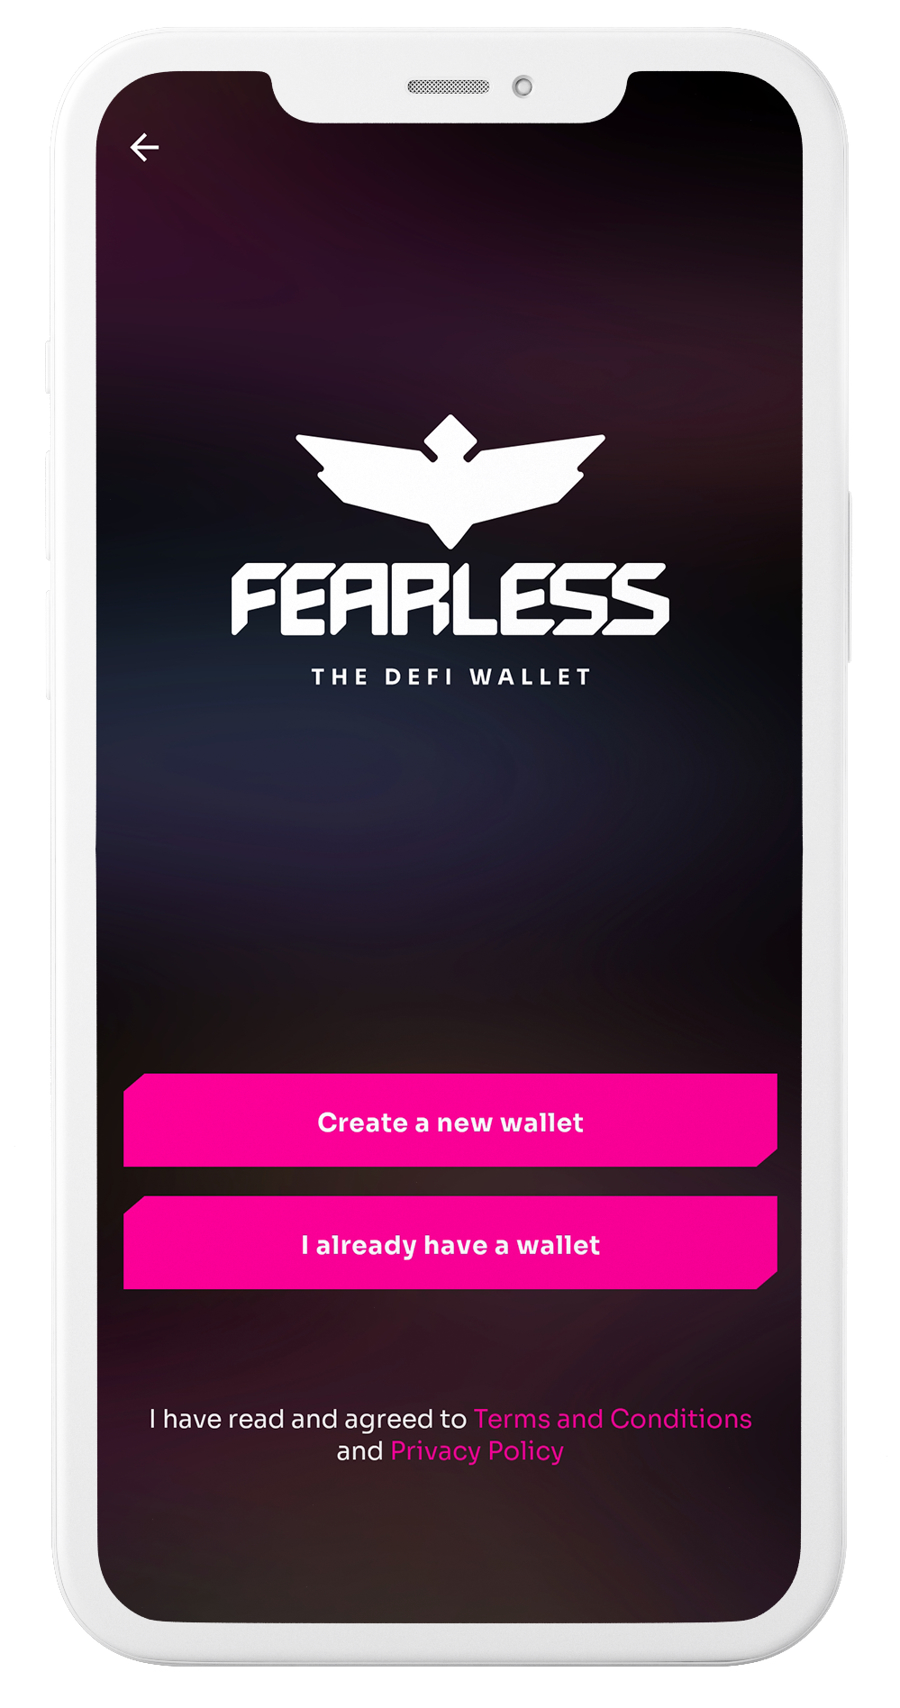
If you don't have a wallet on the Polkadot network yet, tap "Create a new wallet" on the initial screen. If you already have a wallet you'd like to use with Fearless, tap "I already have a wallet":
If you're creating a new wallet, you'll be prompted to choose a name for your wallet, you can enter any you like, this name will be used to distinguish your wallet from others on your device. Once you've entered the name you want, the app will generate a 12-word recovery phrase.
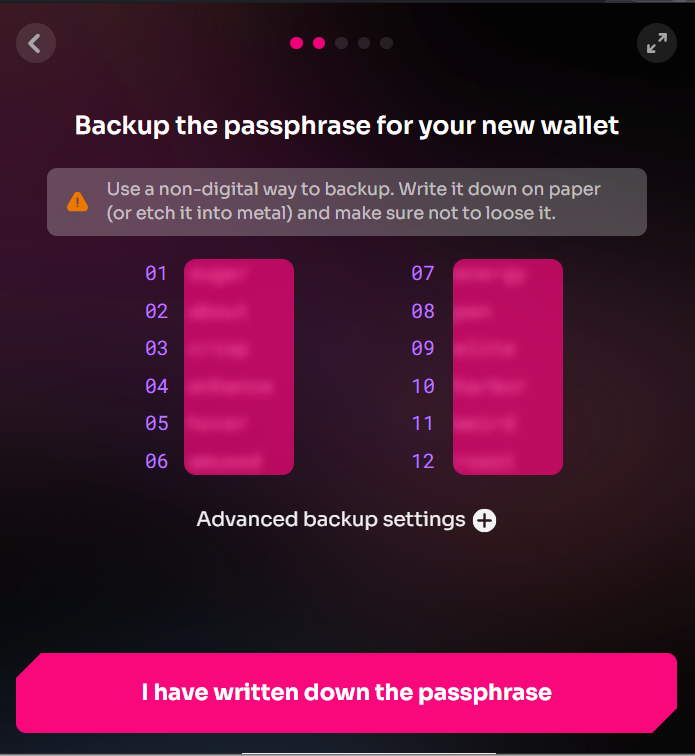
Right after that, you'll need to confirm your mnemonic passphrase by clicking on each word in the correct order:
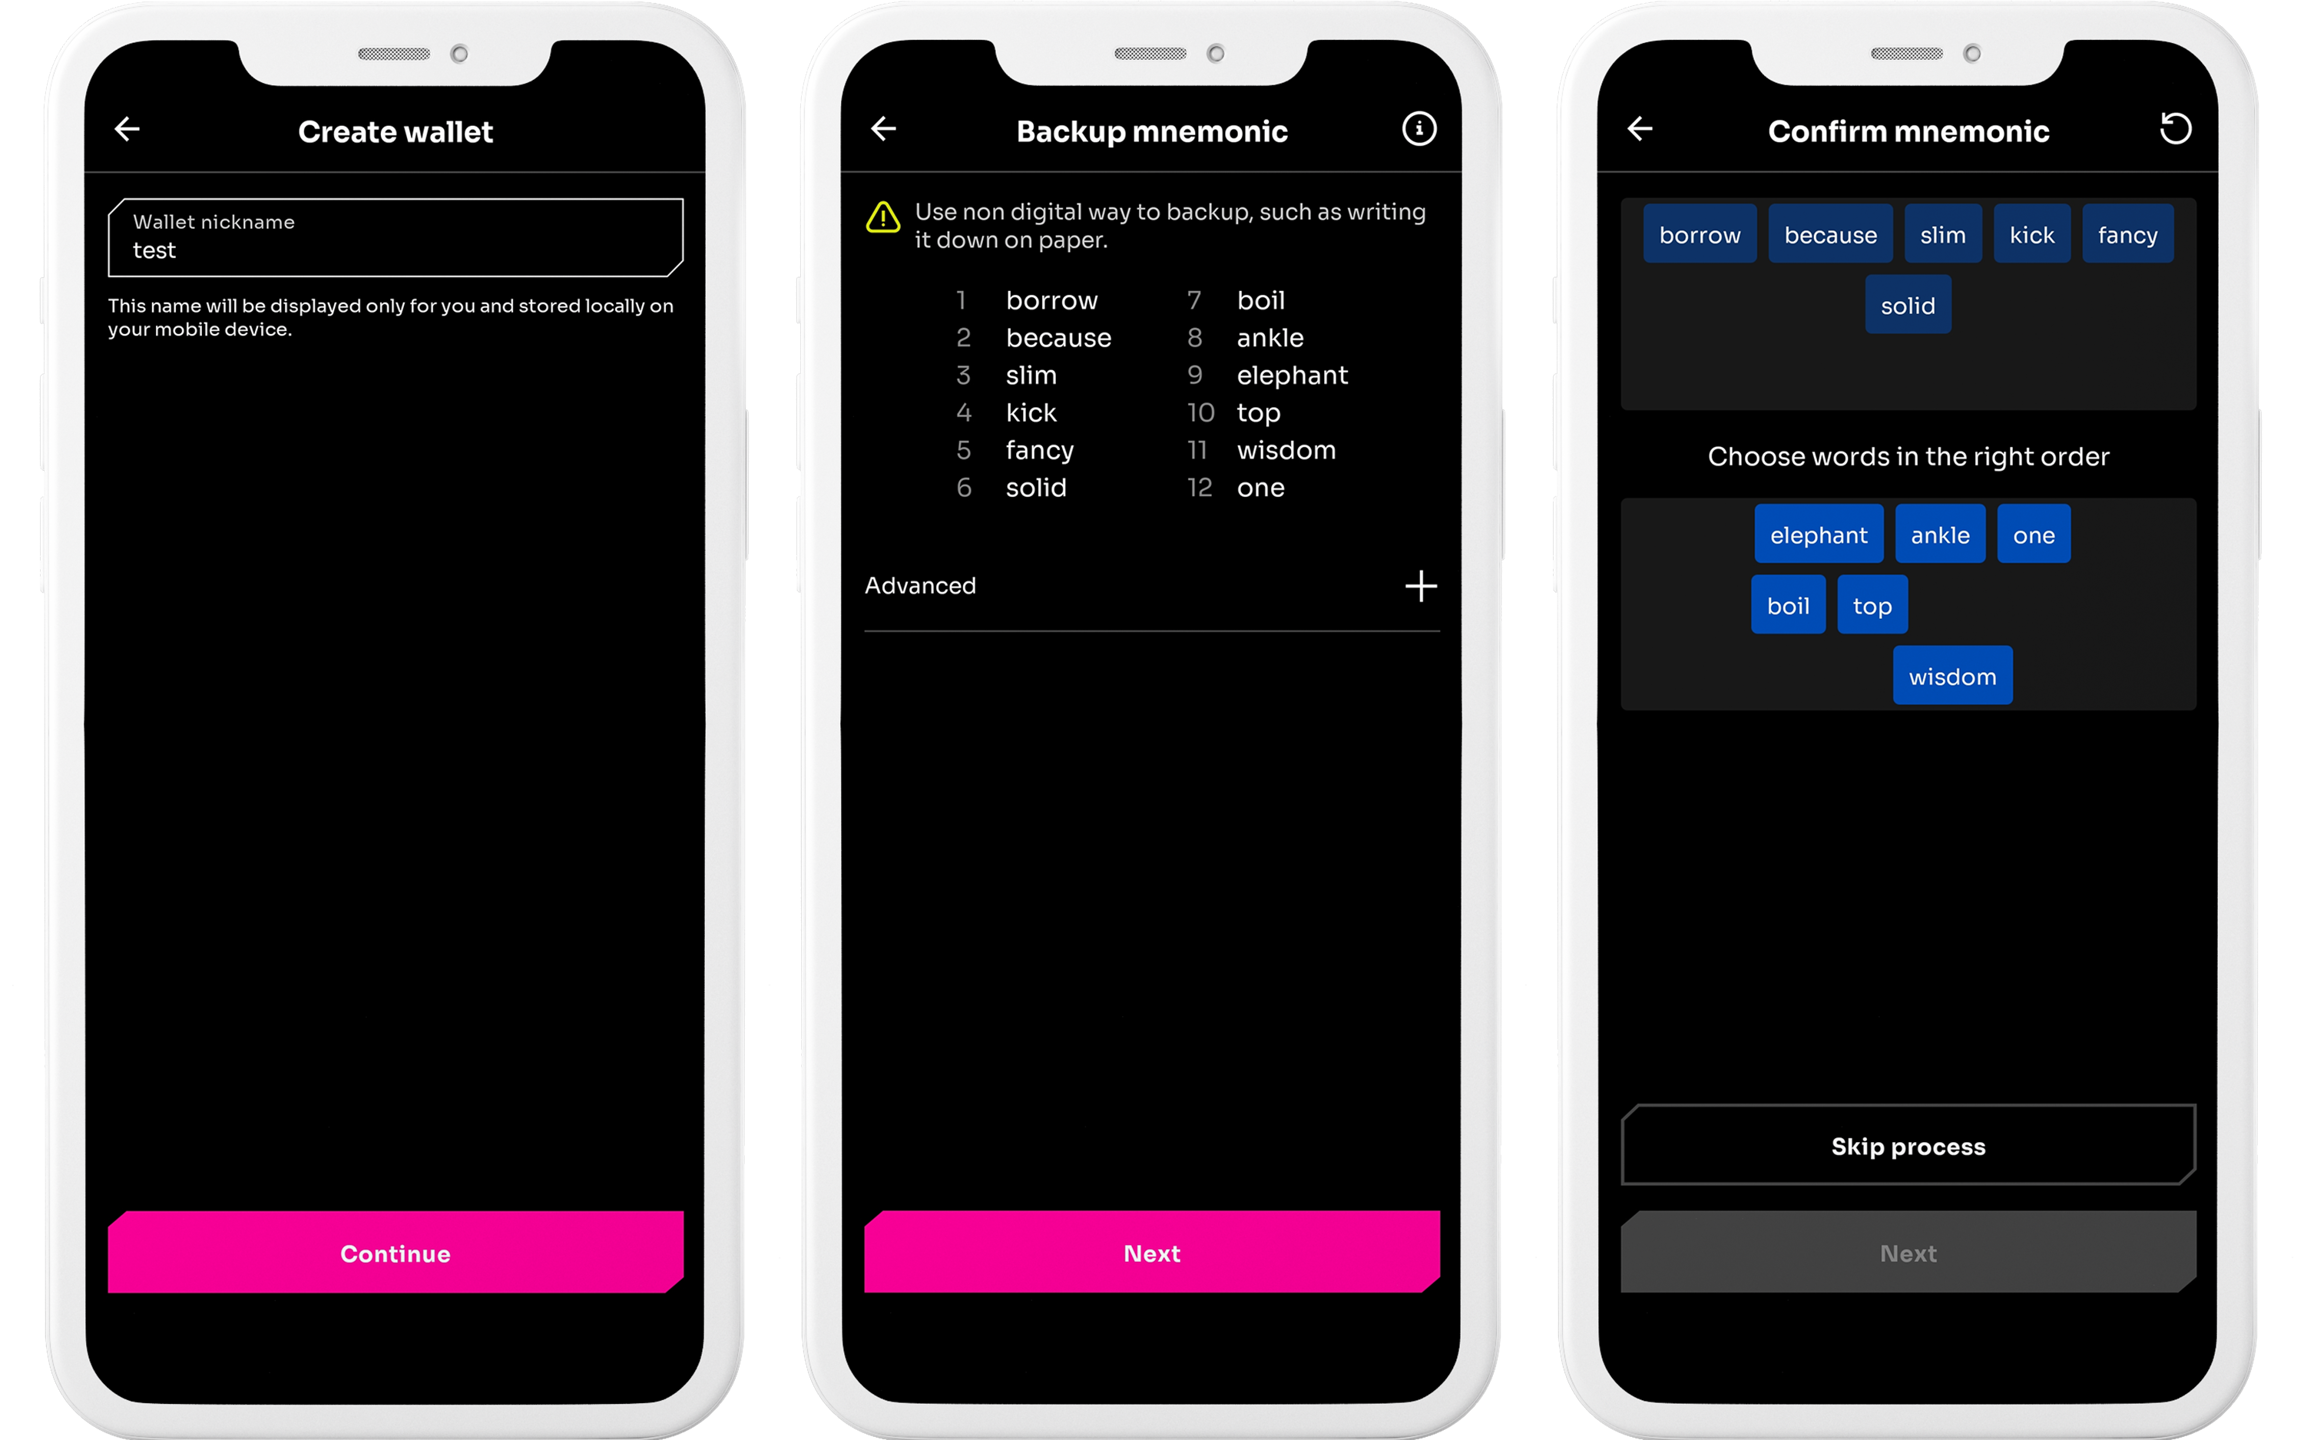
Write down this phrase and store it in a safe place, as it can be used to restore your wallet if you ever lose access to it. If you lose this phrase, you won't be able to recover your wallet. Don't share this phrase with anyone.
If you’re an advanced user and would like to have a custom derivation path for your wallet, click on “Advanced” and paste your derivation path.
2. Import an existing wallet
If you're importing an existing wallet, you'll be prompted to enter your mnemonic phrase, Raw seed or JSON file. Make sure to enter this information accurately to ensure that your wallet is imported correctly:
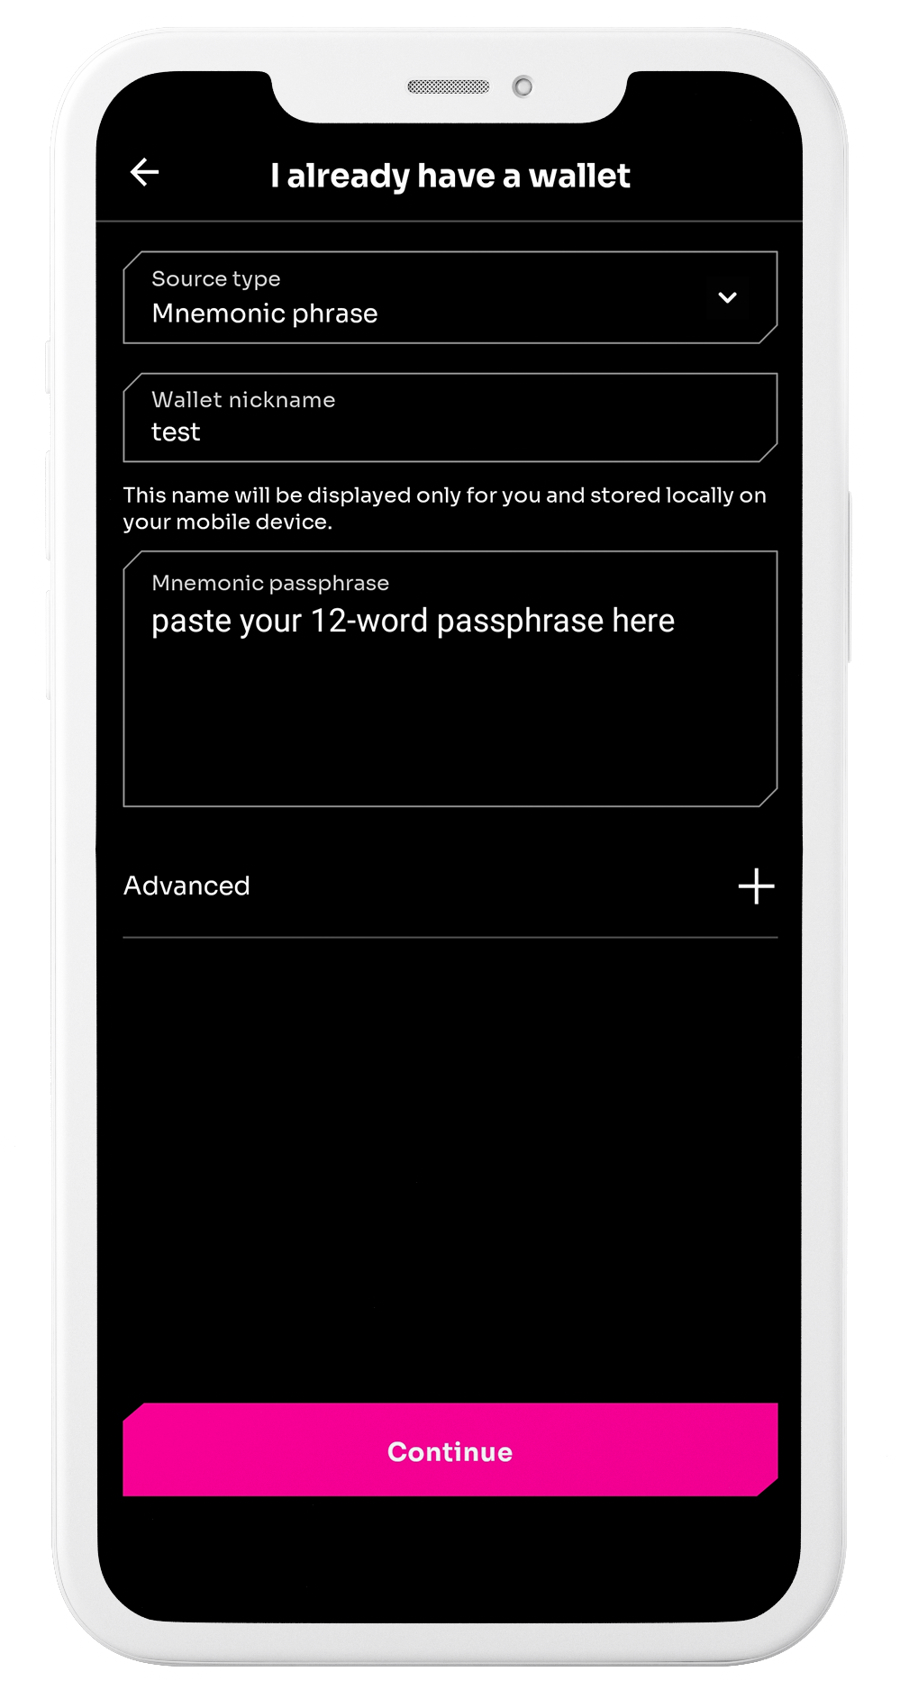
If you have a custom derivation path for your wallet, click on “Advanced” and paste it there.
Once your wallet has been created or imported, you'll be able to view your balances, send and receive crypto, as well as make cross-chain transfers.
3. Installing Fearless Wallet Browser Extension
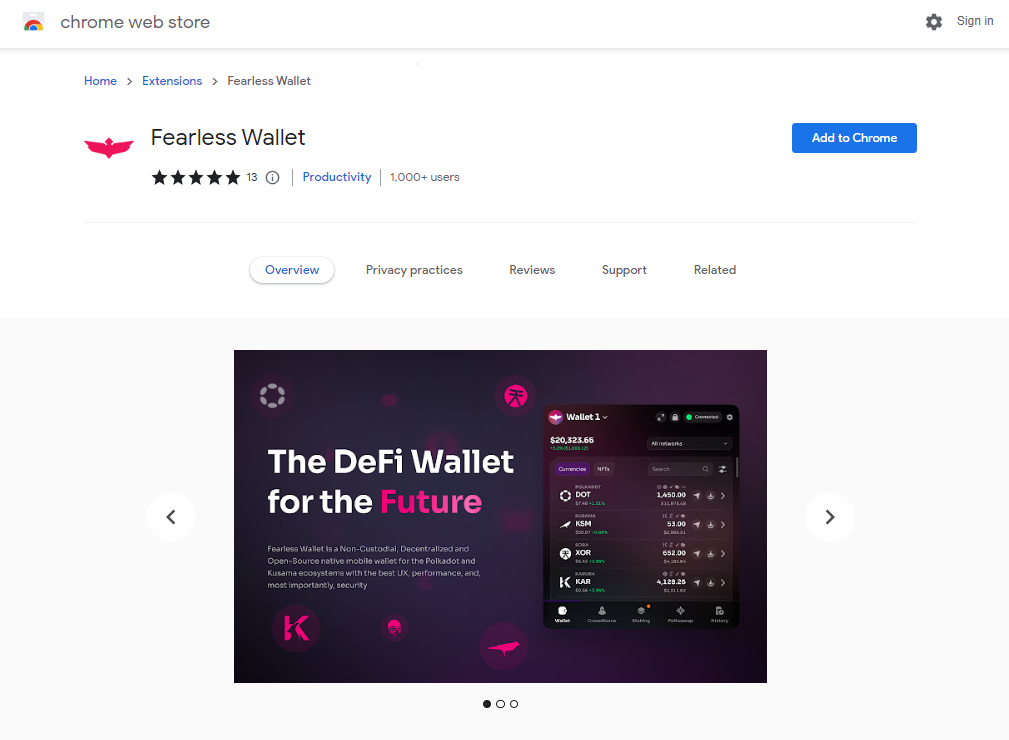
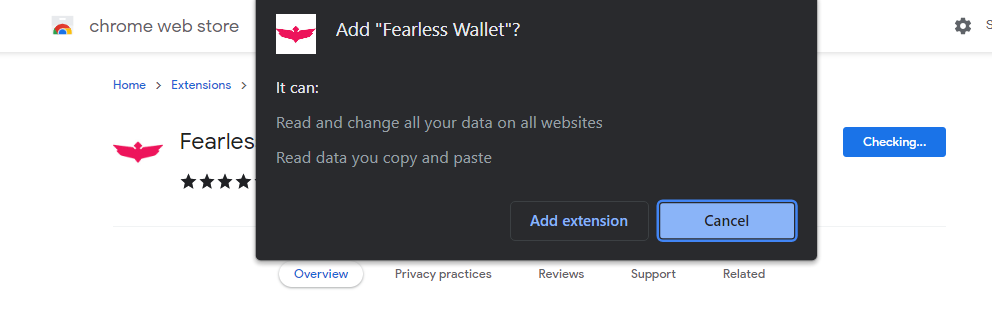
Navigate to this page and click on "Add to Chrome".
In the pop-up window, click "Add Extension" to confirm the installation of the Fearless Wallet browser extension.
1. Creating/Importing Your Account
Click on the Fearless Wallet icon in the upper right corner. Decide whether you need to Create a new wallet or Import the existing account and click on the corresponding button.
2. Creating a Wallet
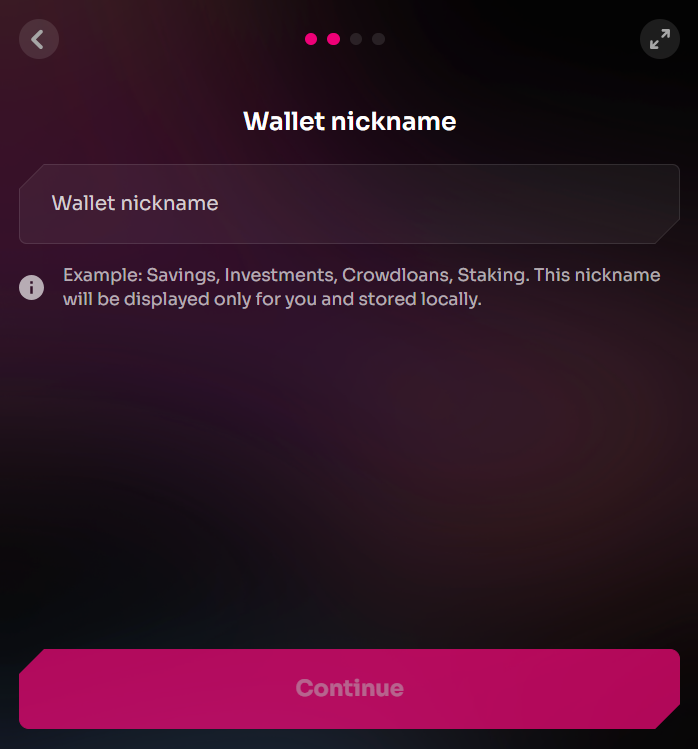
If you're creating a new wallet, start by giving it a unique nickname.

Then, backup the mnemonic passphrase for your new wallet (make sure to save it in a safe place and never share it with anyone).
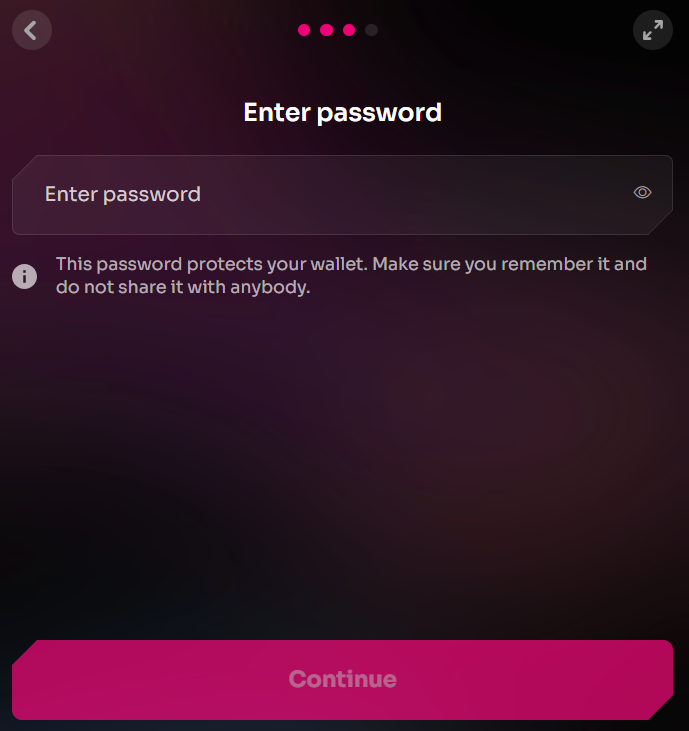
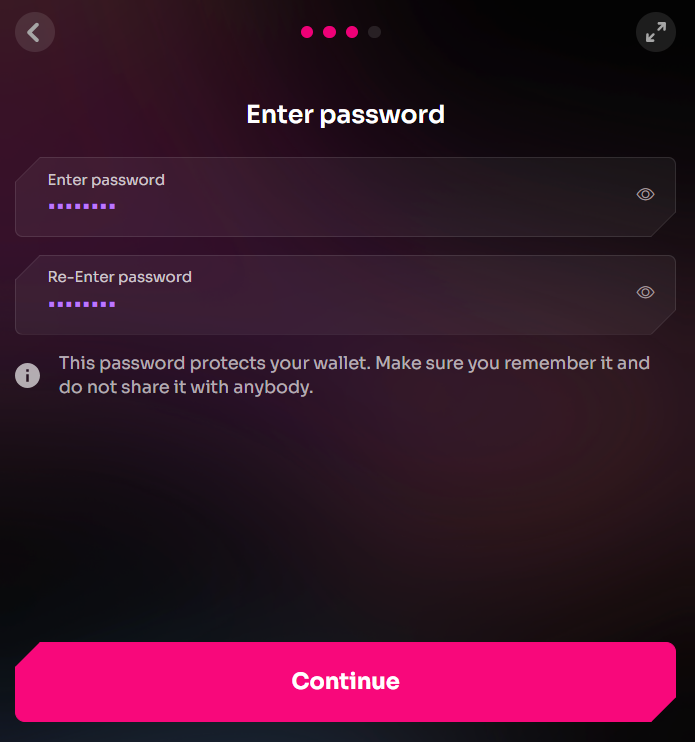
Select and enter a password for your newly-created account.

3. Importing a Wallet
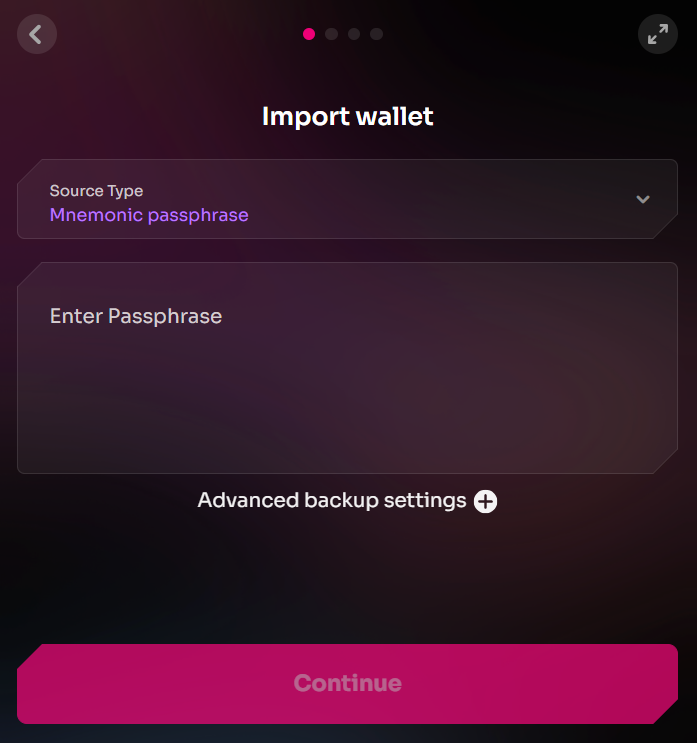
In case you already have a wallet, you can import it by clicking on the corresponding button.

Select the Source type for your private key and then paste it into the field below. In our case it's going to be mnemonic passphrase.
Give your wallet a nickname.
And finally, assign it a password.
Then enter it again and click Continue to confirm.
That's it, you can use Fearless Wallet to manage your Astar Assets.
4. Interacting with Astar
1. Managing your Astar Tokens
You can use Fearless Wallet to manage your ASTR on Acala, Astar, Pendulum and SORA. From the main wallet interface, navigate to the Manage Assets button.

Locate the ASTR token from the list and activate the networks you have assets on.
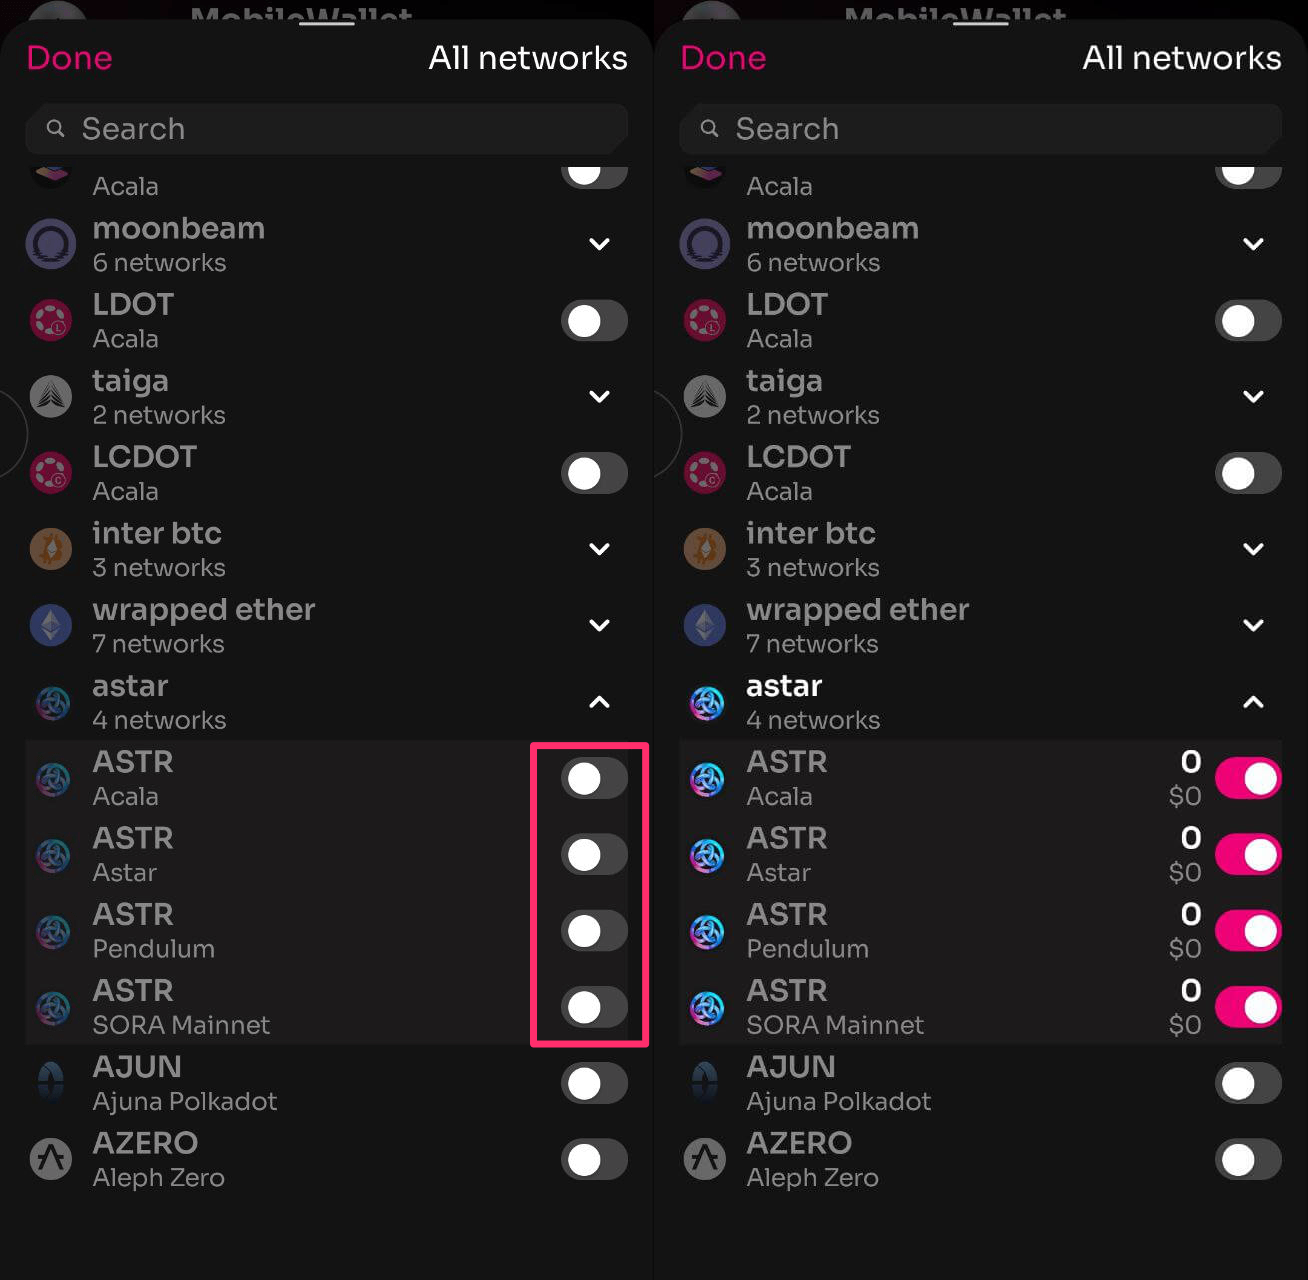
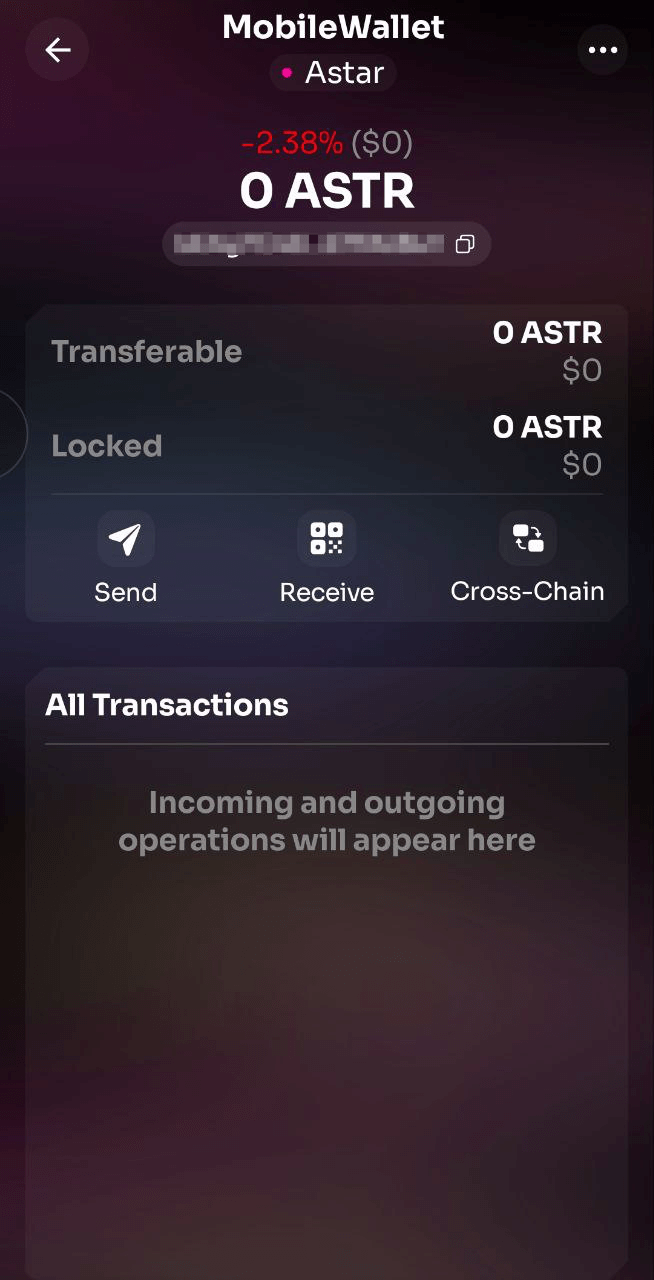
This will show the ASTR asset in your main wallet view. From there tap on ASTR to manage your asset. Here you can send and receive (display your wallet QR) tokens, or perform cross-chain transfers.
Visit the Fearless Wallet Wiki for more information on the features available.