Transfer from Astar to Soneium
1. Overview
In this guide, you’ll learn how to transfer ASTR tokens from Astar Network to Soneium (L2) using the bridge on the Astar Portal and the Subwallet and Zerion wallets. To complete this tutorial, you’ll need:
- A wallet that supports the Substrate format (we’ll use Subwallet)
- A wallet that supports the EVM format (we’ll use Zerion)
- ASTR tokens in your Substrate wallet on Astar L1
To set up your wallet on Astar Network, follow → this guide, and use → this one for Soneium.
To acquire ASTR tokens through a DEX or CEX, follow this guides in our documentation.
This guide assumes you already:
- Have both wallets set up.
- Hold ASTR tokens in your Substrate wallet on Astar.
- You have a bit of extra ASTR tokens for the fees.
We’ll now walk through the full transfer process step by step.
2. Guide to Transfer ASTR from Astar to Soneium
Step 1: Access the Astar Portal
Go to our Astar Portal, the site where you can manage your funds and accounts within Astar Network.

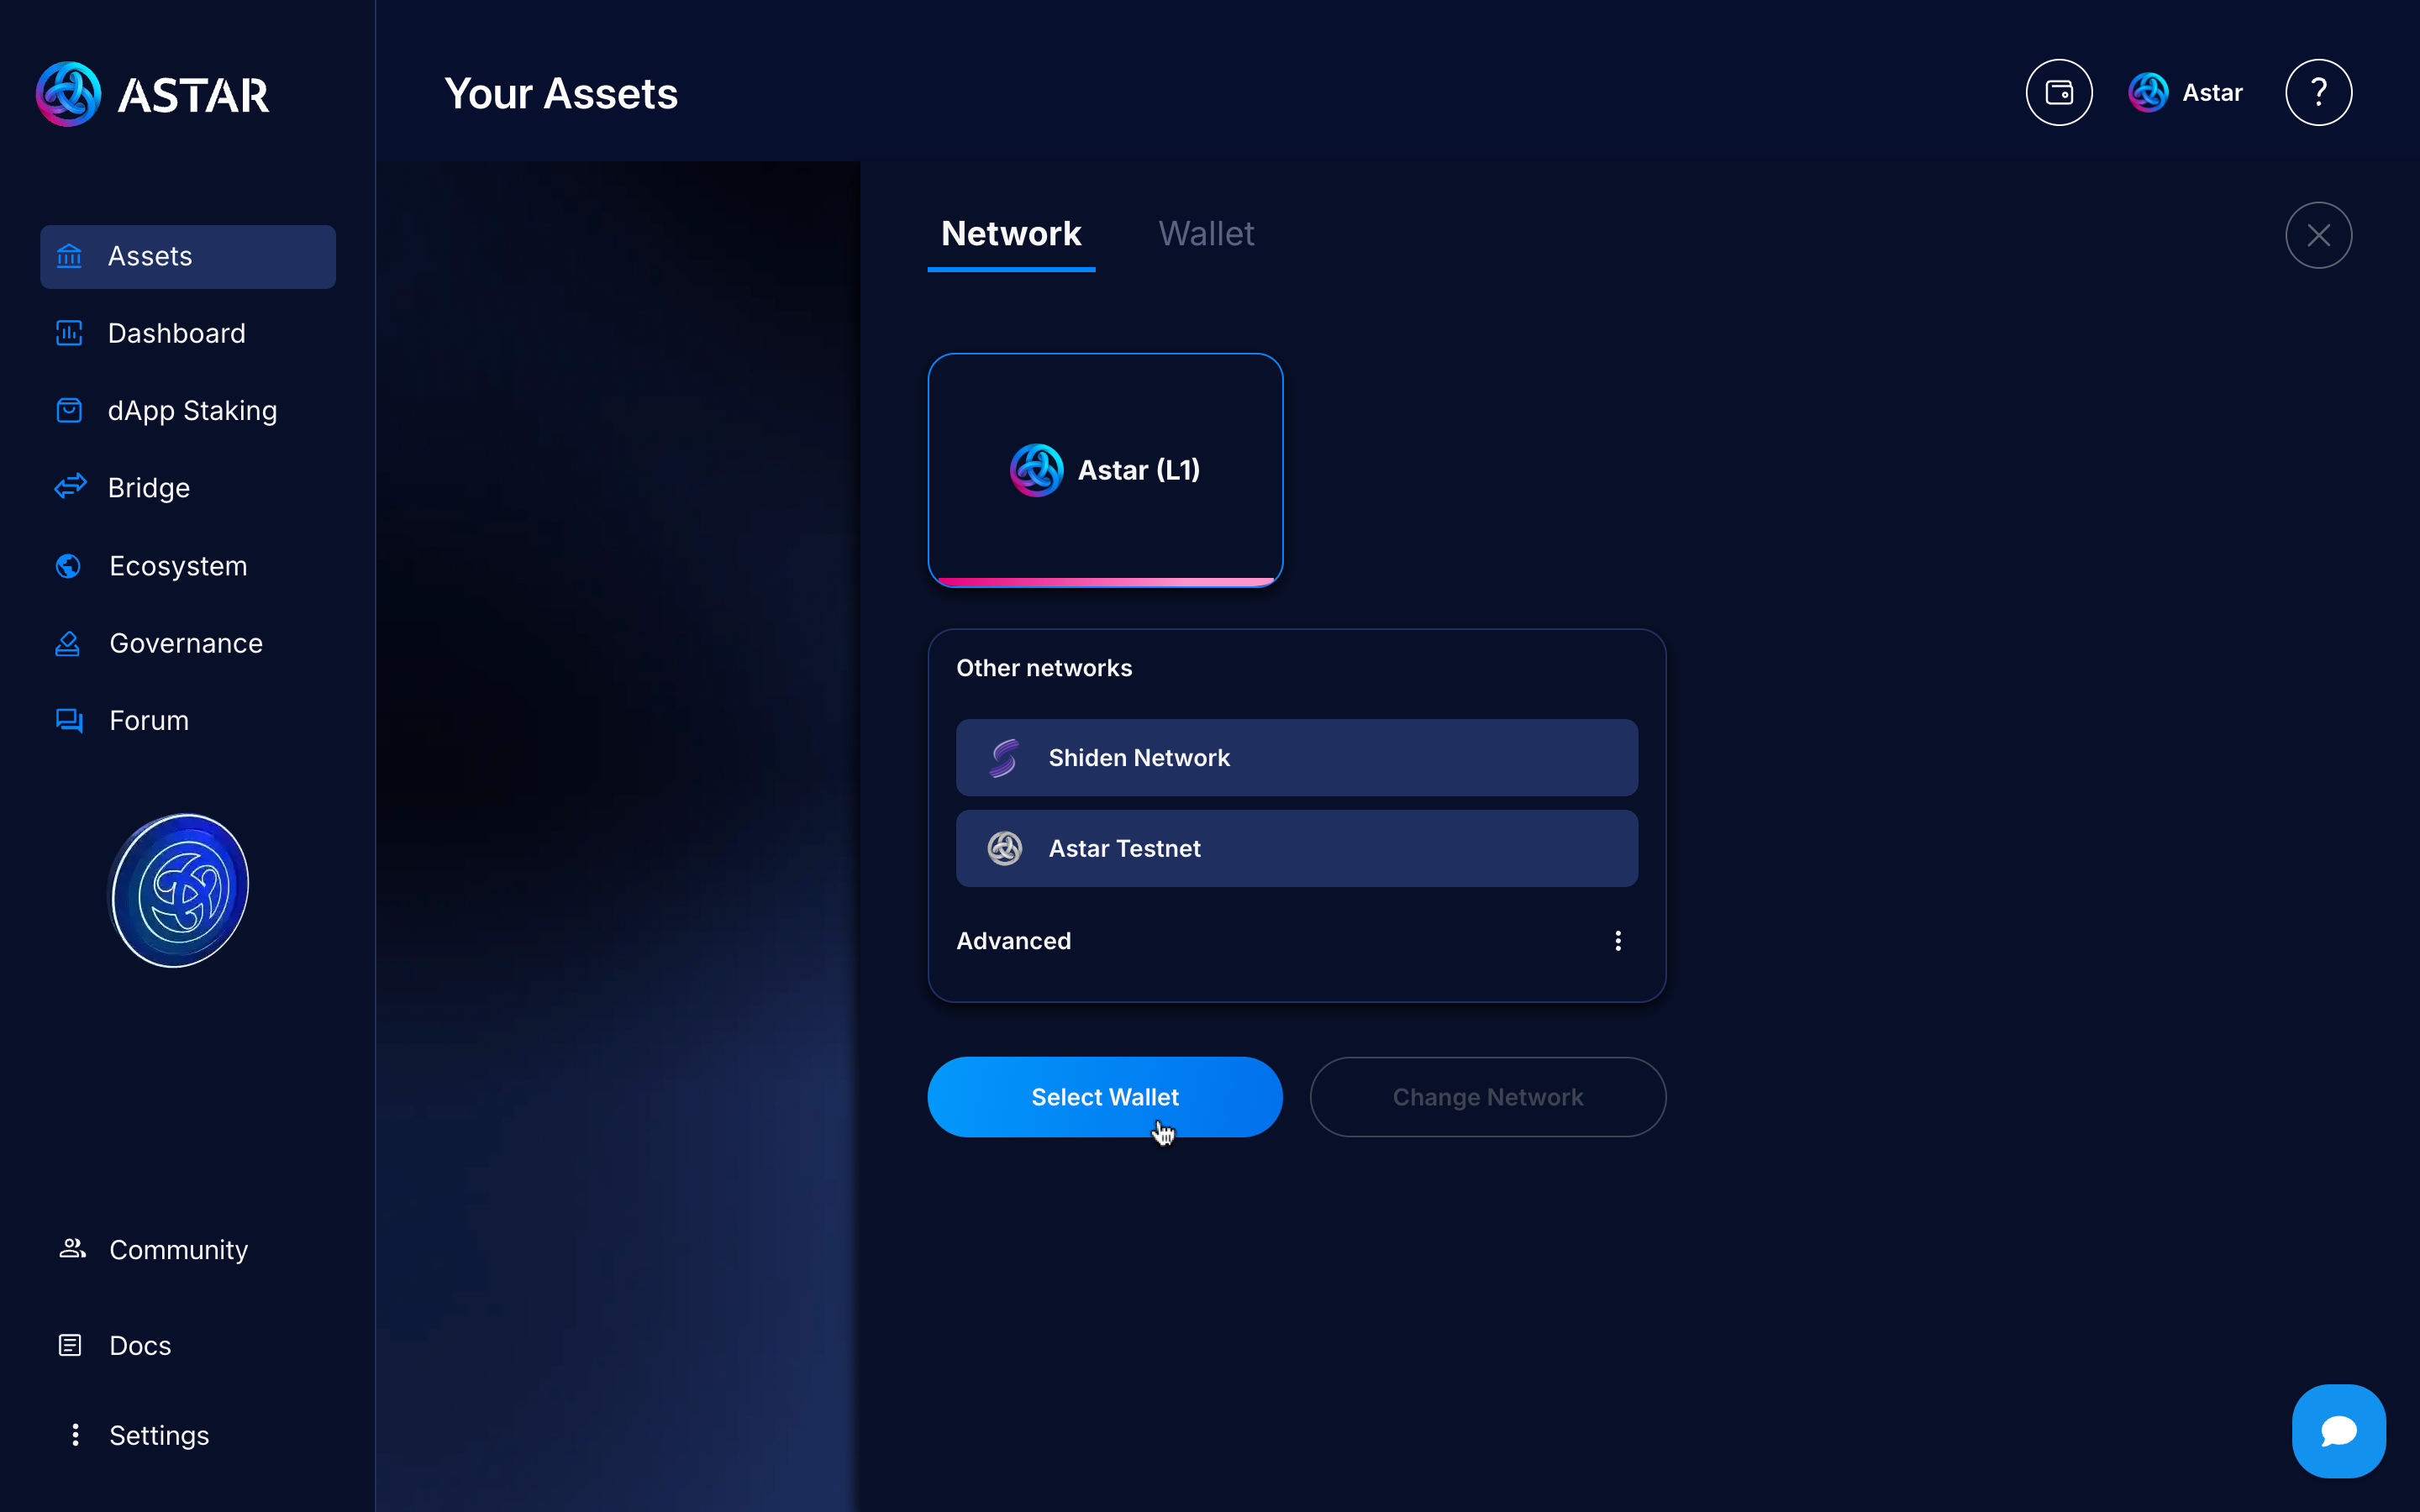
Select the network, in this case, Astar (L1).

Step 2: Connect to Substrate
Click on Select wallet.
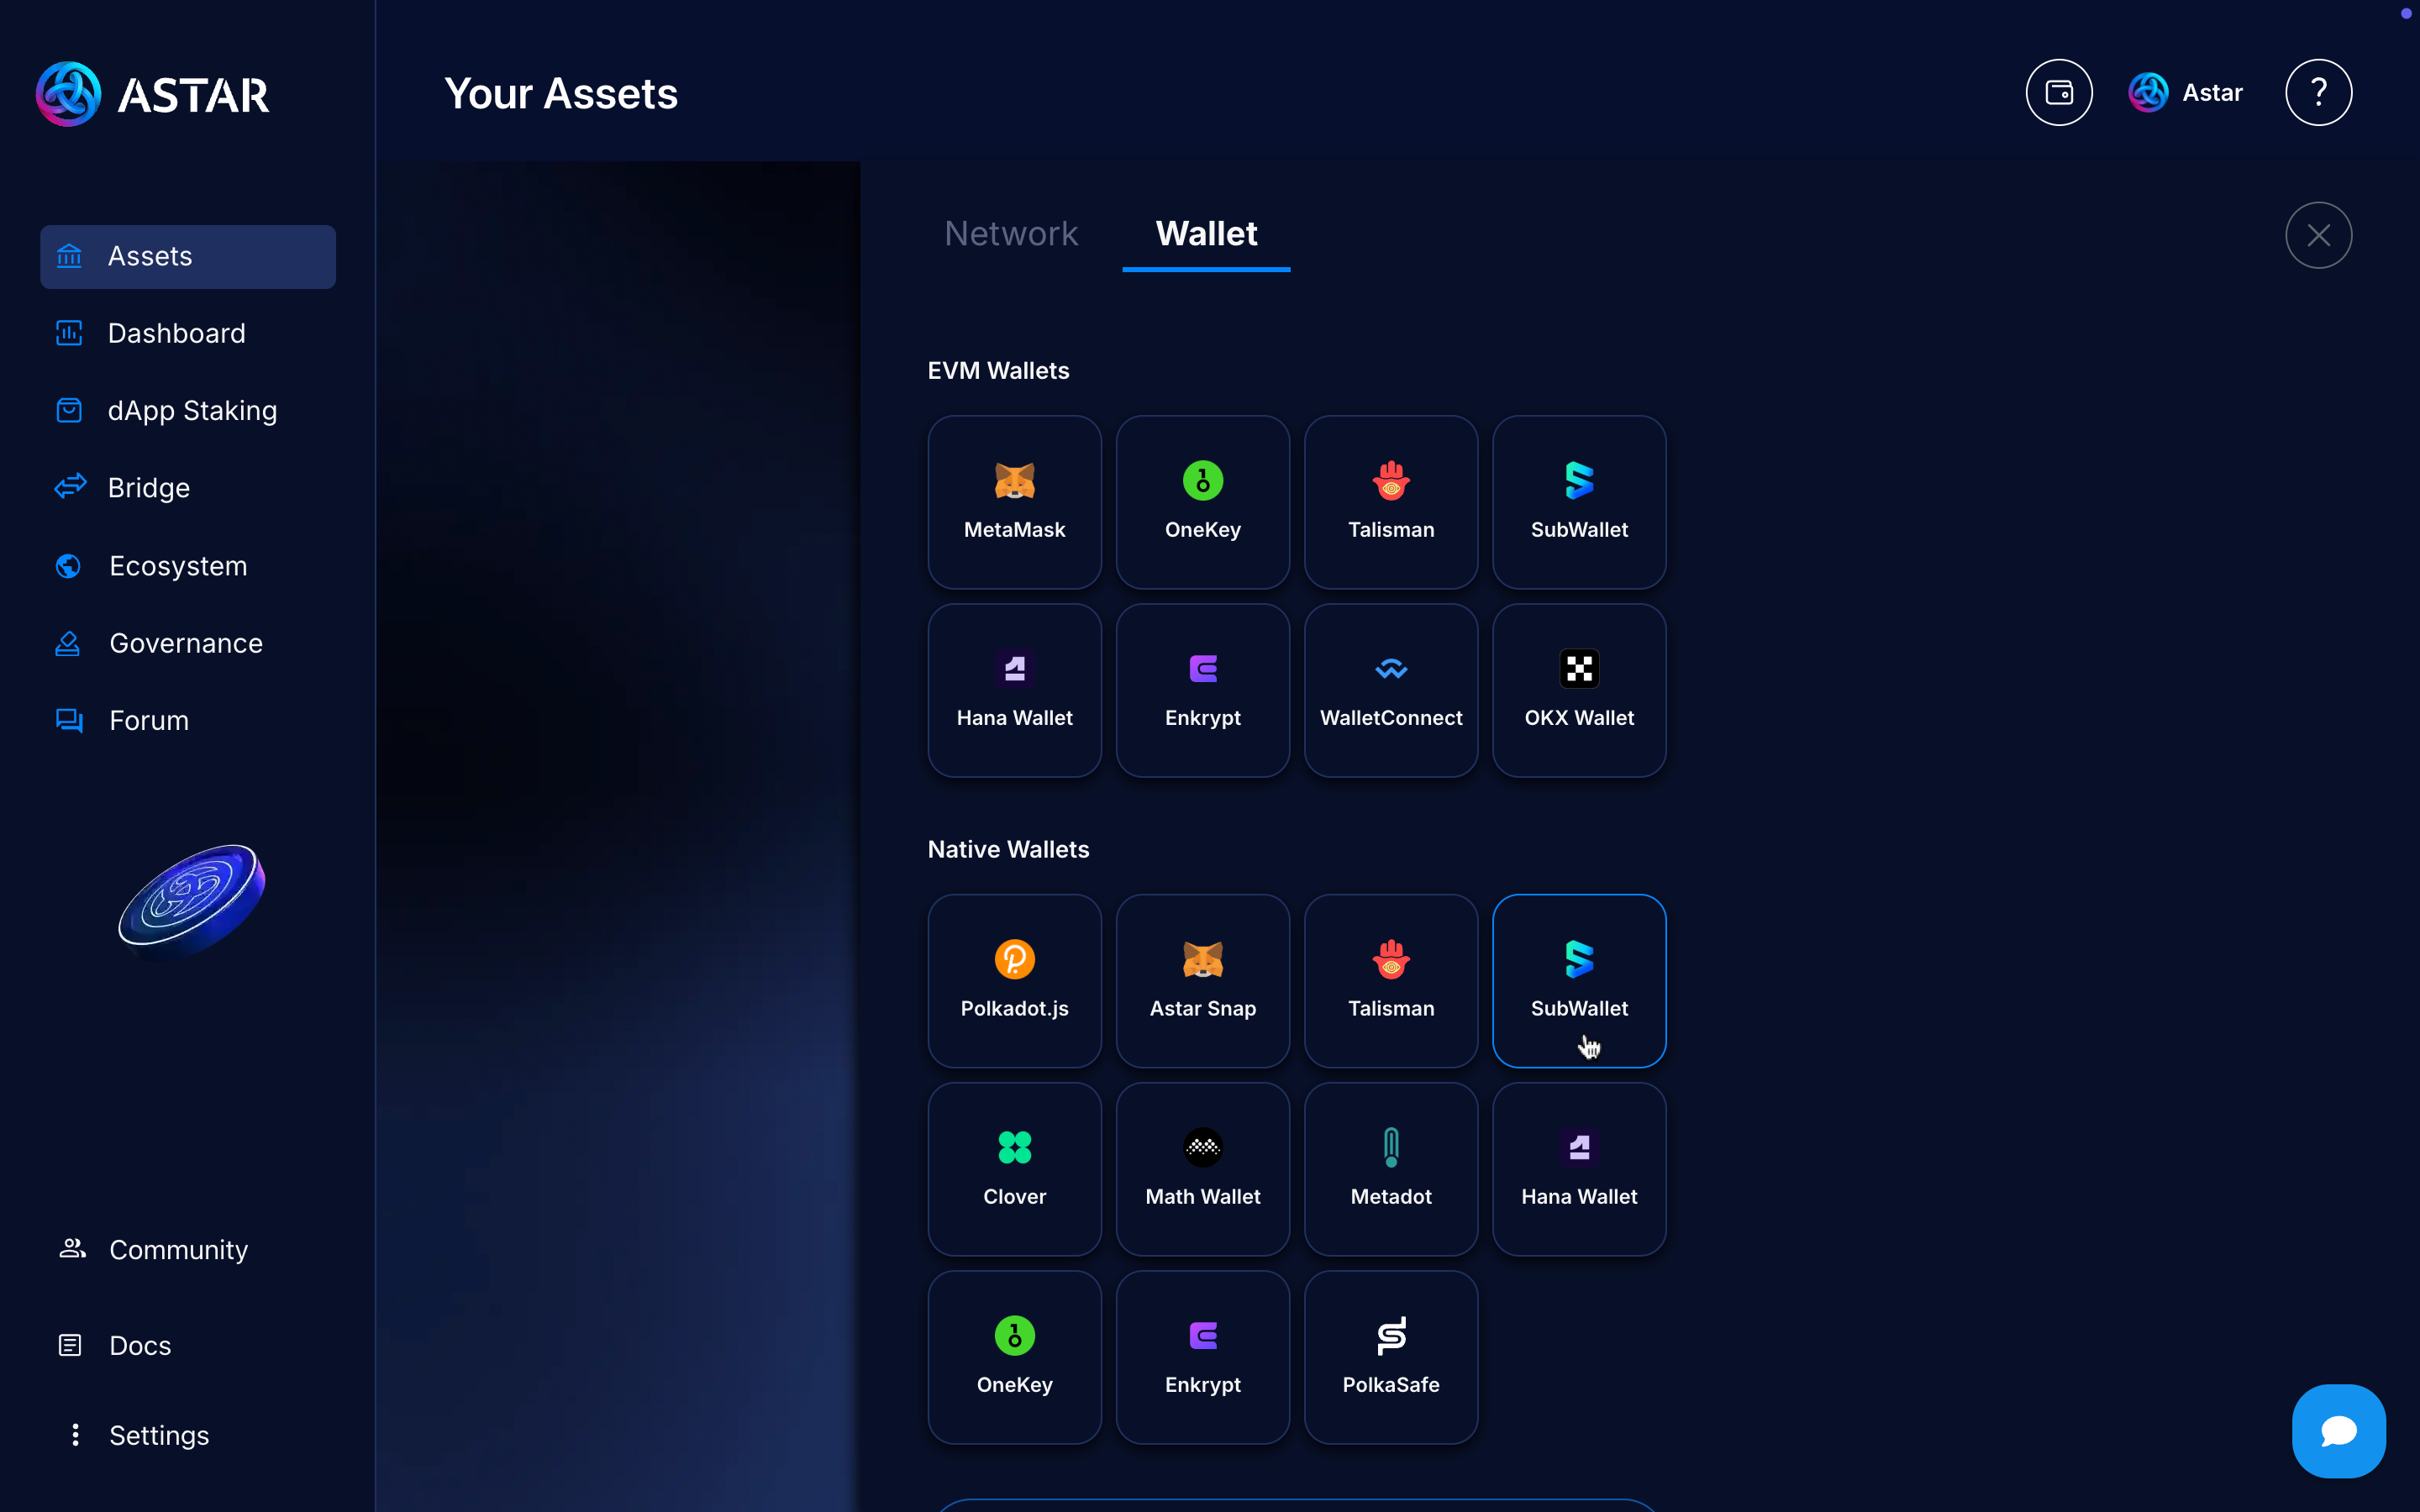
Choose the wallet you use, in this case, it will be Subwallet, so we’ll click on Subwallet logo to open the modal and connect it.
Step 3: Go to Send section
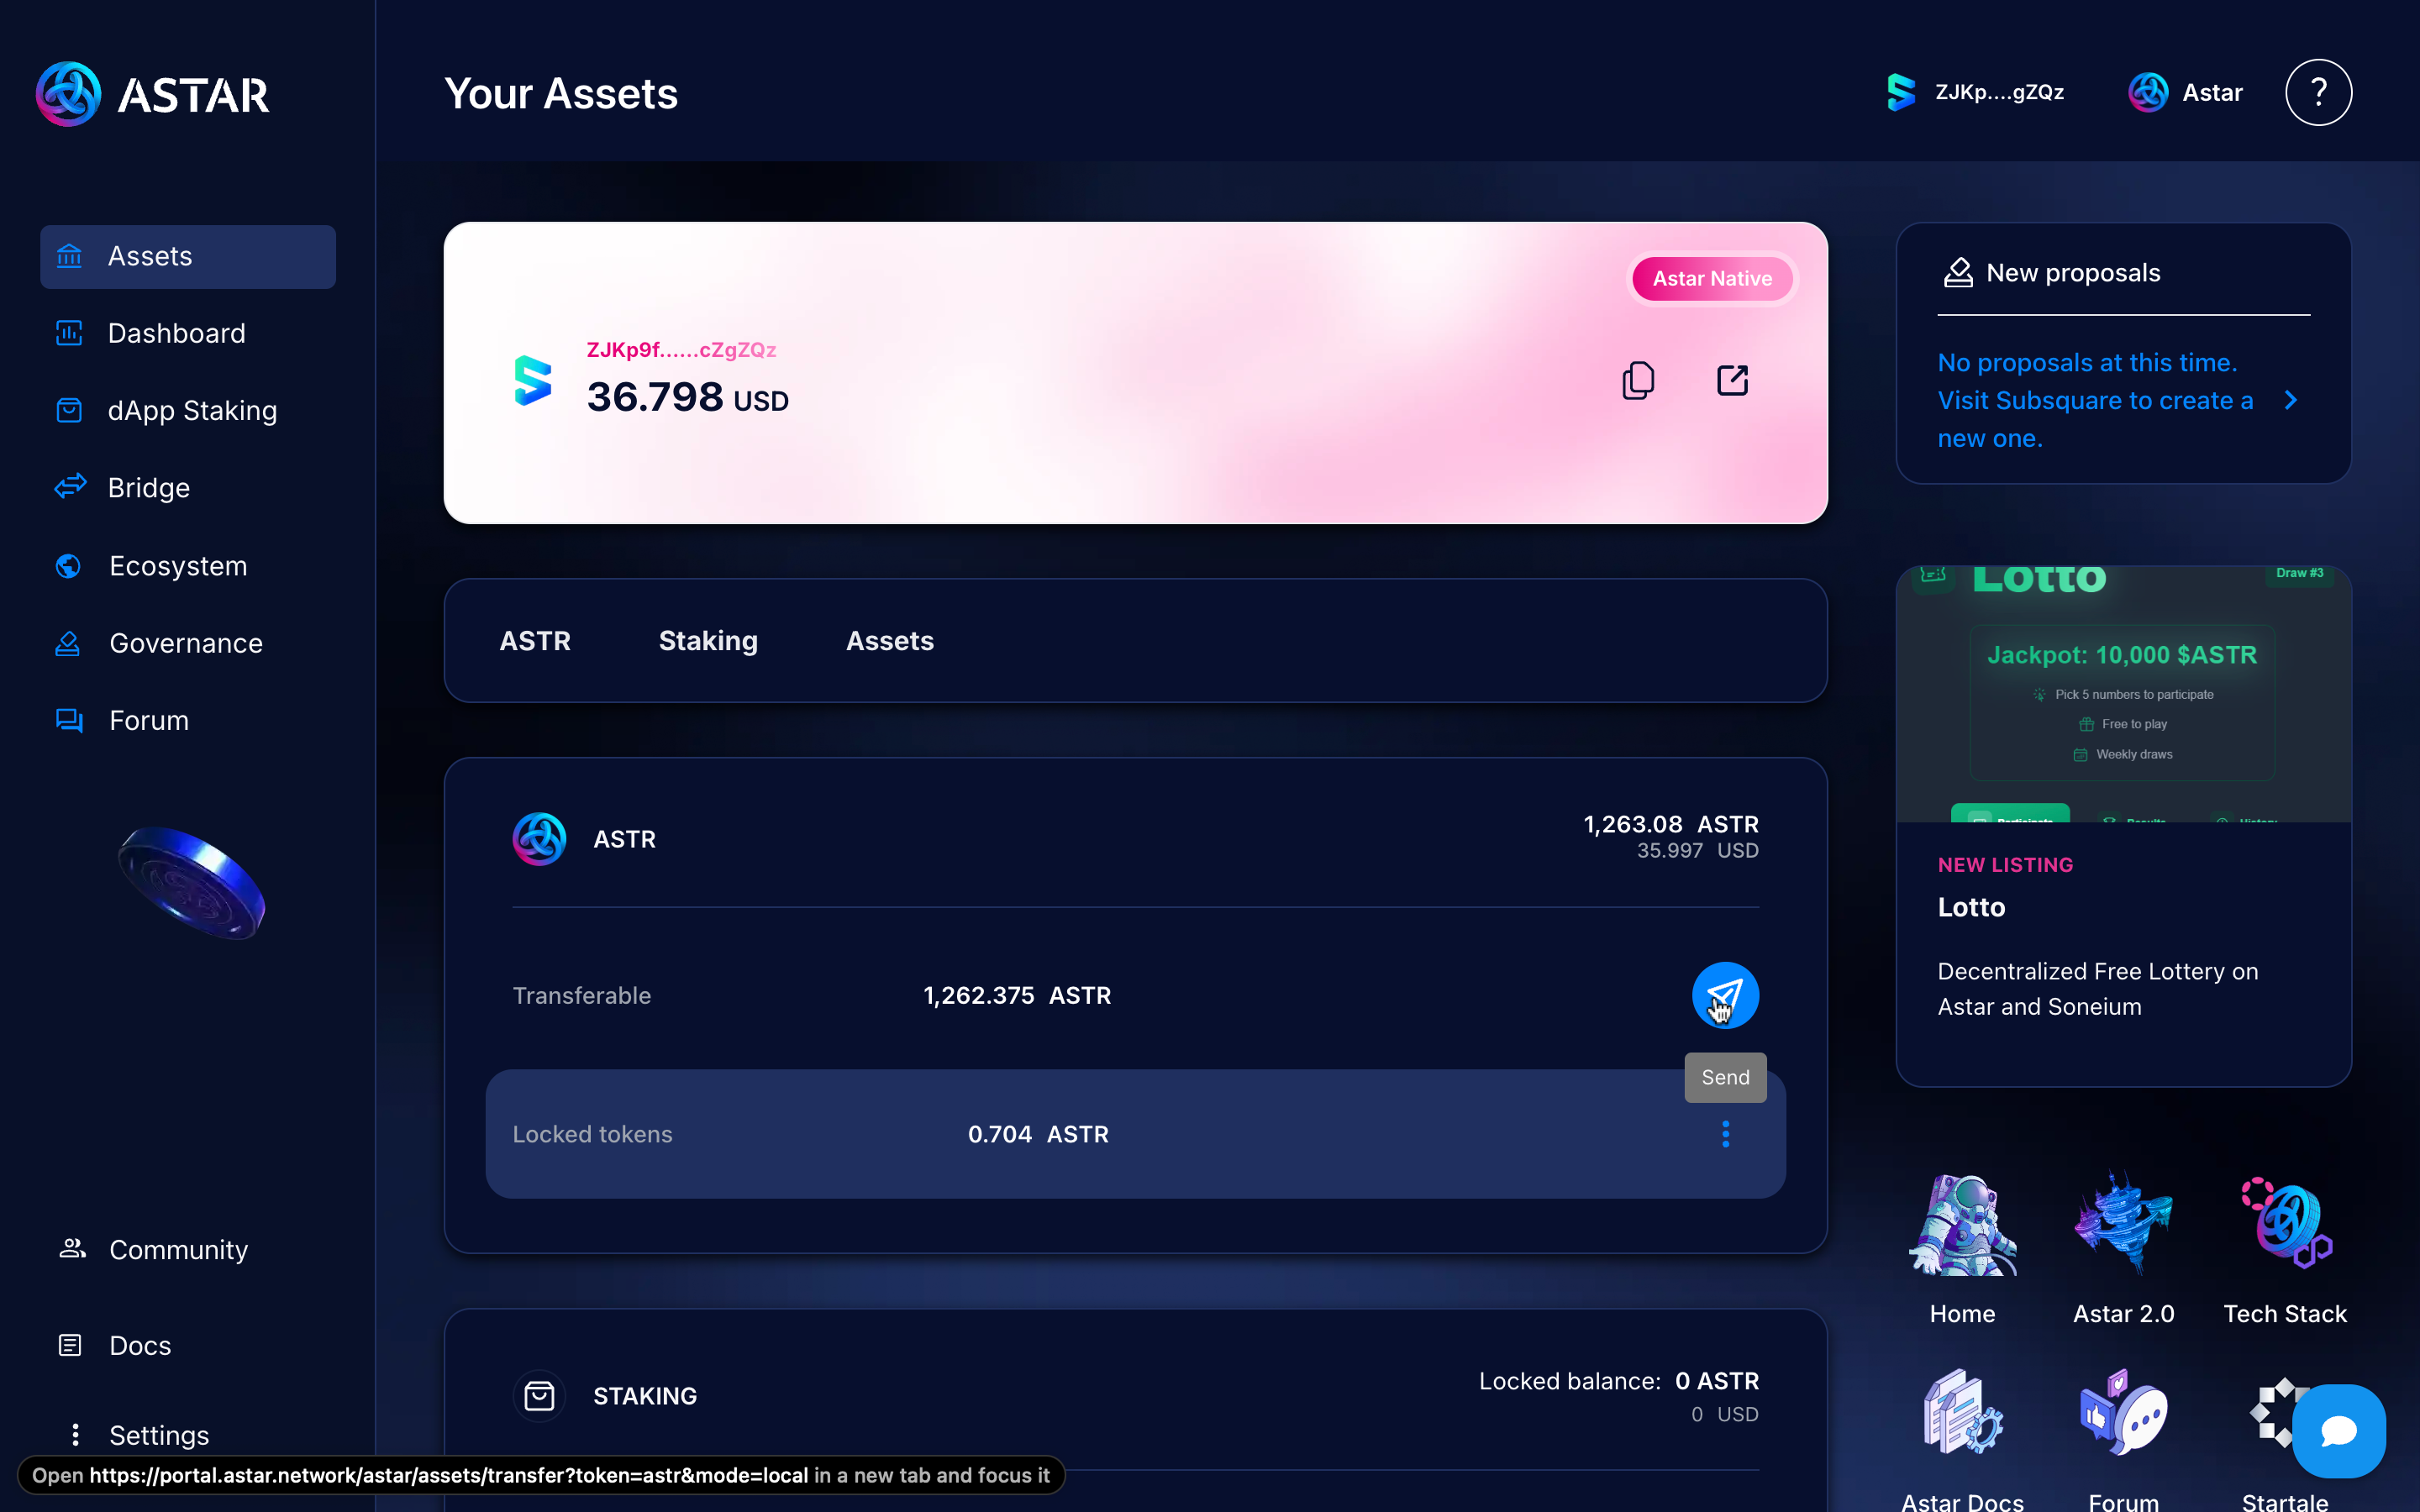
Once you’re connected, you’ll see a panel showing your balances and connected account. Now we need to send your funds to the Astar EVM version.
Click the Send button.
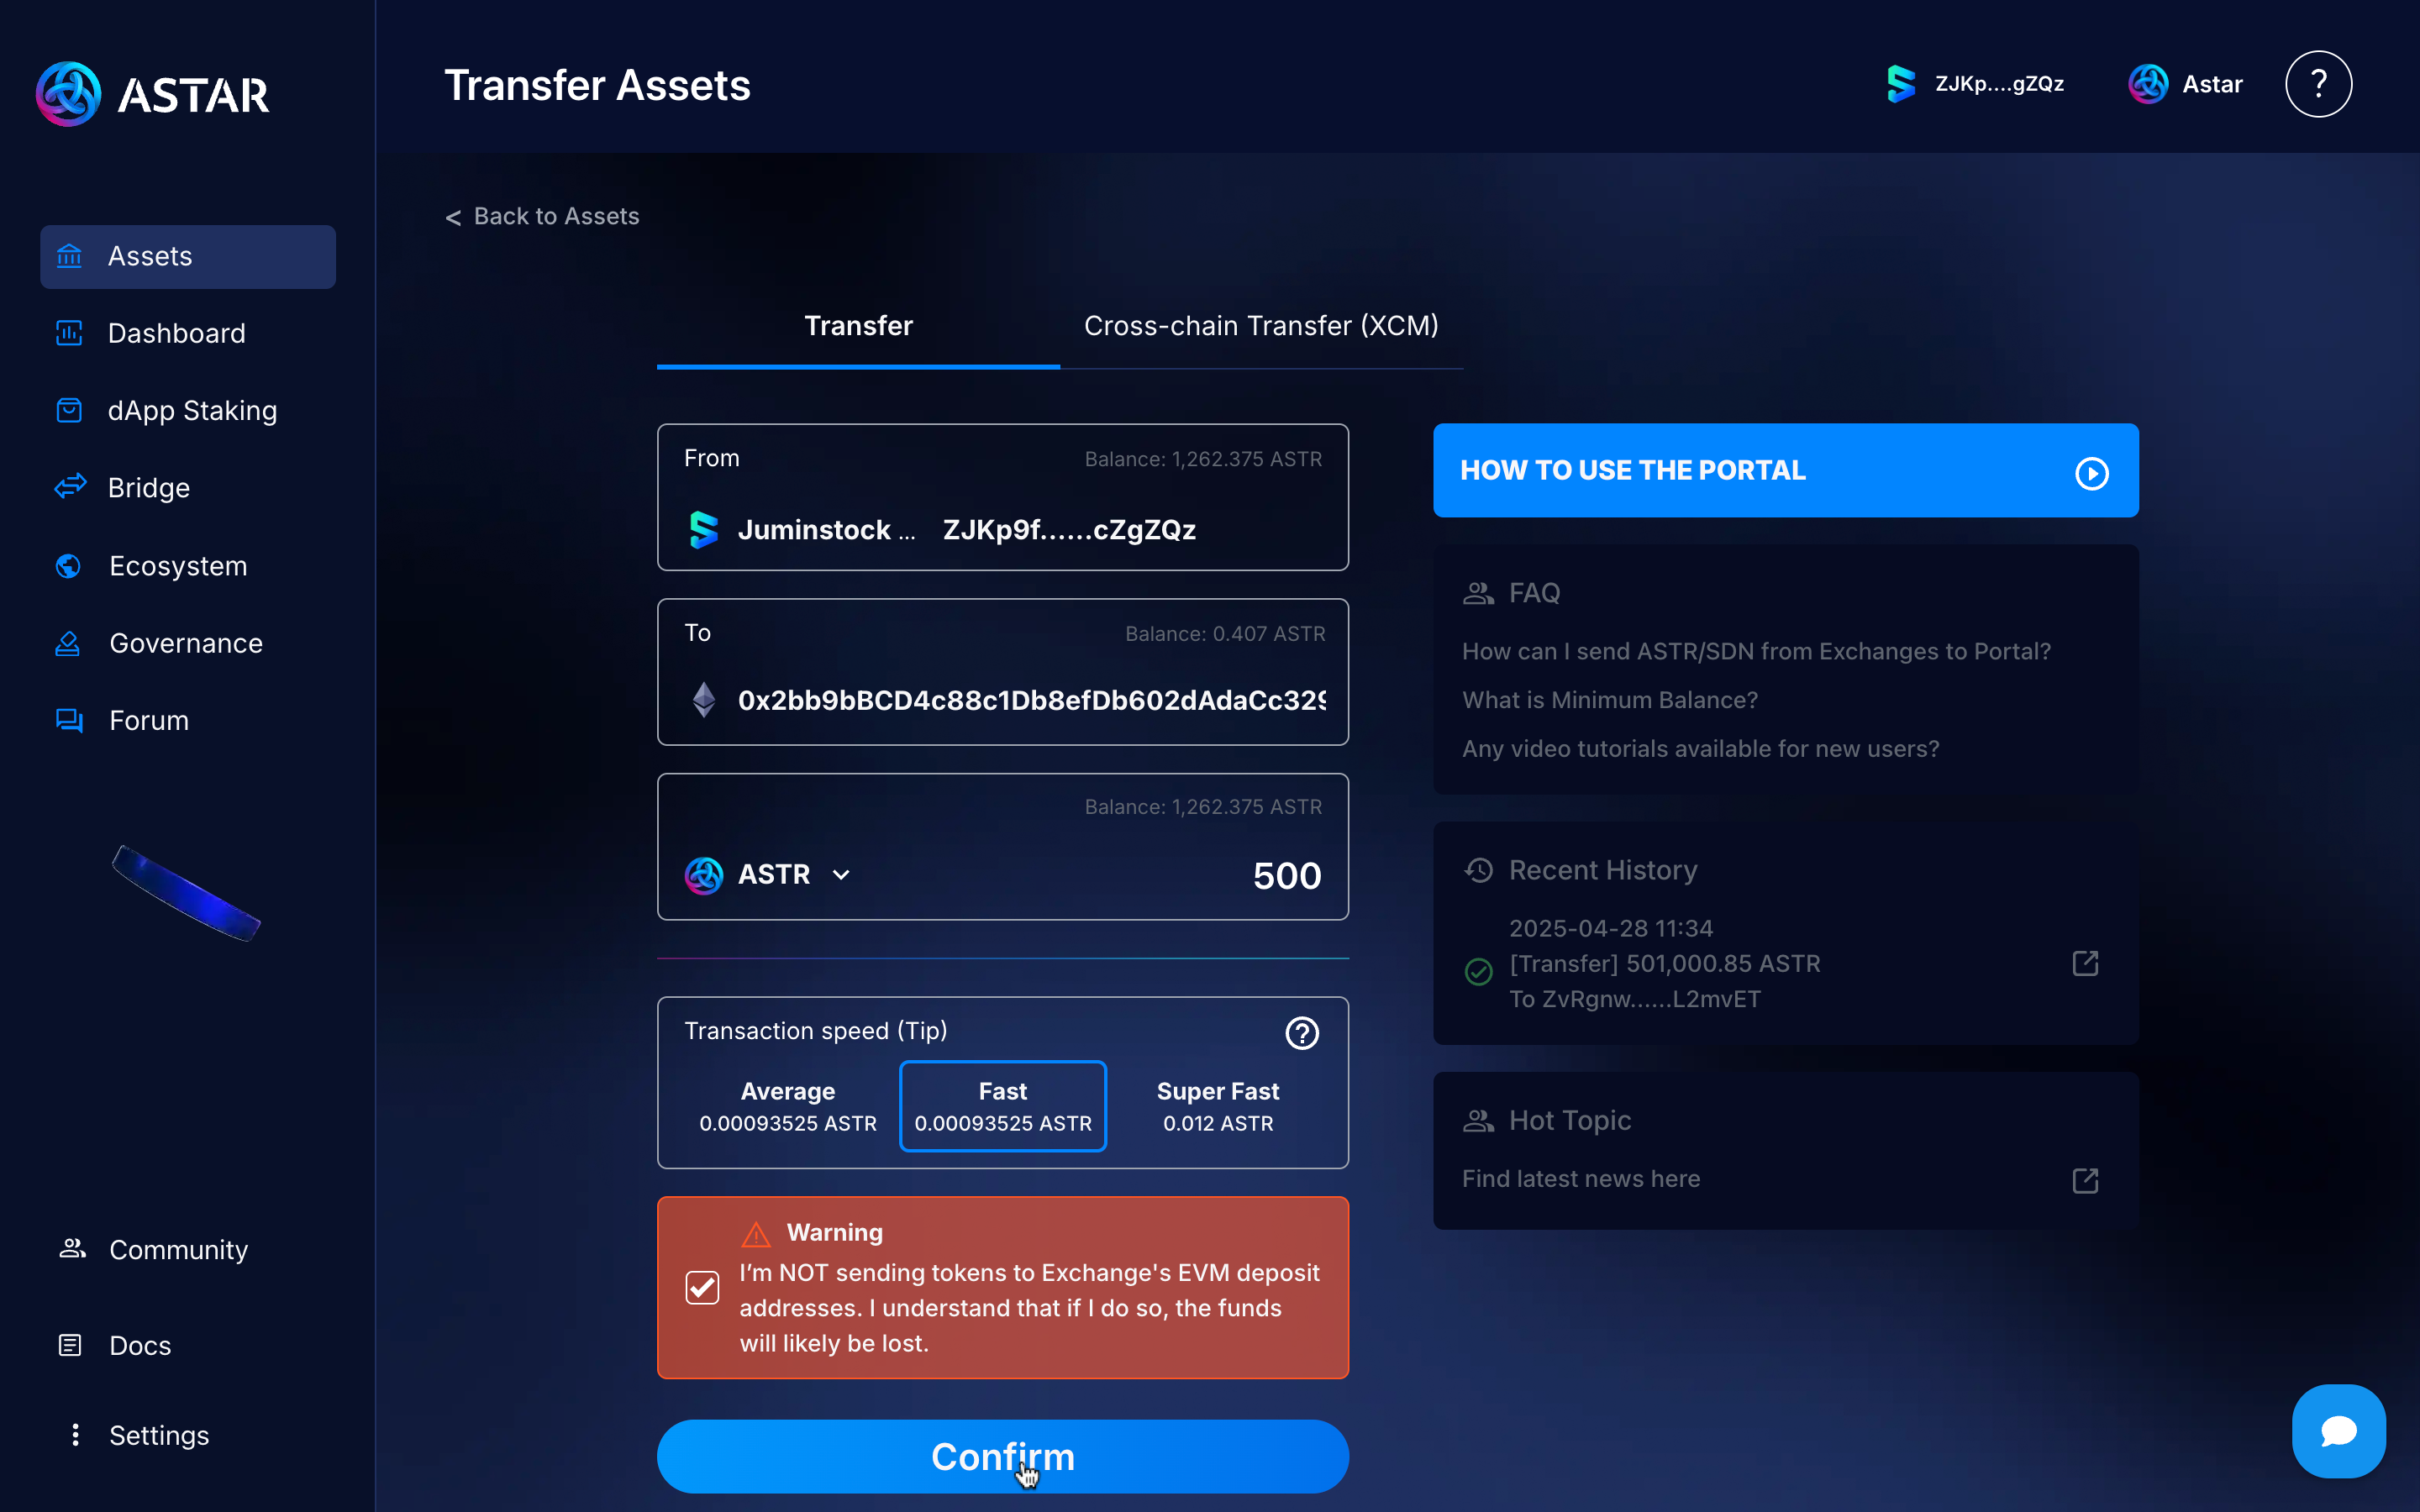
Step 4: Send ASTR to EVM
Once you’re in this section, there are three important things to keep in mind:
- Enter an EVM address in the "to" field, this is where you’ll send the tokens.
- Enter the amount you want to send.
- Make sure you’re not sending EVM funds to exchange accounts.
Once everything is ready, click the Confirm button to submit the transaction.
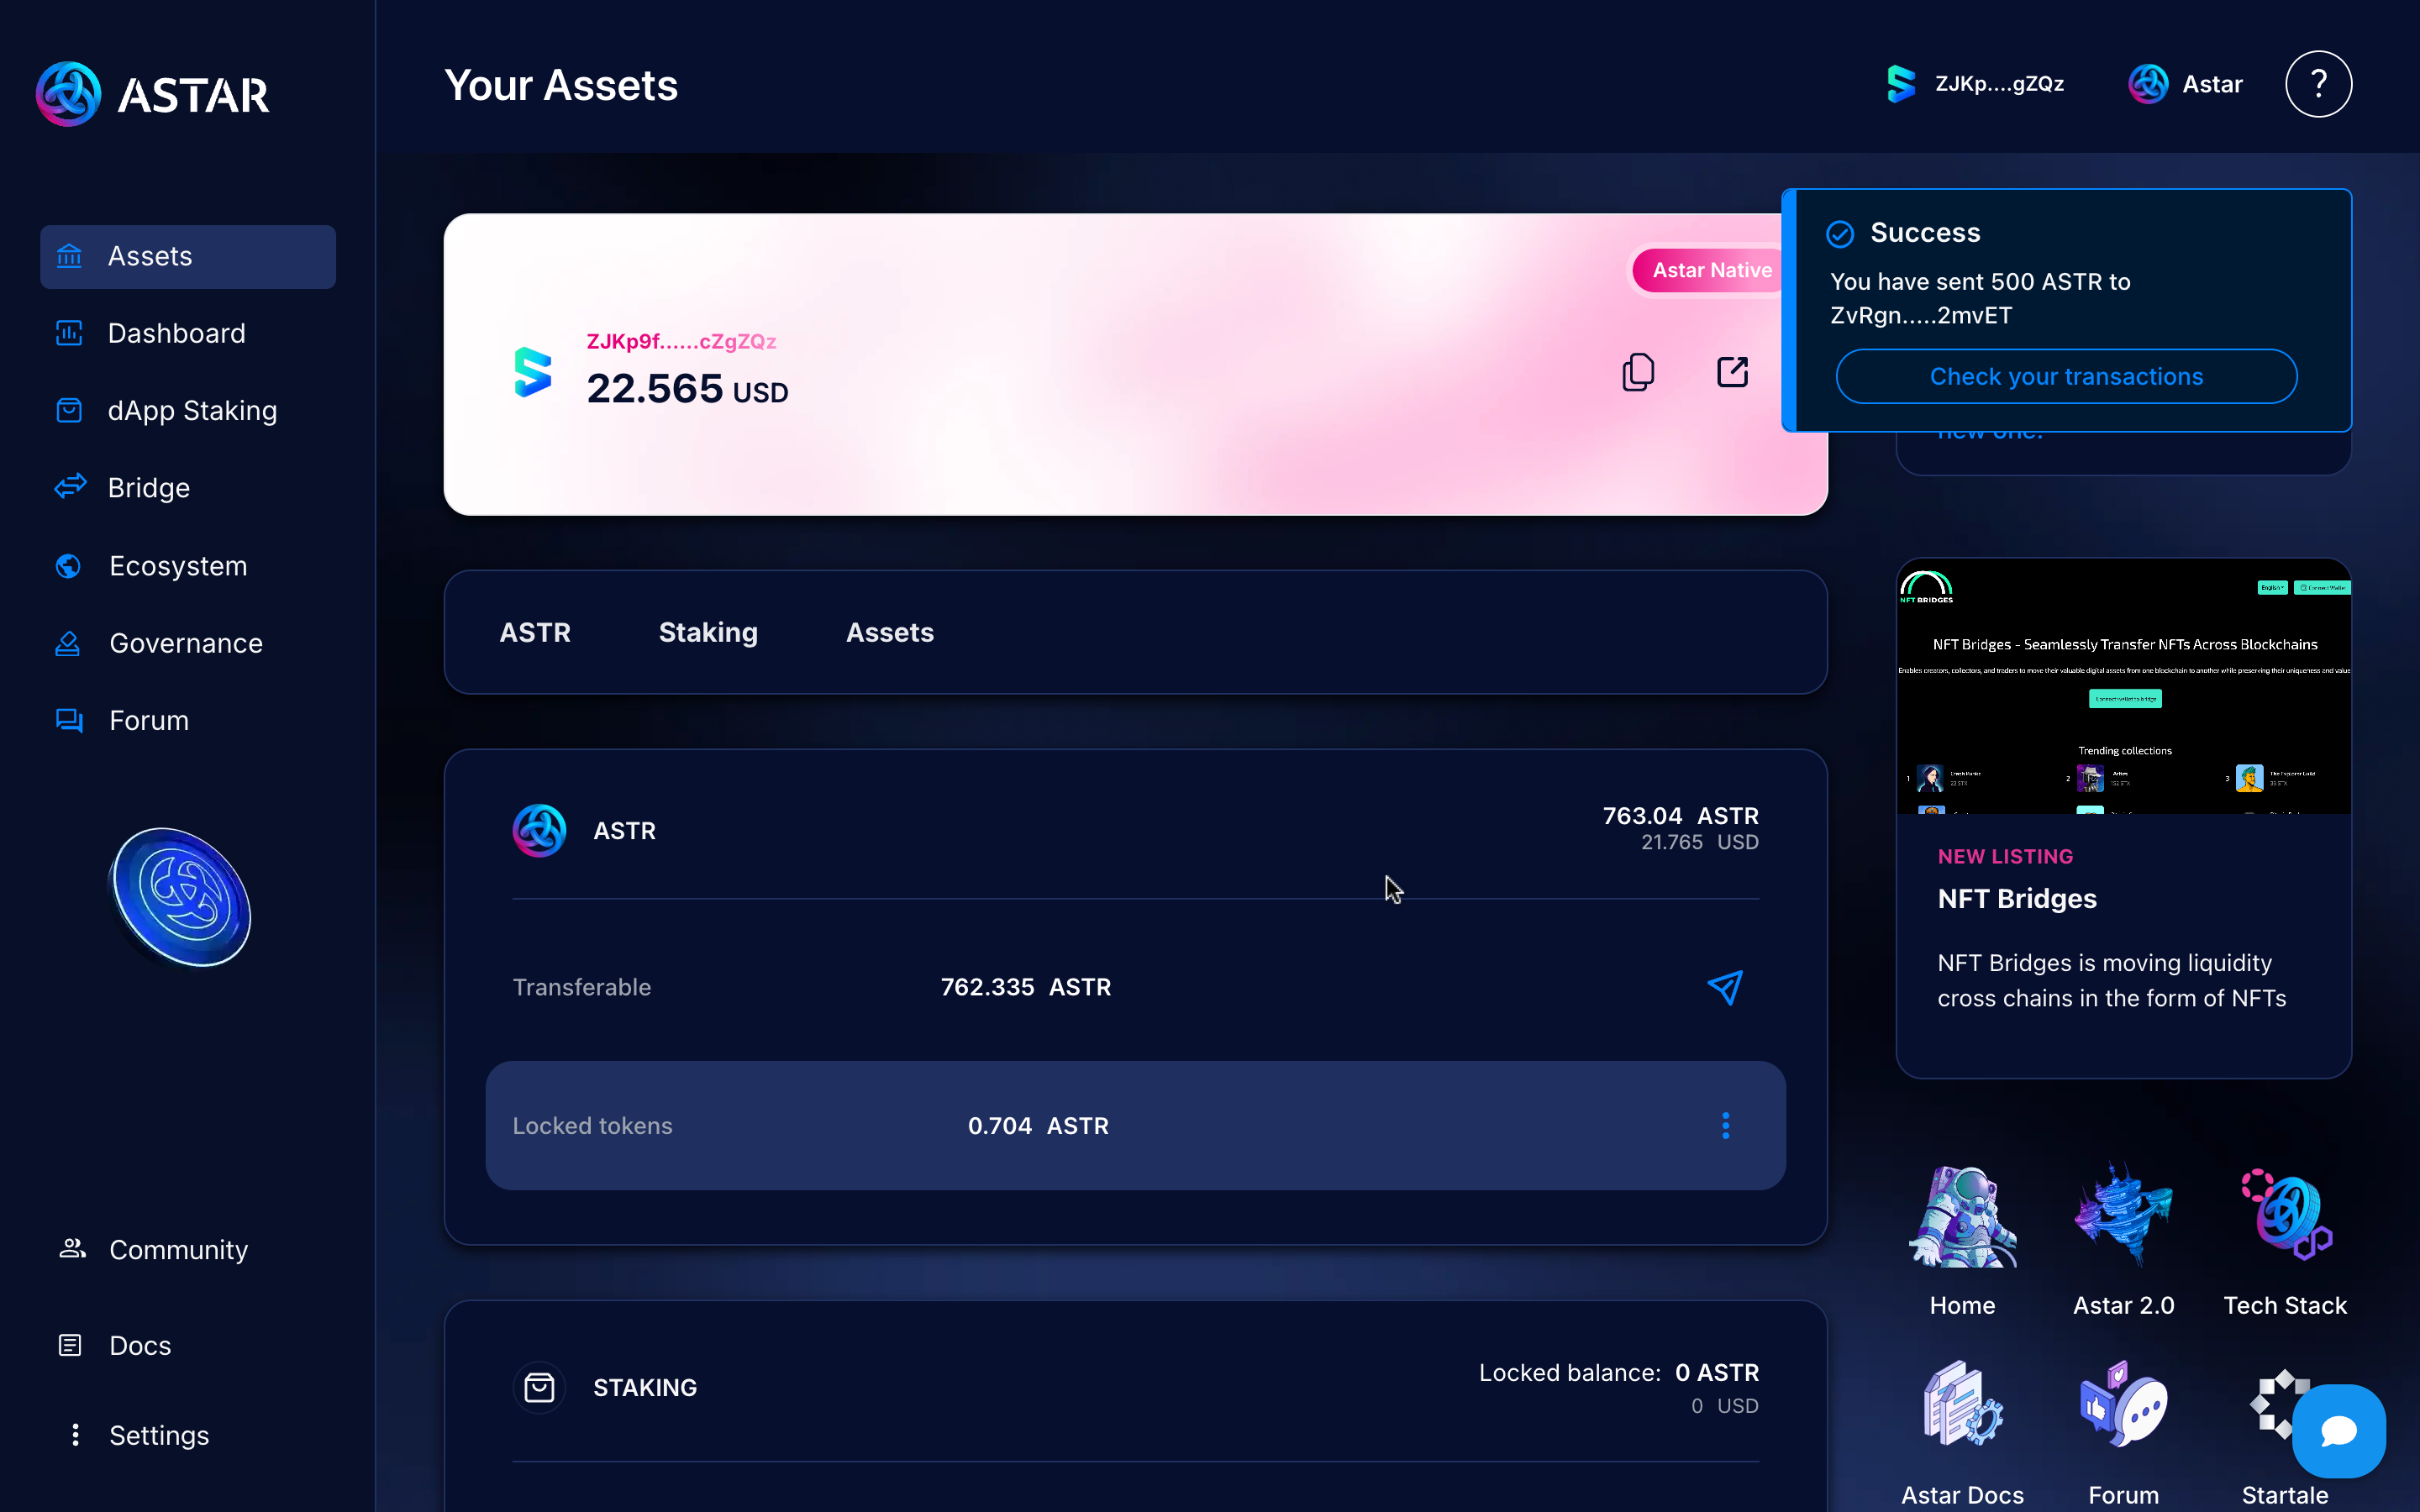
If everything is correct, you’ll see a message confirming that the transaction was successfully executed, and you’ll be able to view your transaction in the block explorer.
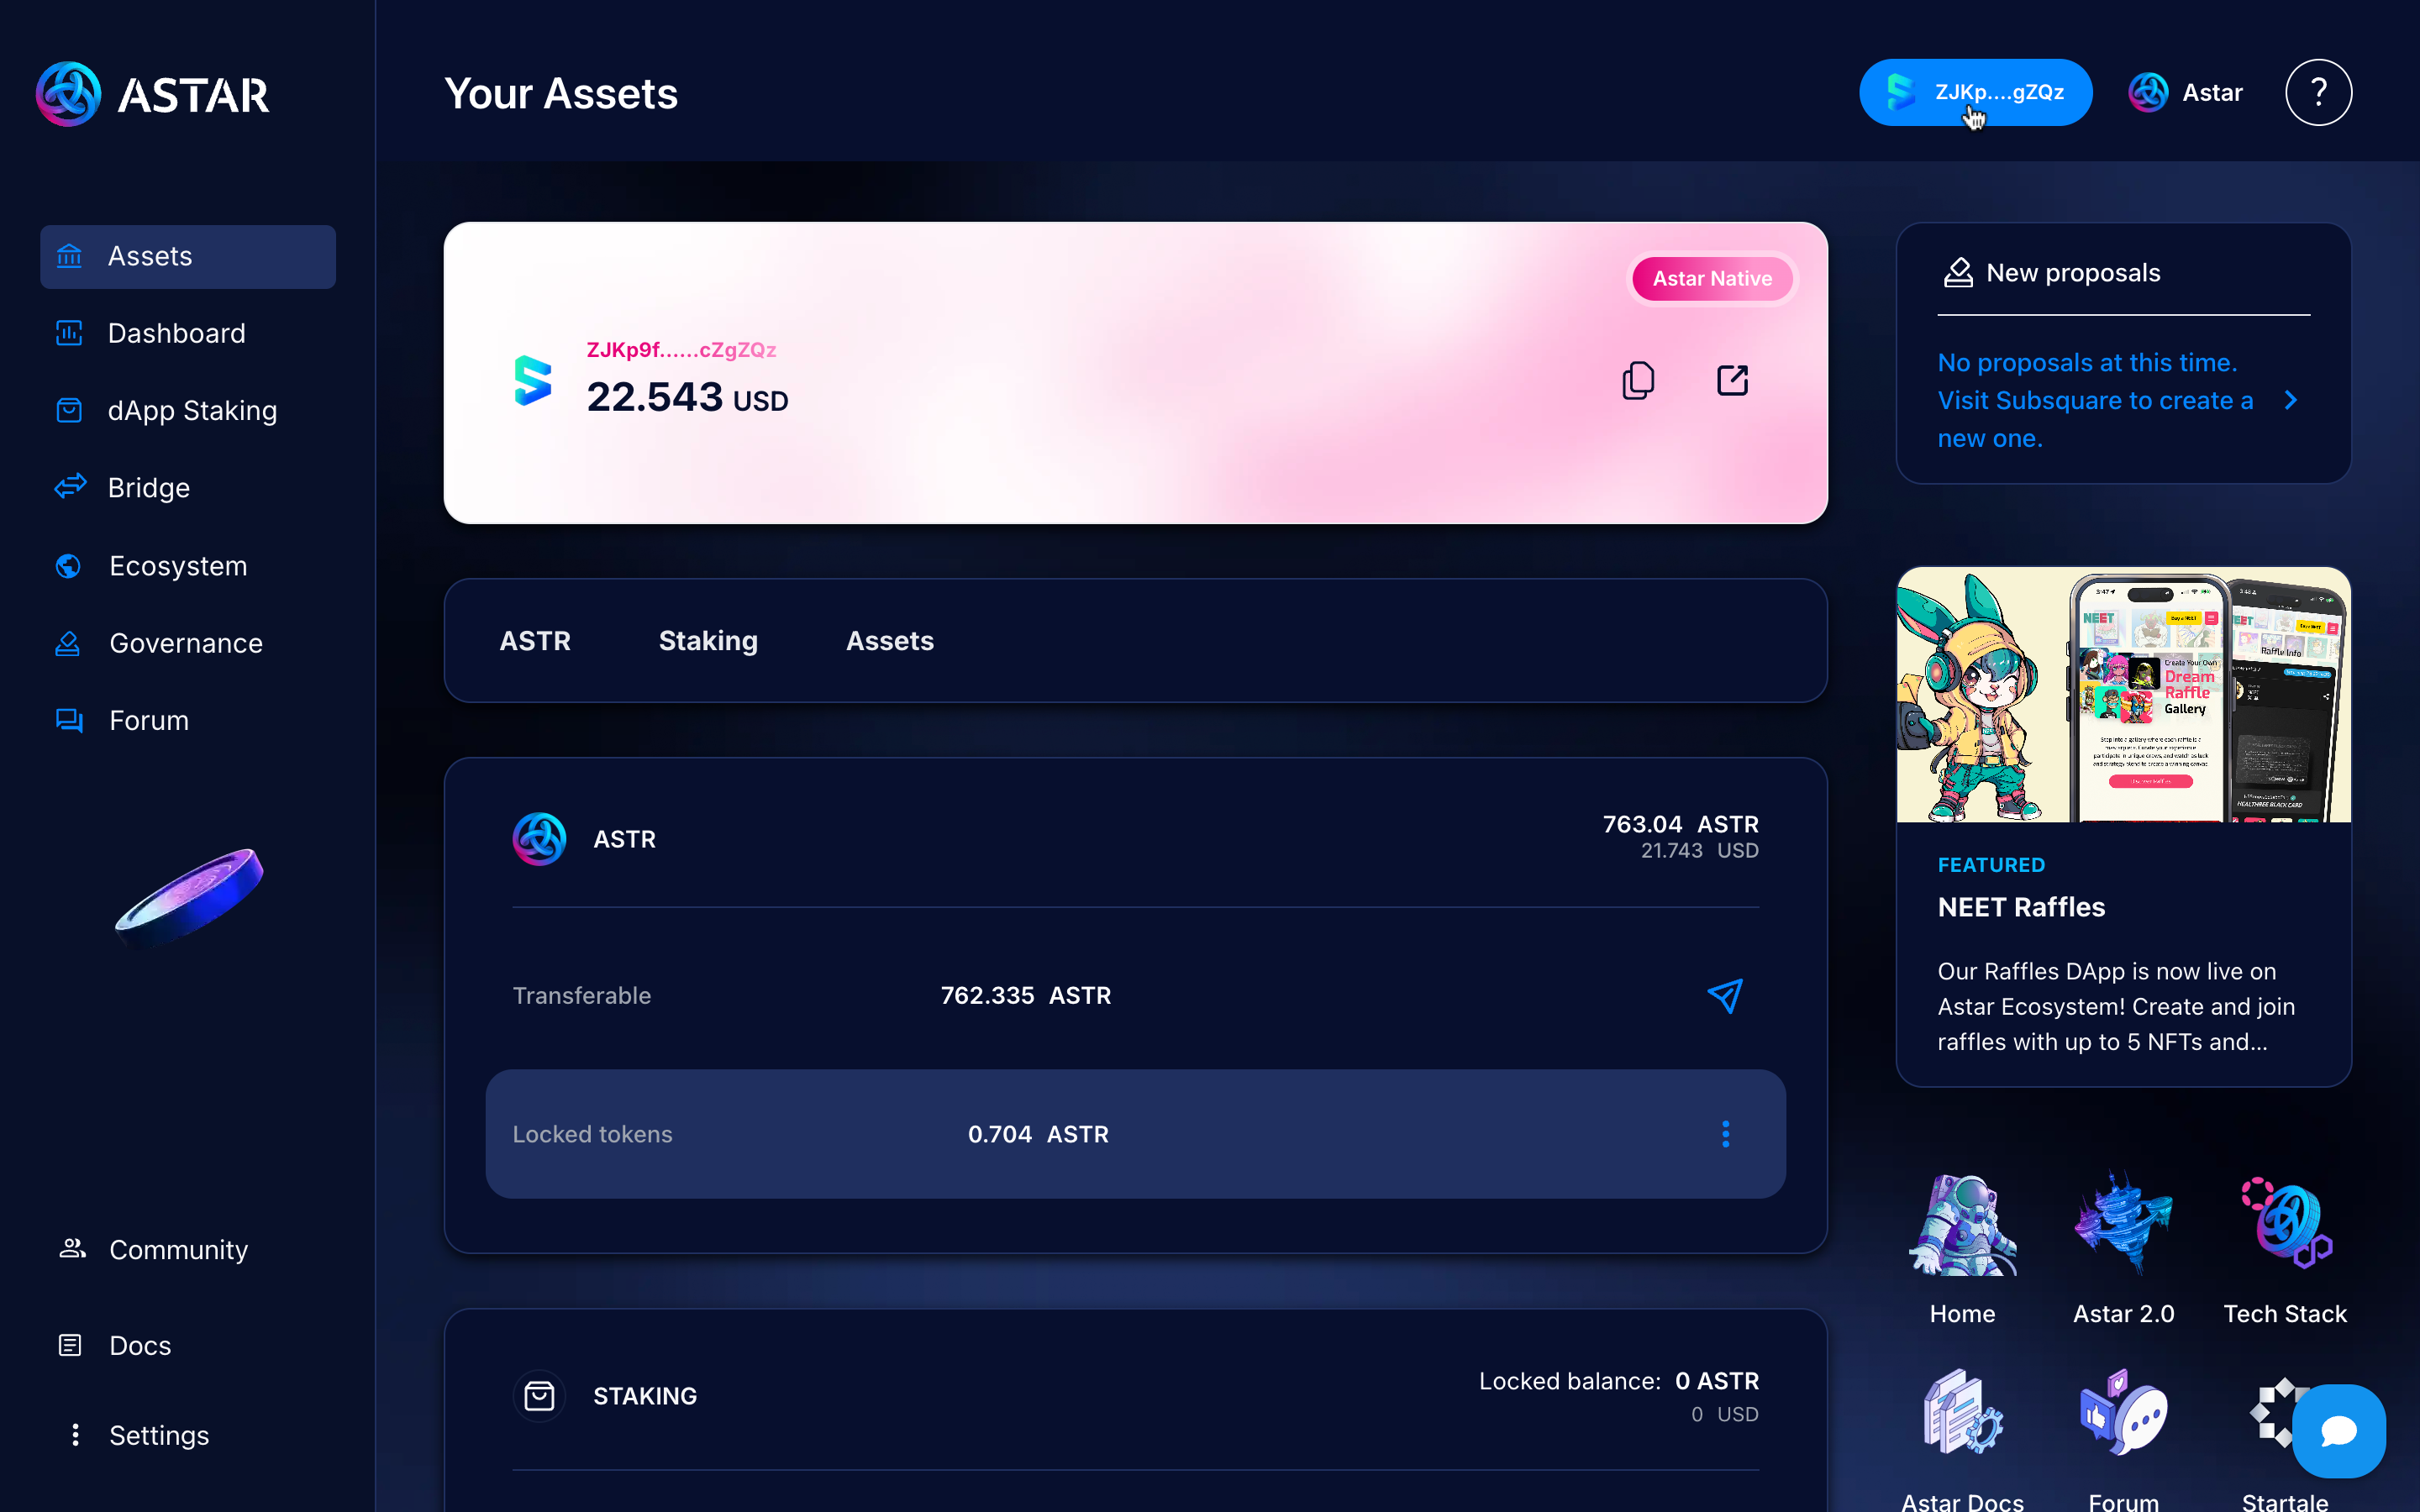
Step 5: Connect EVM
Now that we’ve sent the funds to an EVM wallet, we need to connect it to the portal to view the balance, so let’s go ahead and do that.
Go to the wallet button and click it.
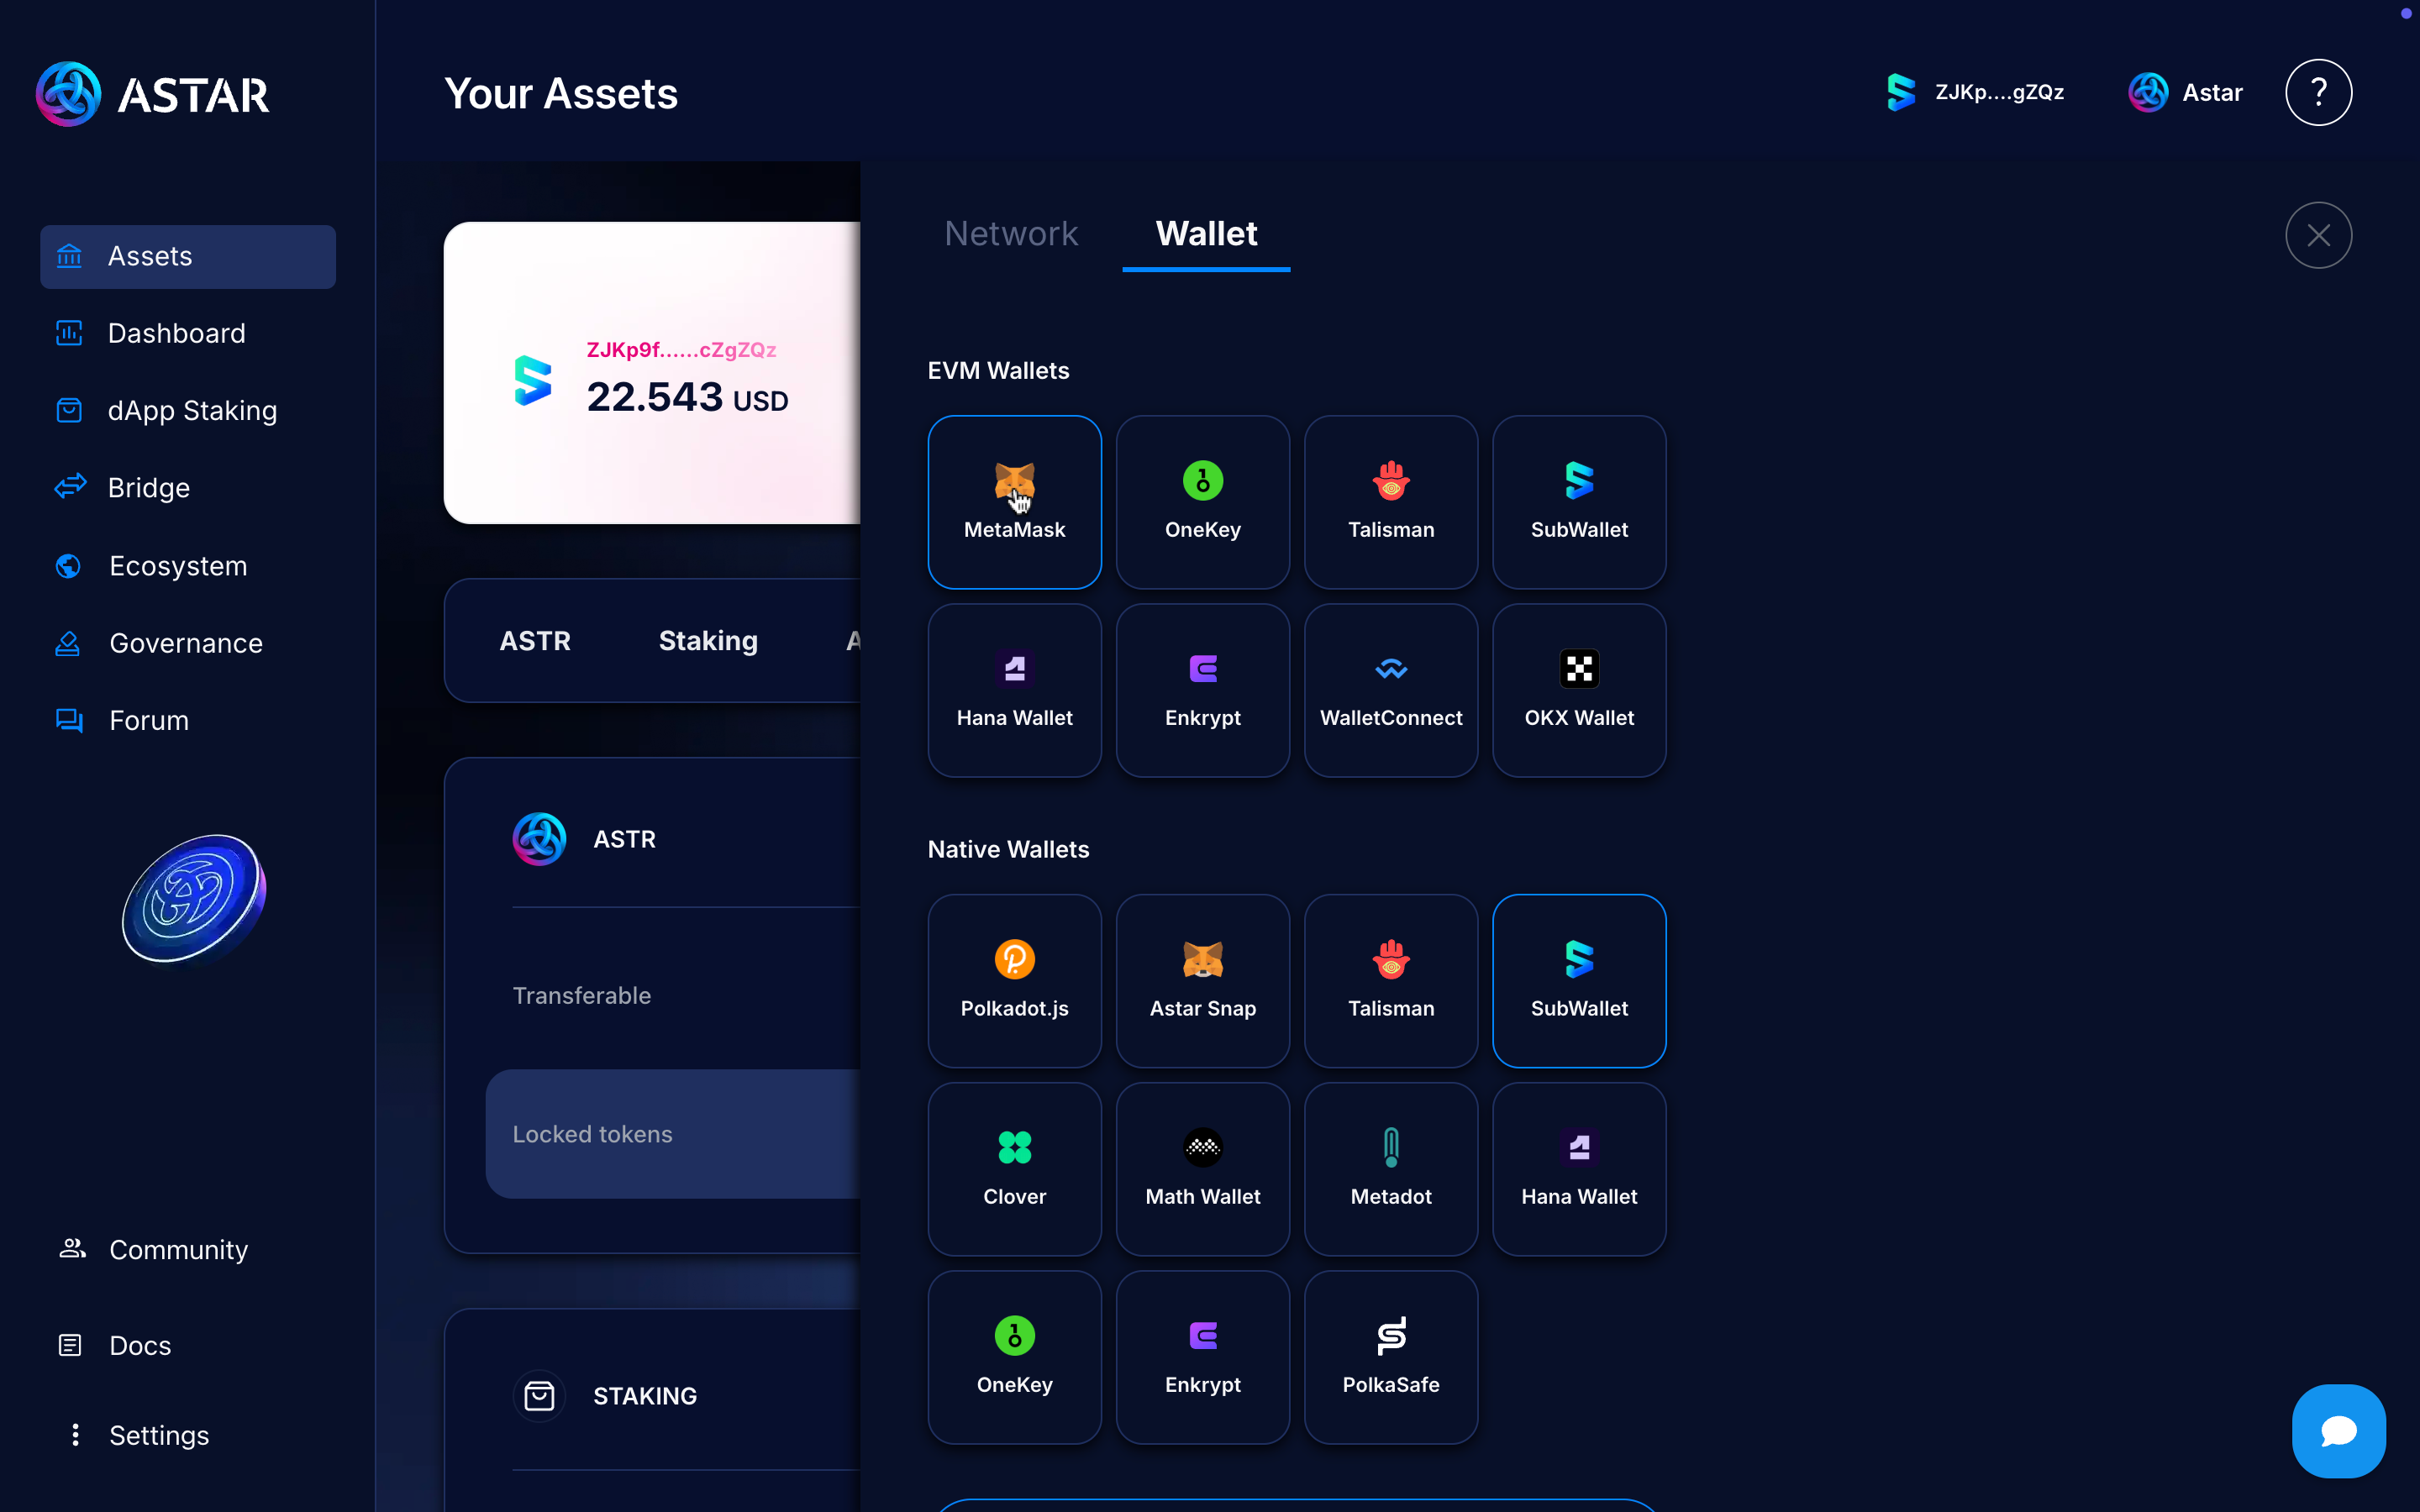
Choose the wallet you use, in this case, it will be Zerion, so we’ll click on Metamask to open the modal and connect it.
Zerion uses a mode called Metamask mode, where every request made to Metamask is handled by Zerion first. That’s why we click on Metamask, as the Zerion logo doesn’t appear directly.
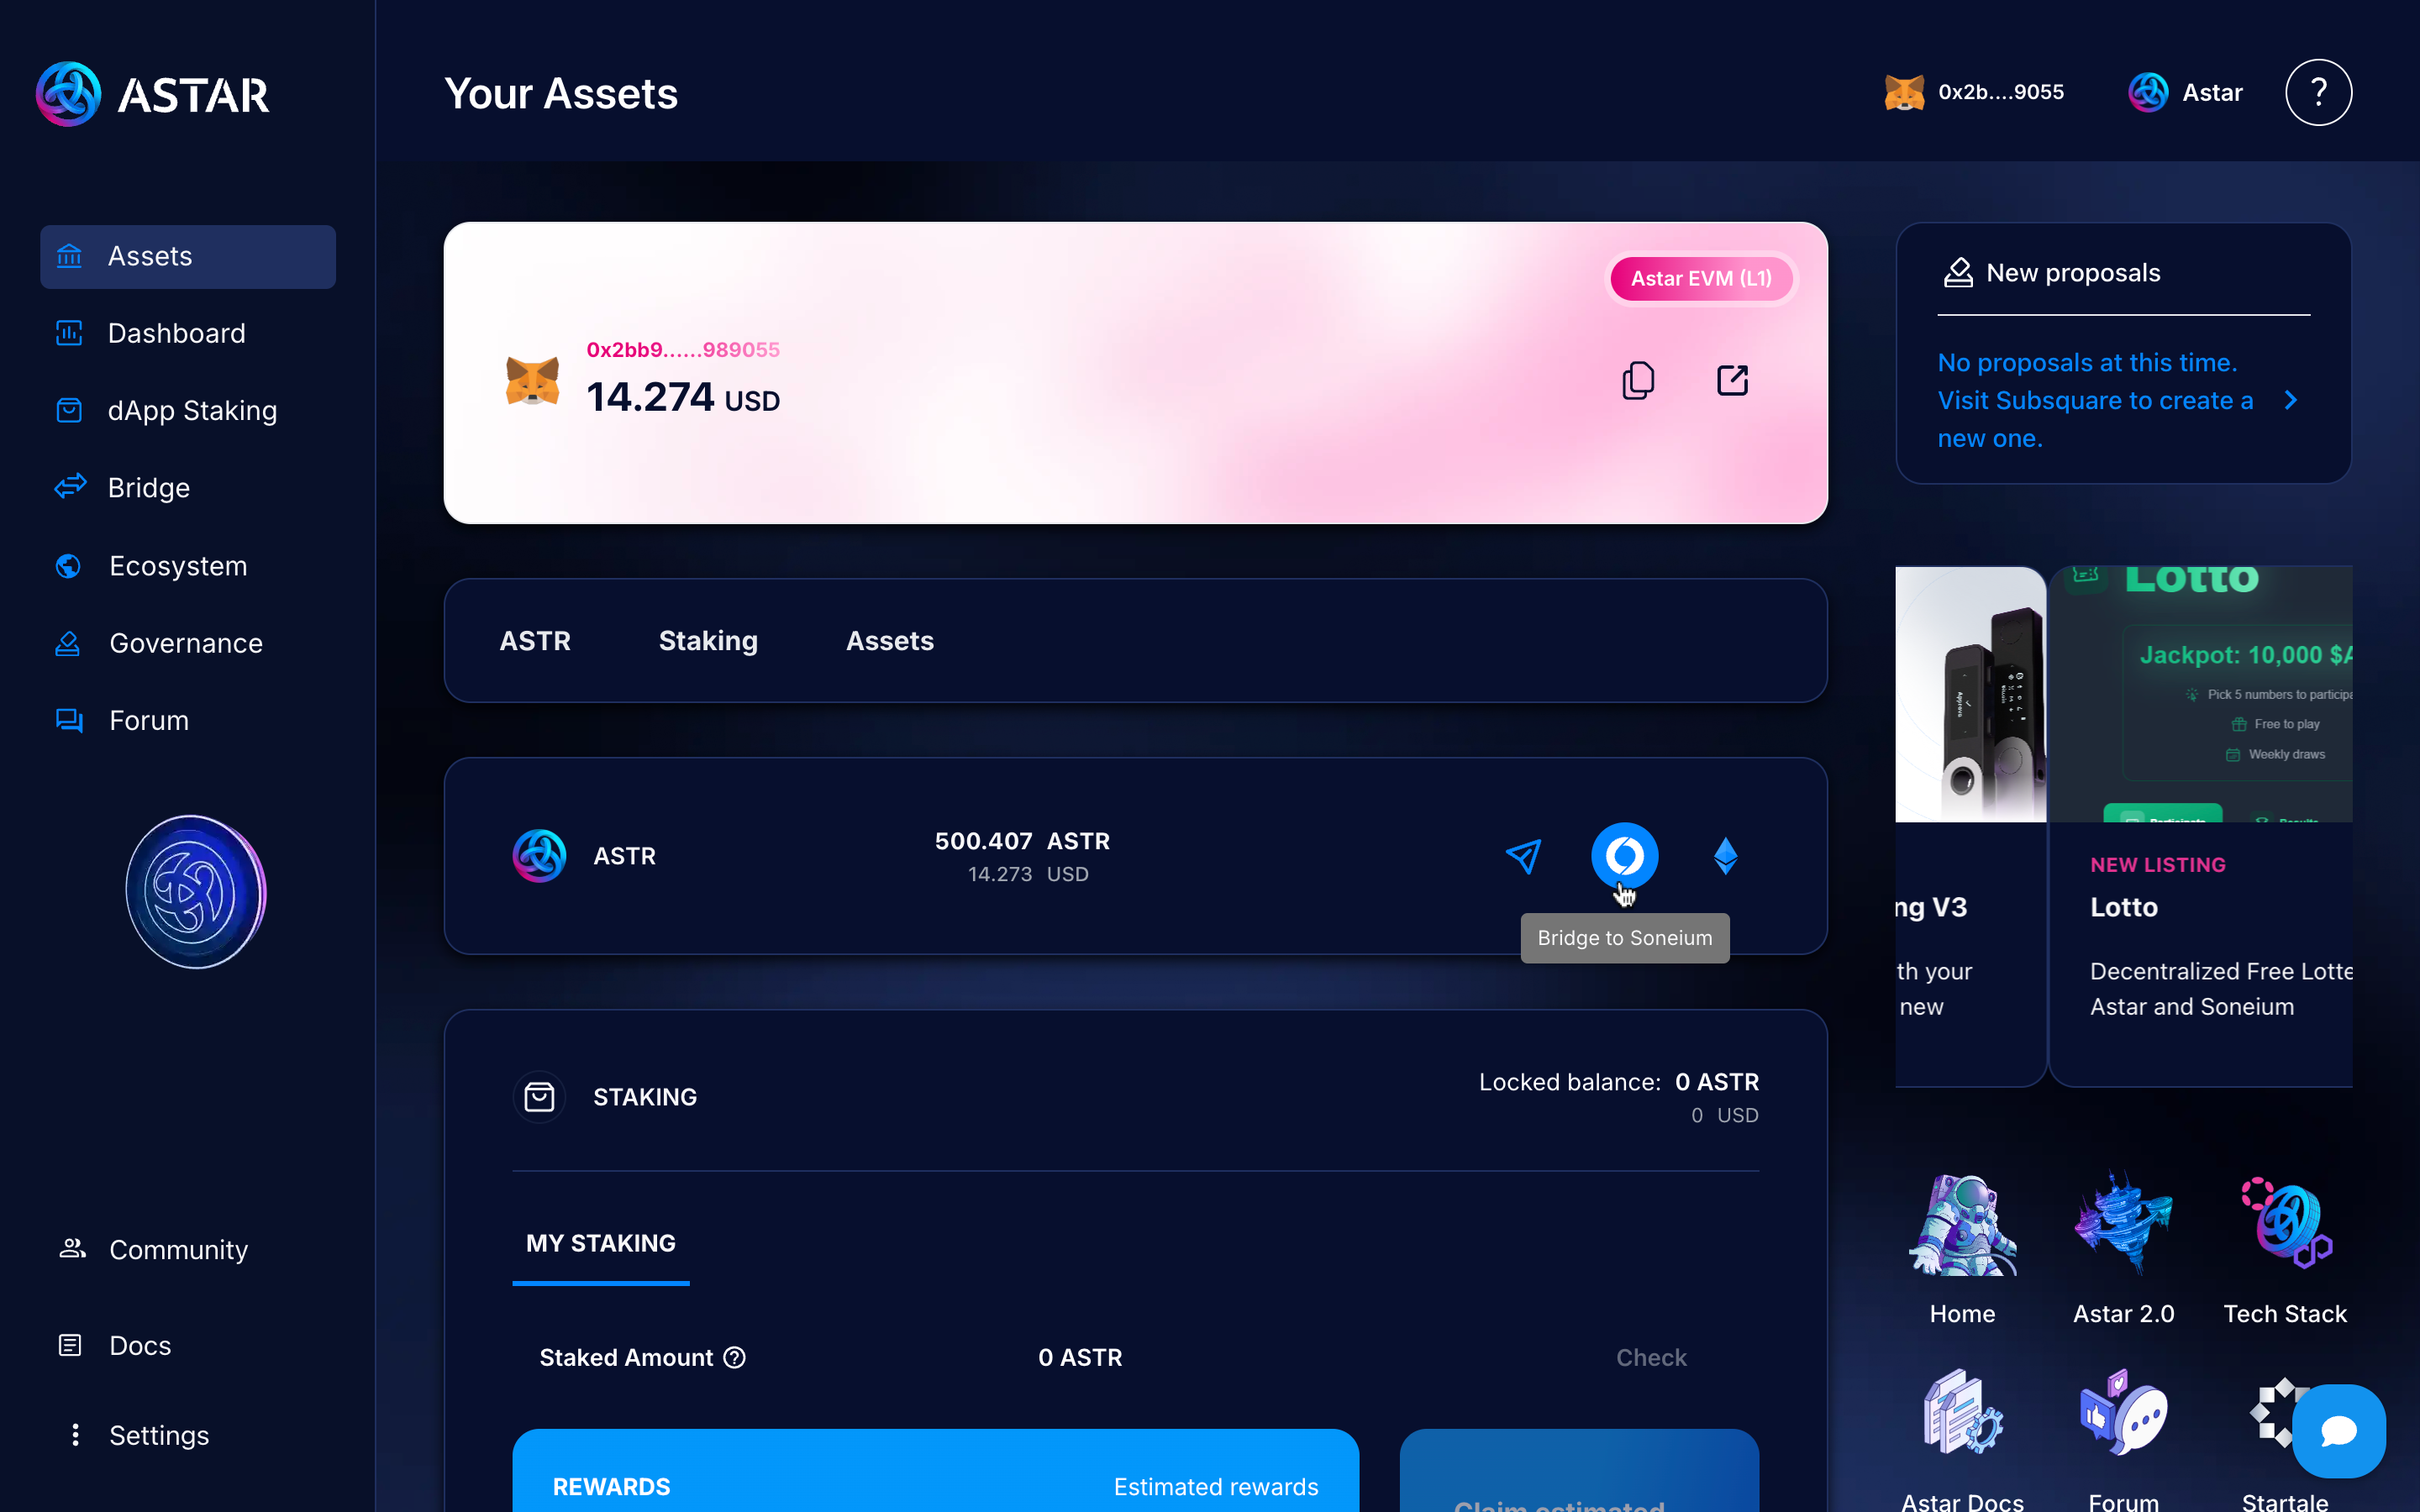
Step 6: Go to Bridge to Soneium
When you’re connected to your EVM wallet, you’ll be able to see your funds and an interface with additional options. Now, we have to bridge to Soneium.
Go to the Bridge to Soneium section by clicking the button.
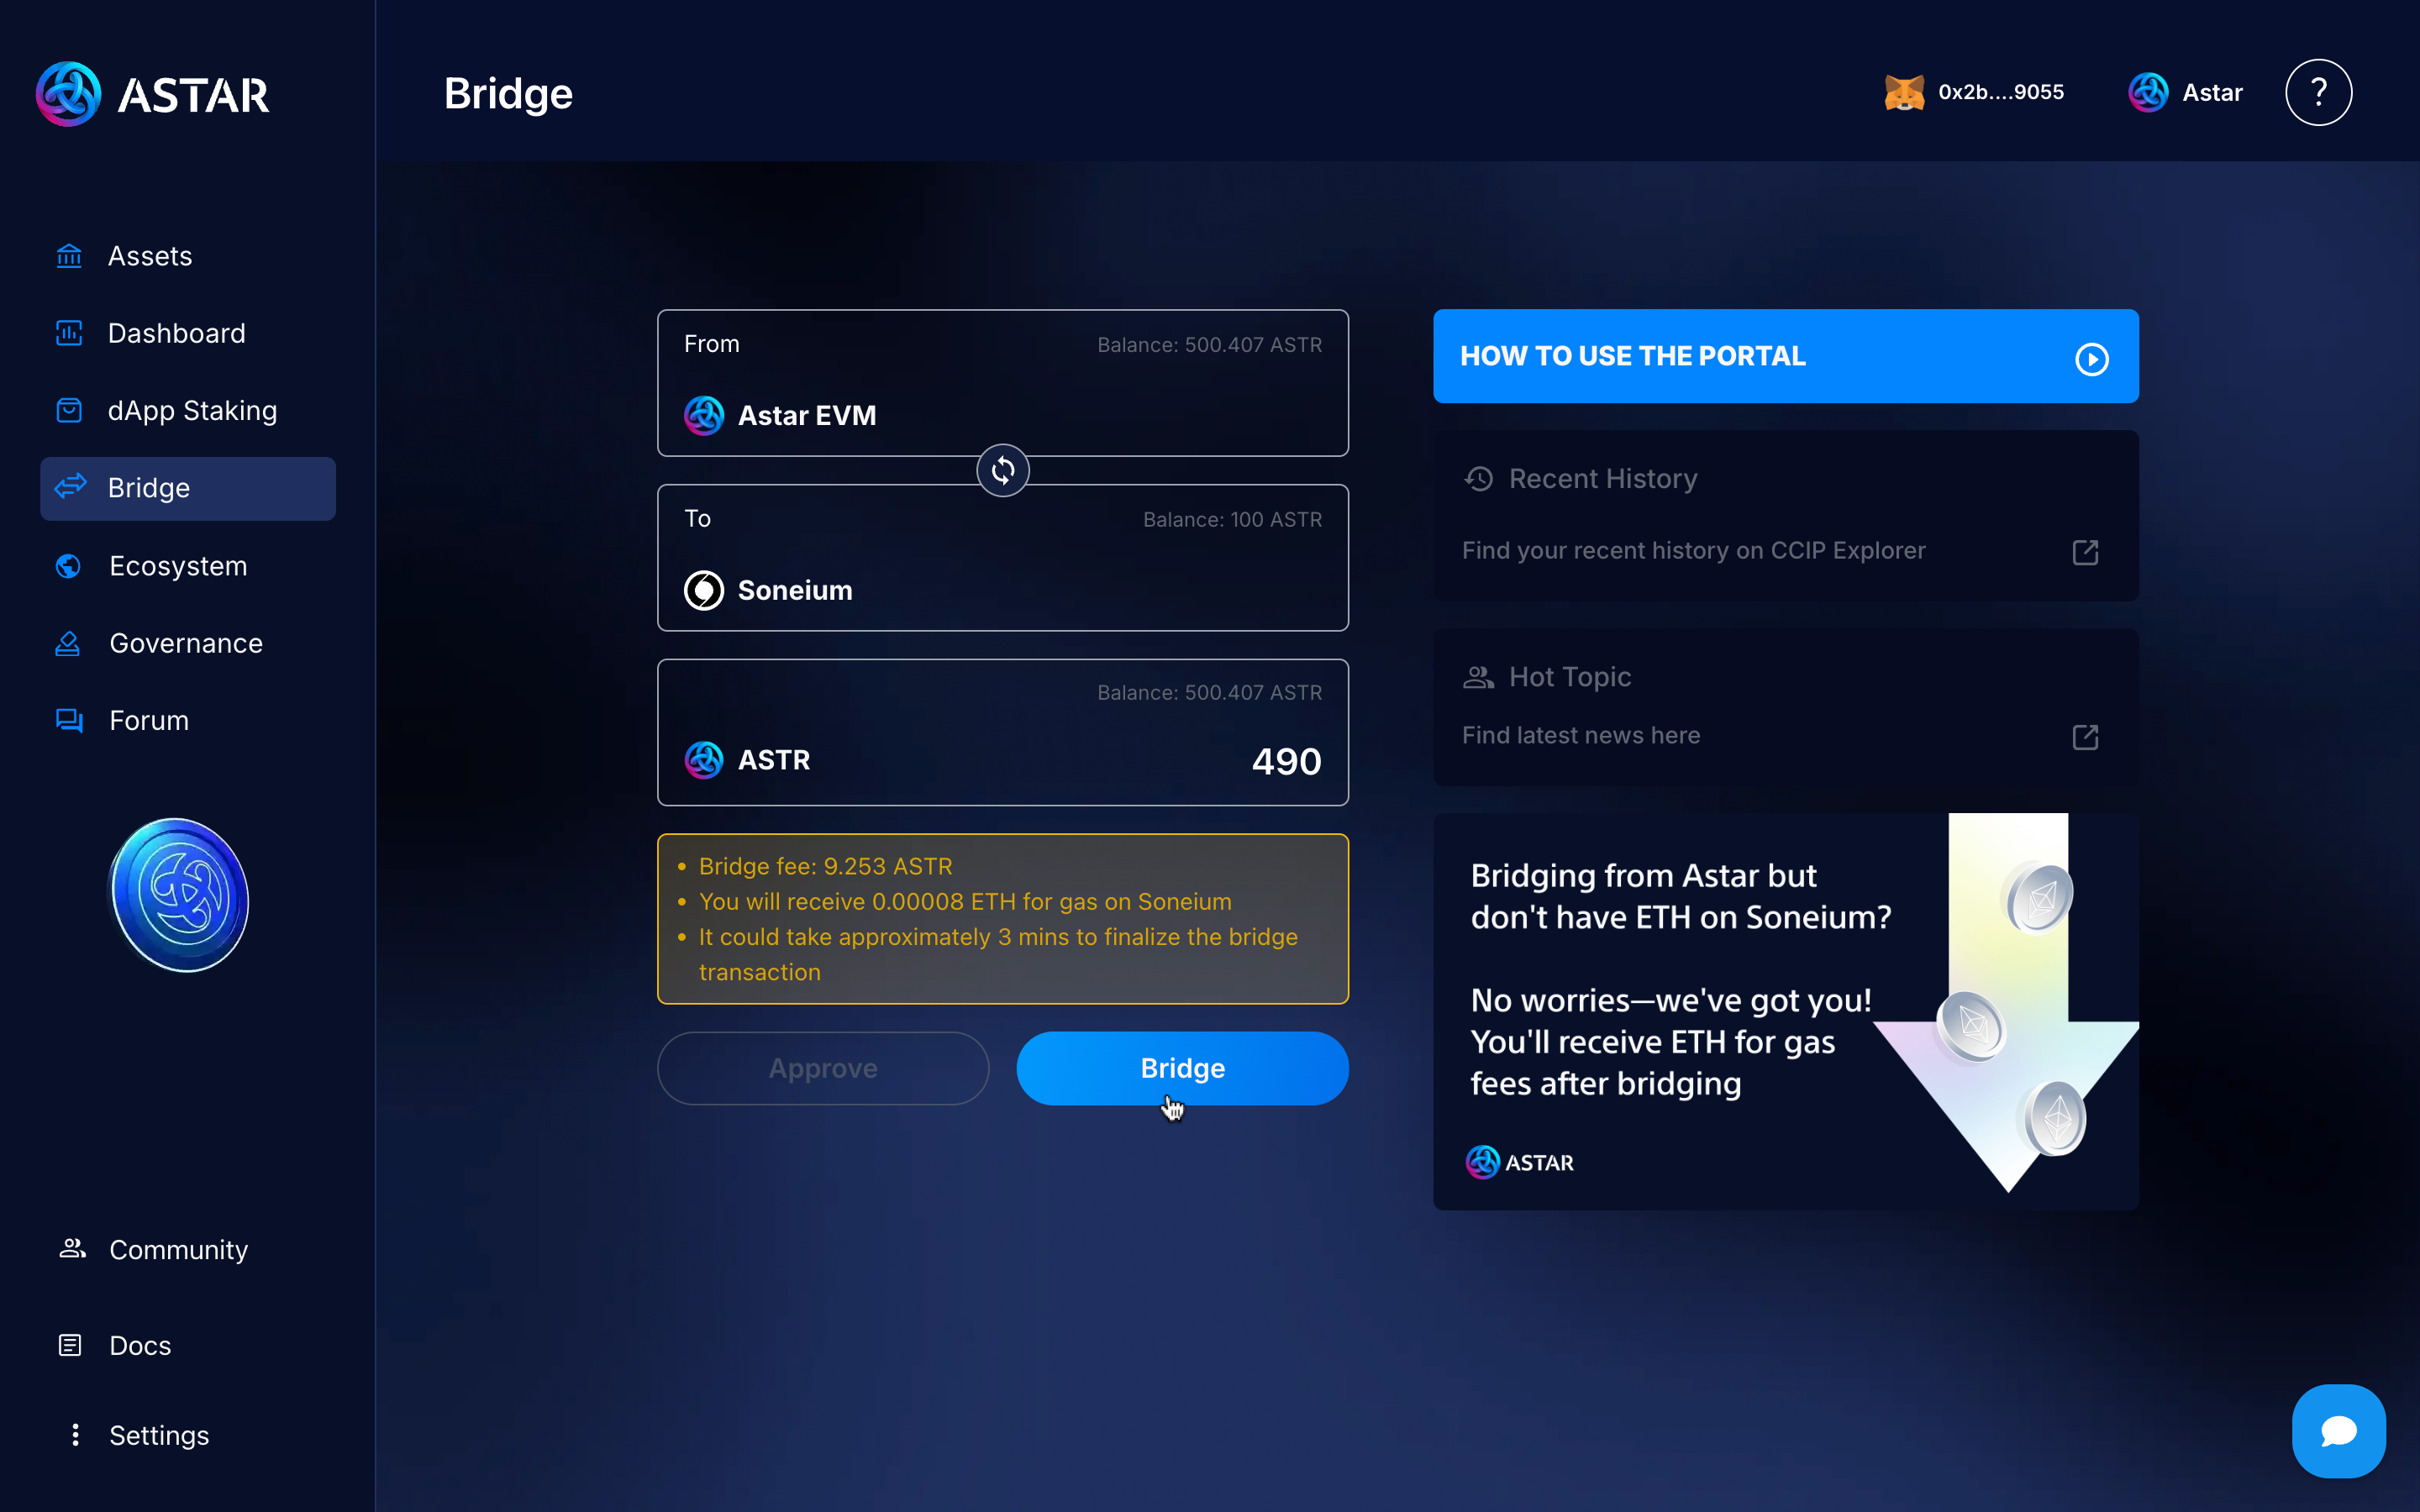
Step 7: Send ASTR to Soneium
Once you’re on the bridge page, you’ll see that the transaction is set to go from Astar EVM to Soneium. Enter the amount you want to send, approve the transaction by clicking the Approve button, and finally, initiate the bridge.
Pay close attention to the bridge fee and the time the transaction usually takes.
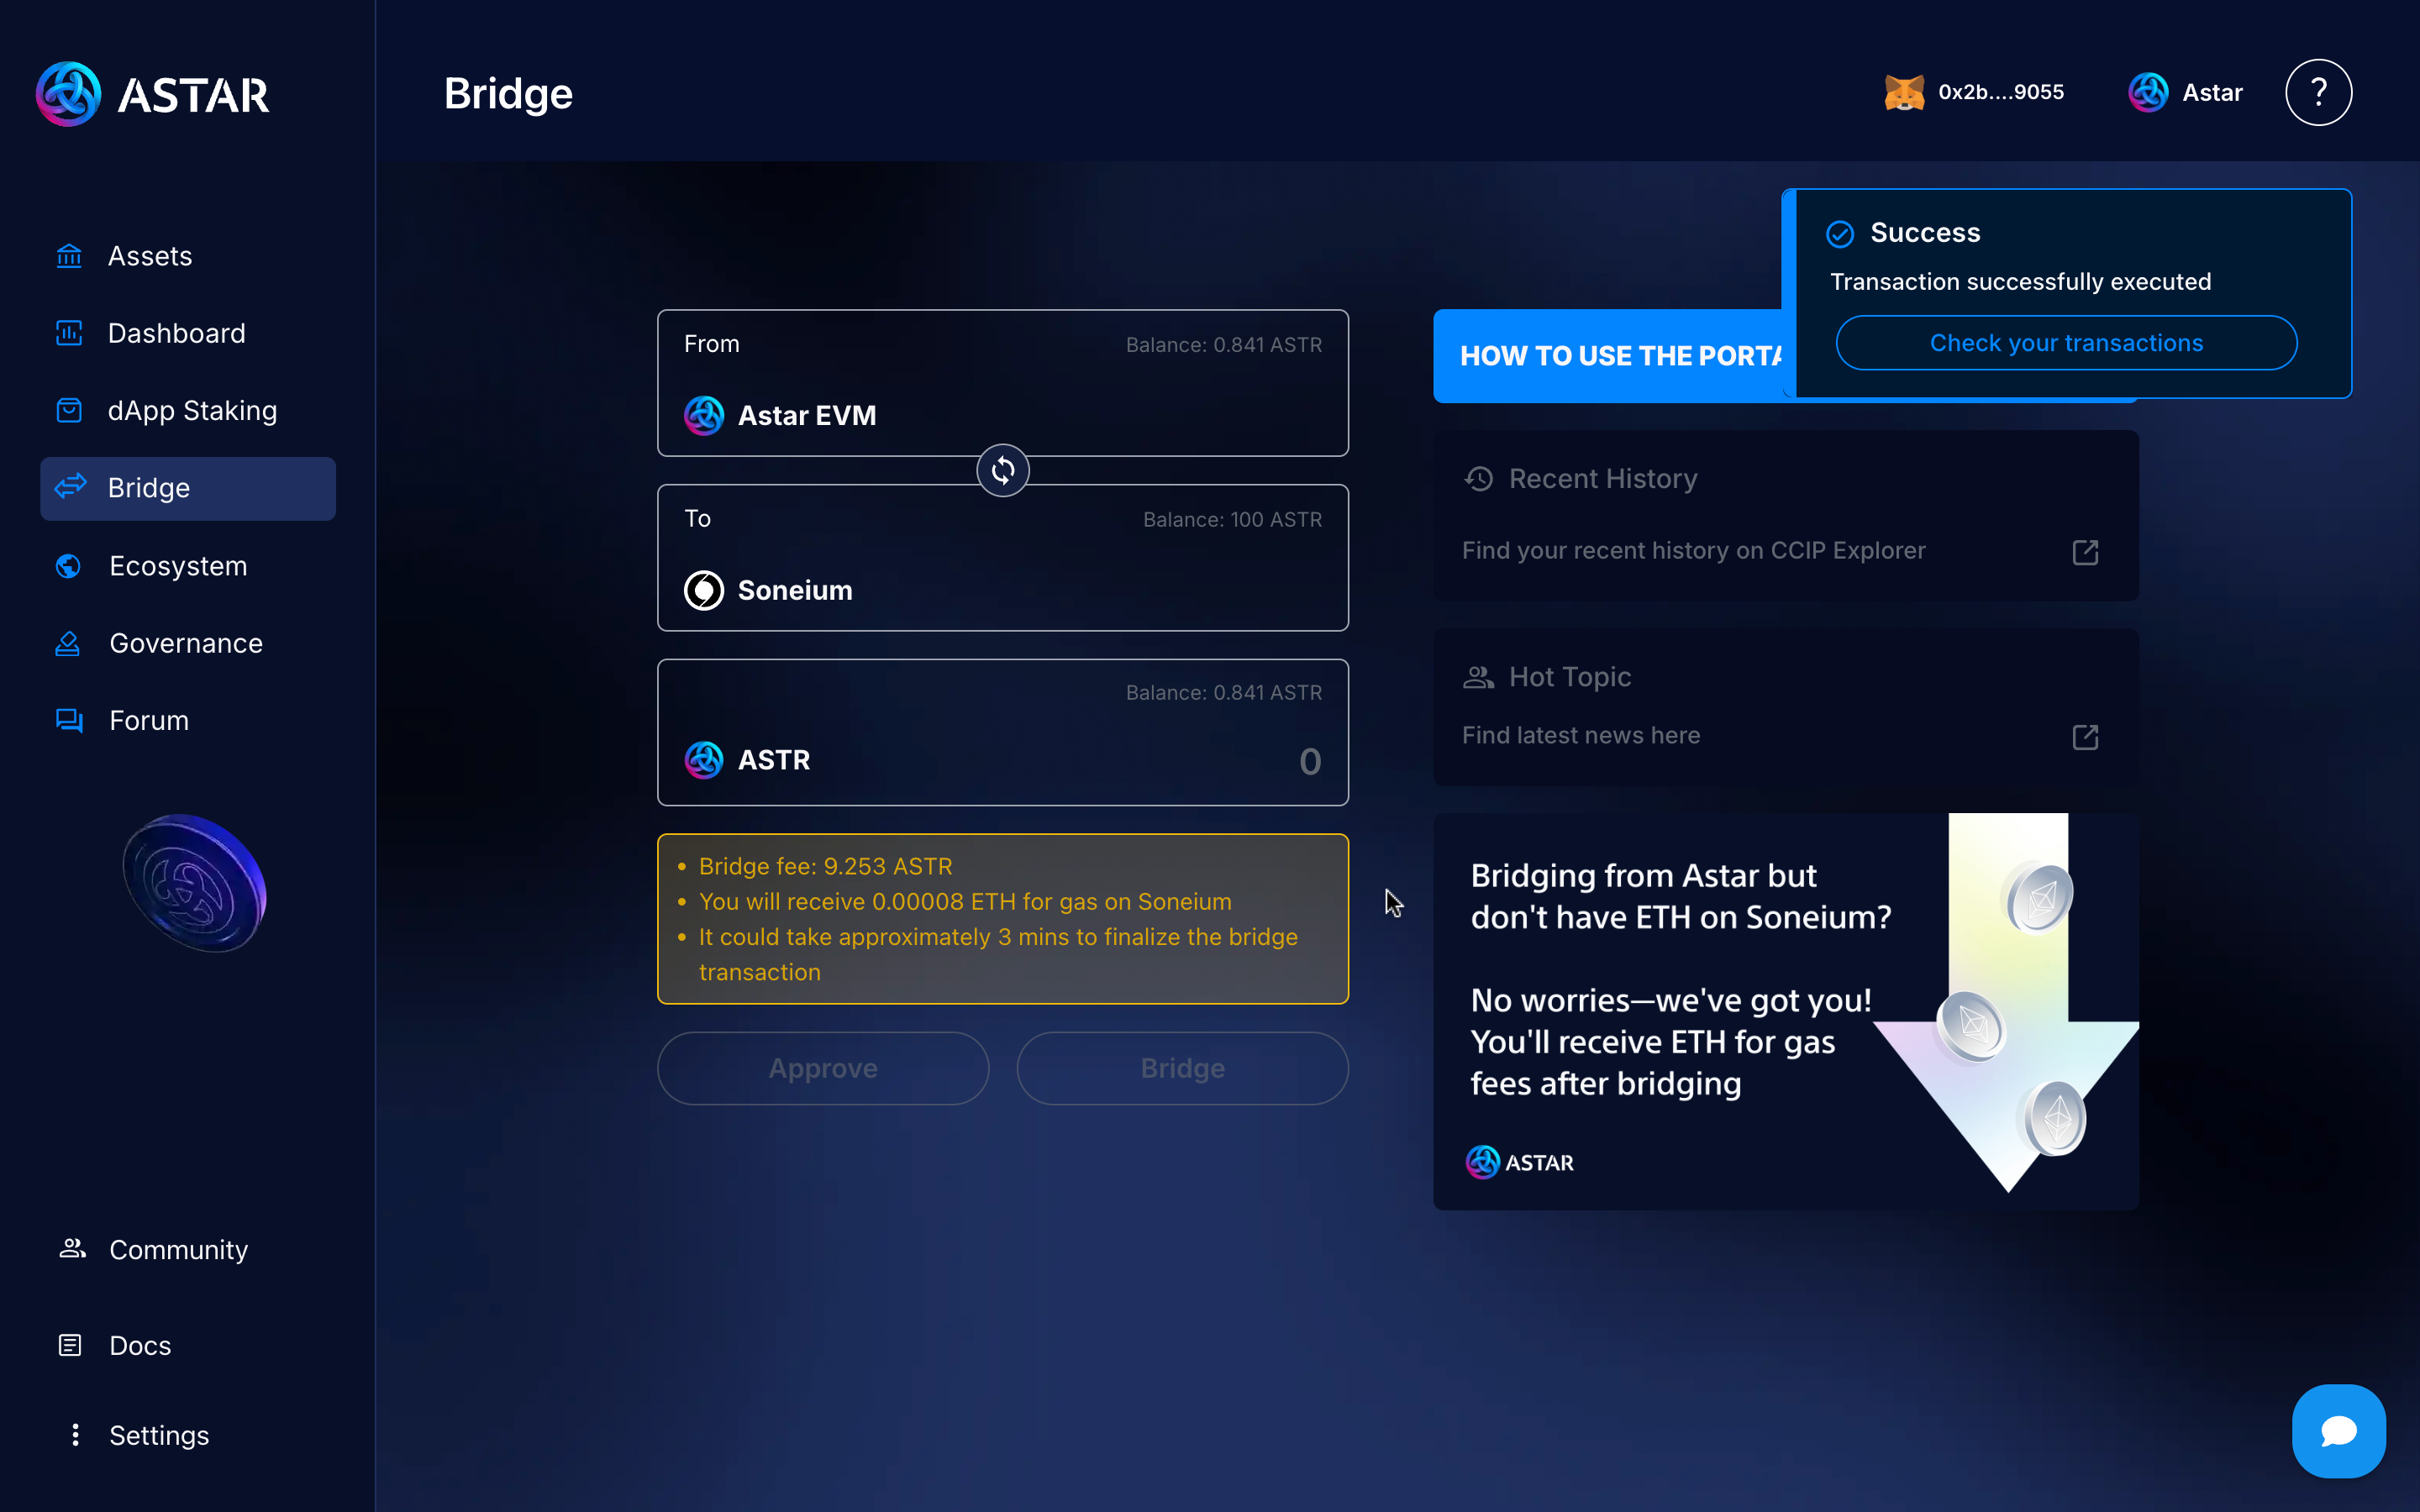
If everything is correct, you’ll see a message confirming that the transaction was successfully executed, and you’ll be able to view your transaction in the block explorer.
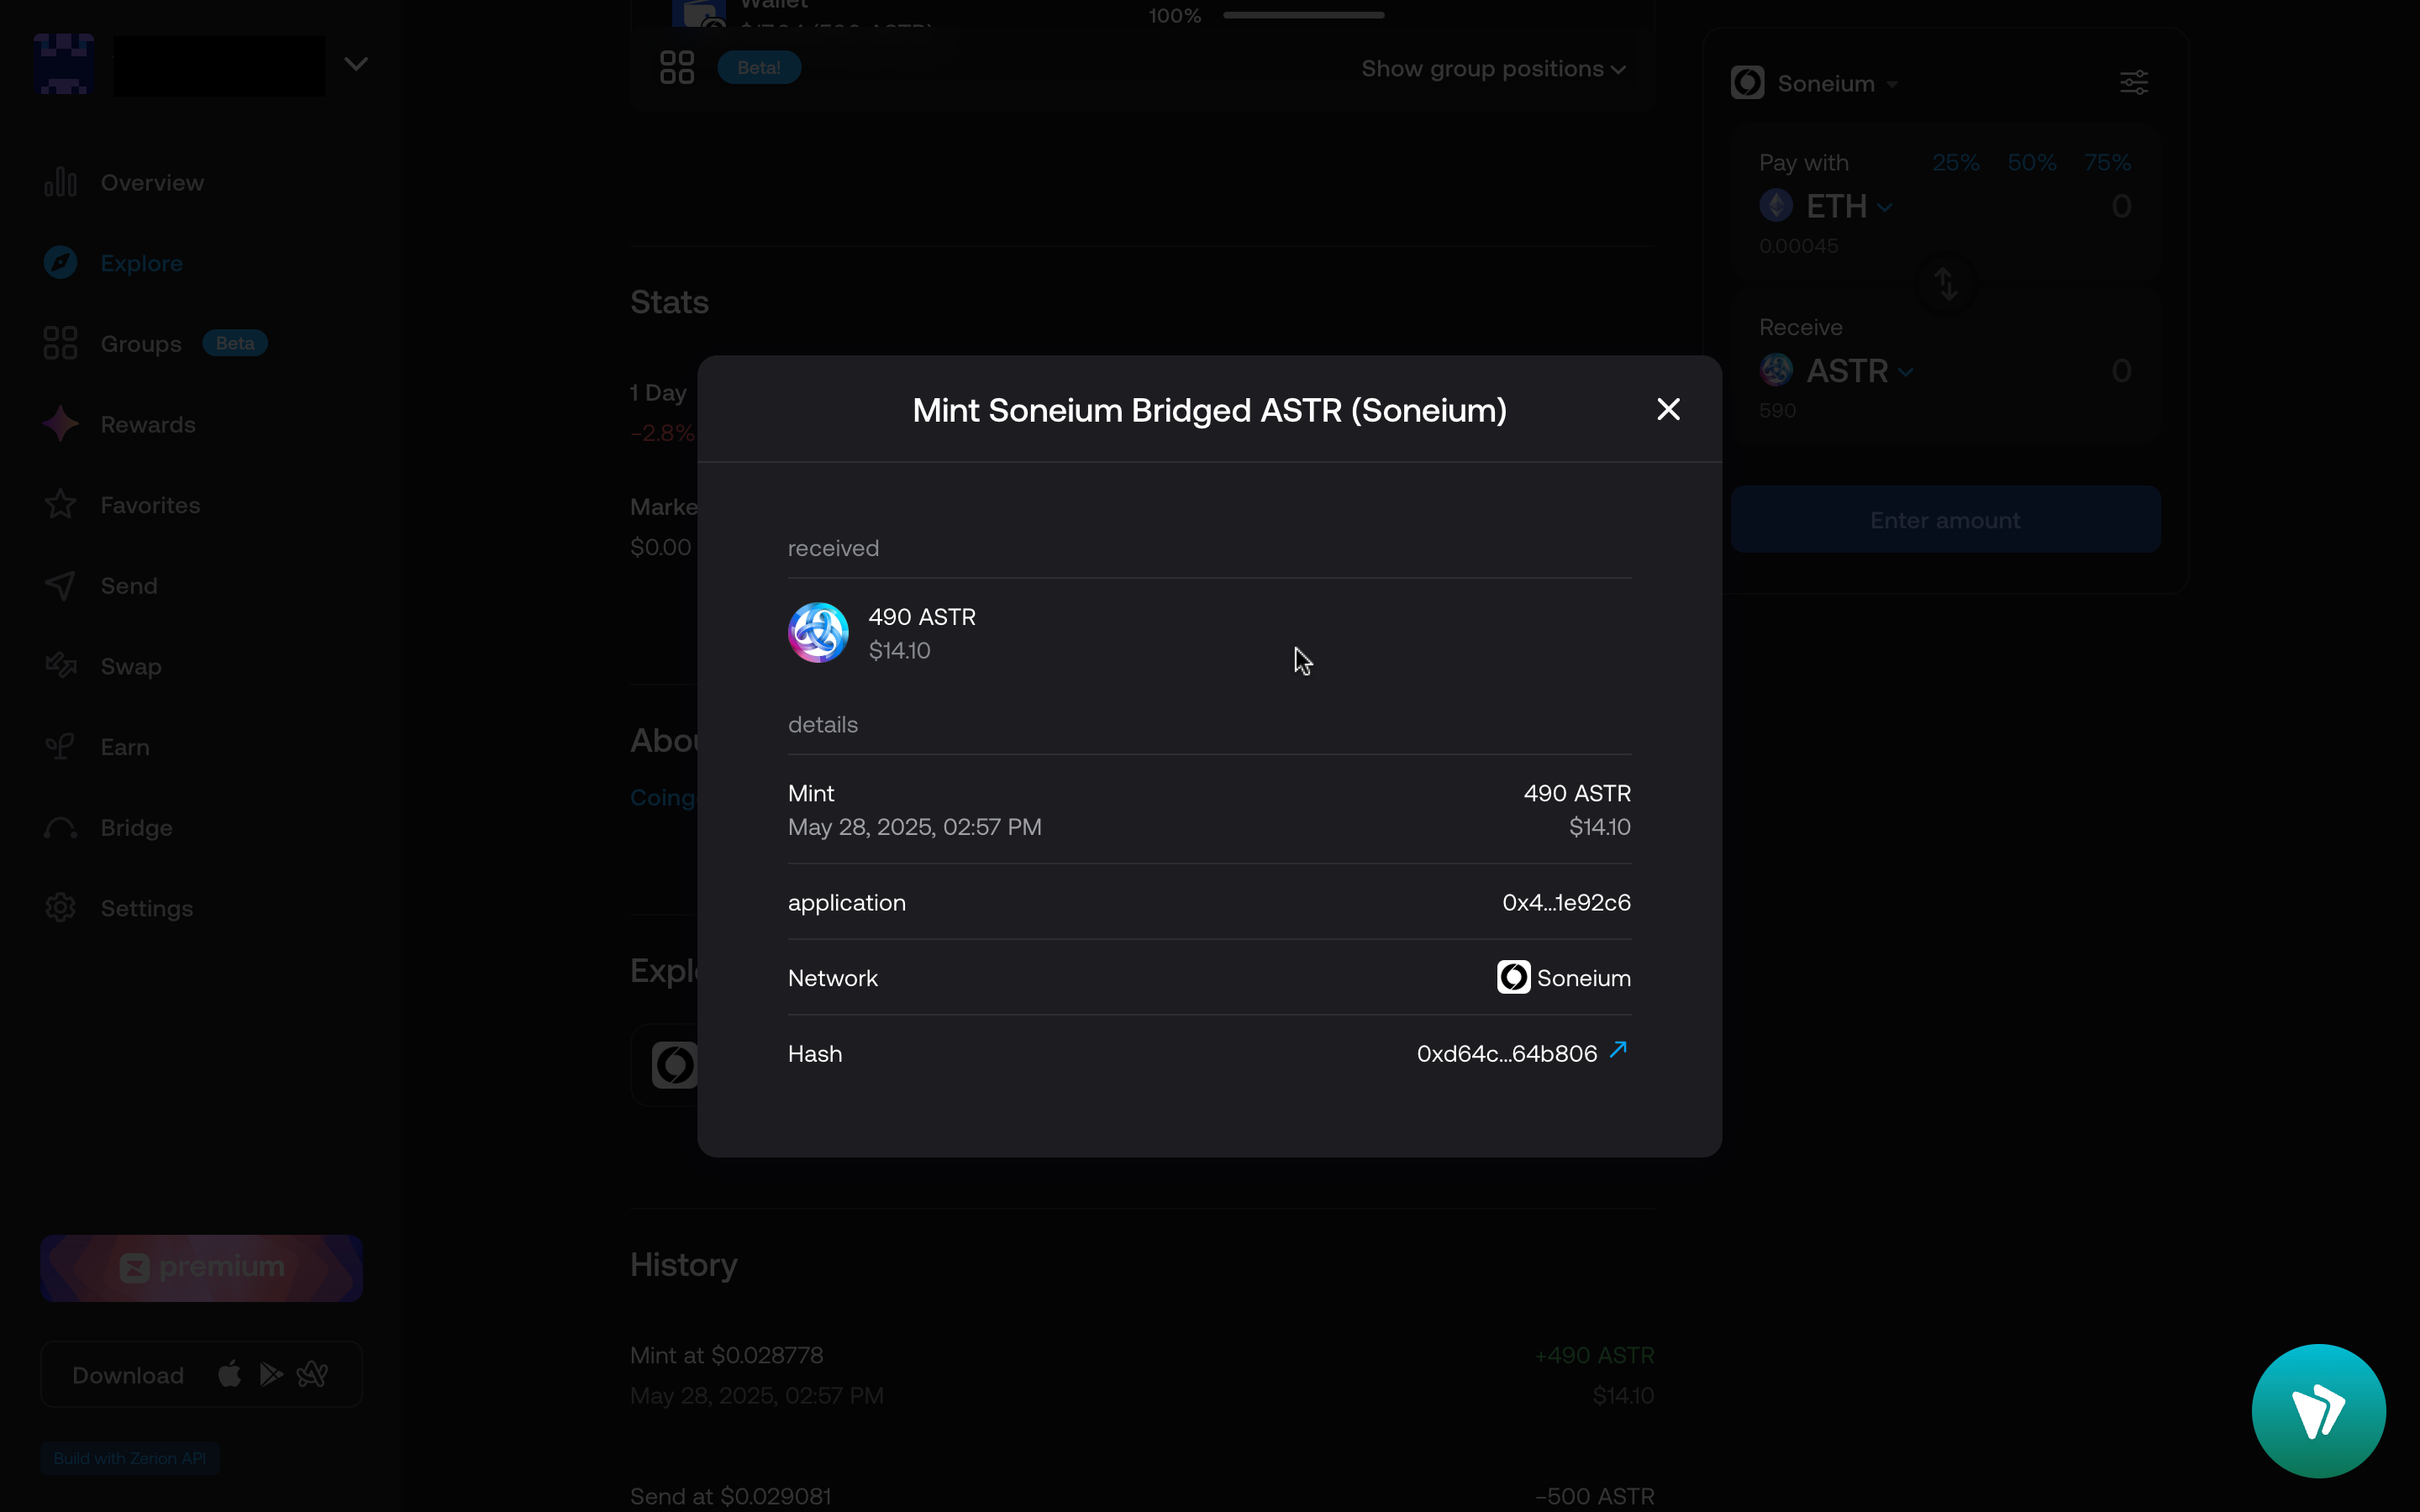
Step 8: Verify the transaction
Finally, you can go to the Soneium block explorer or check the transaction details in your wallet, either way, you’ll be able to verify that your ASTR tokens have arrived on the Soneium network within minutes.
Congratulations! You’ve successfully sent tokens from Astar Substrate (L1) to Soneium quickly and easily.
3. Video tutorial
To wrap up, here’s a video tutorial that will guide you through the step-by-step process in case anything wasn’t clear. Feel free to ask your questions in our official Astar Discord.