Interact with Ledger on Astar EVM using MetaMask
Introduction
Ledger devices can be used on Astar EVM Network to perform and sign transactions using the Ledger default Ethereum application.
This means that MetaMask users can now sign transactions for EVM accounts on Astar Network using Ledger Nano S (plus) or Ledger X devices.
This guide will show you how to set up Astar EVM on your Ledger hardware wallet and how to use it in combination with MetaMask.
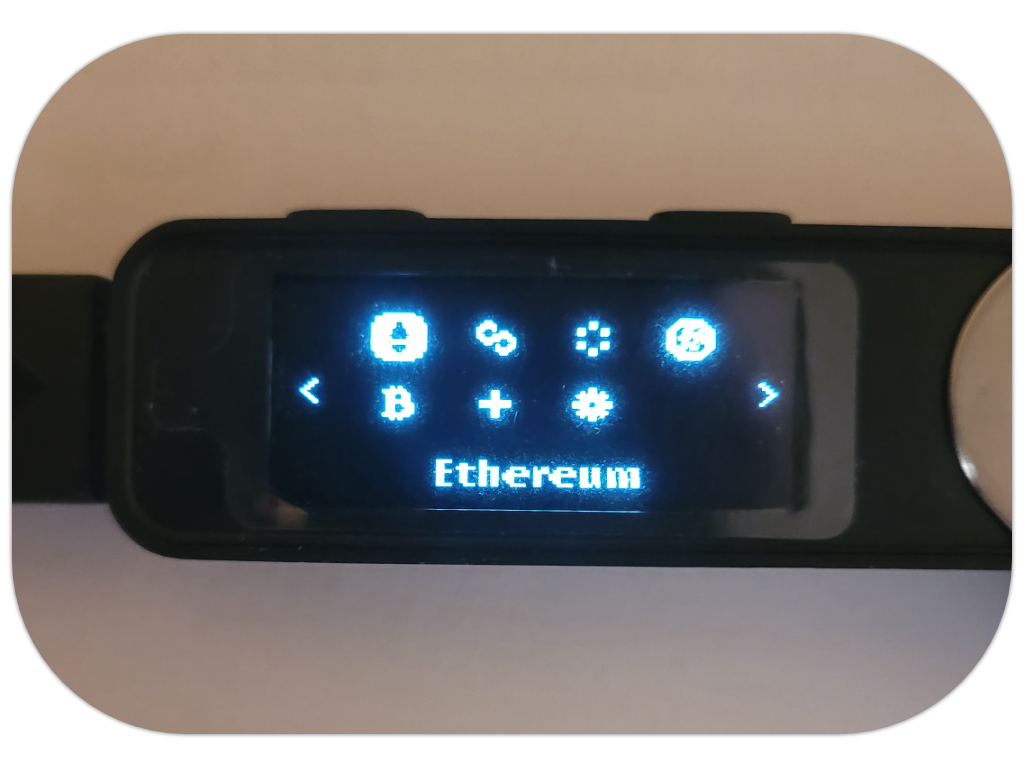
Photos are taken using Nano S Plus device, and the example shows interaction with Ethereum app, but the process is the same with Nano S and Nano X devices.
Requirements
Your Ledger device is ready for use
- Make sure you have set up your Ledger device
- Update your device to latest firmware
- Download and install Ledger Live app for your OS
- Download and install MetaMask for your browser
Astar Network set up on Metamask
If you already have this, feel free to skip this part.
- In the MetaMask menu, navigate to
Settings→Networks, and click Add a network; - Enter following details:
| Public endpoint Astar | |
|---|---|
| Network name | Astar Network |
| New RPC URL | Astar Team: https://evm.astar.network |
| BlastAPI: https://astar.public.blastapi.io | |
| Dwellir: https://astar-rpc.dwellir.com | |
| OnFinality: https://astar.api.onfinality.io/public | |
| Chain ID | 592 |
| Currency symbol | ASTR |
| Block Explorer URL | https://astar.blockscout.com/ |
- Close the
Settingsmenu and, from the drop-down menu, select the network you wish to interact with.
Install Ethereum app to your Ledger device
- Open My Ledger in Ledger Live.
- Connect and unlock your Ledger device.
If asked, allow
My Ledgerto access your device. - Search for Ethereum in the app catalog.
- Click Install.
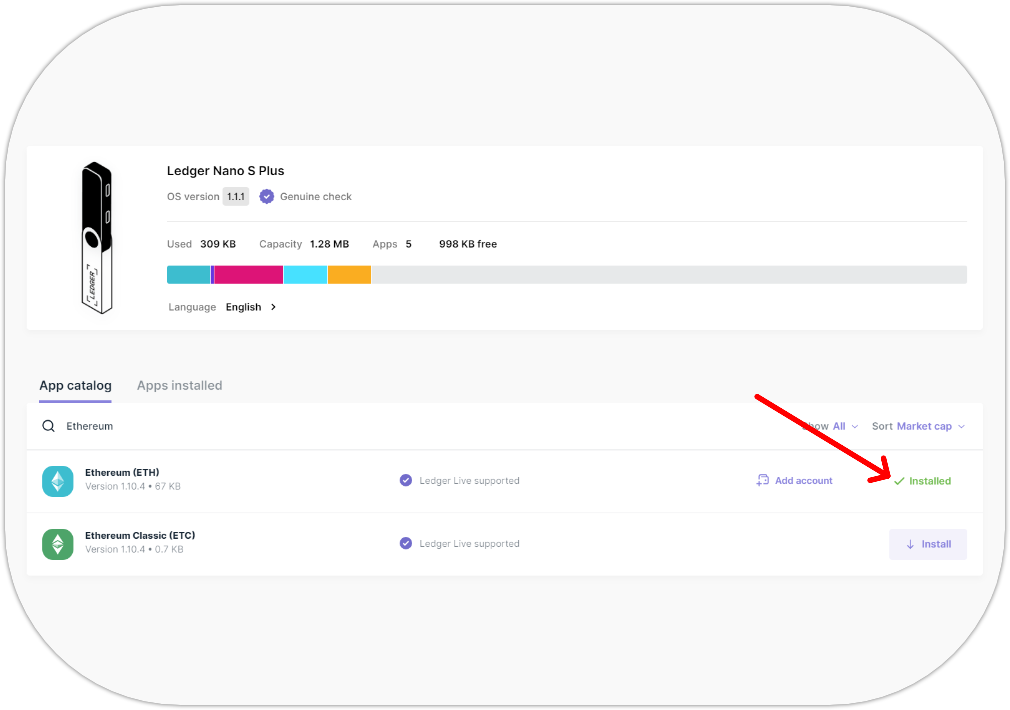
After this step, you should have the Ethereum app installed:
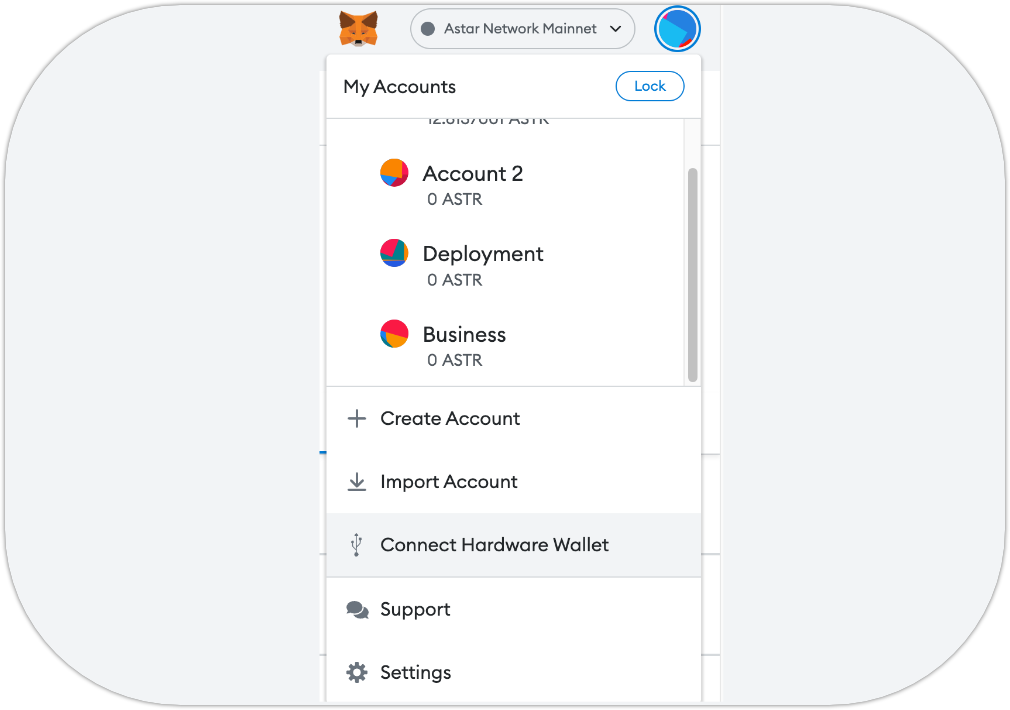
Connecting your Ledger device to MetaMask
- In MetaMask menu, select Connect Hardware wallet;
- On the next screen select Ledger and click Continue;
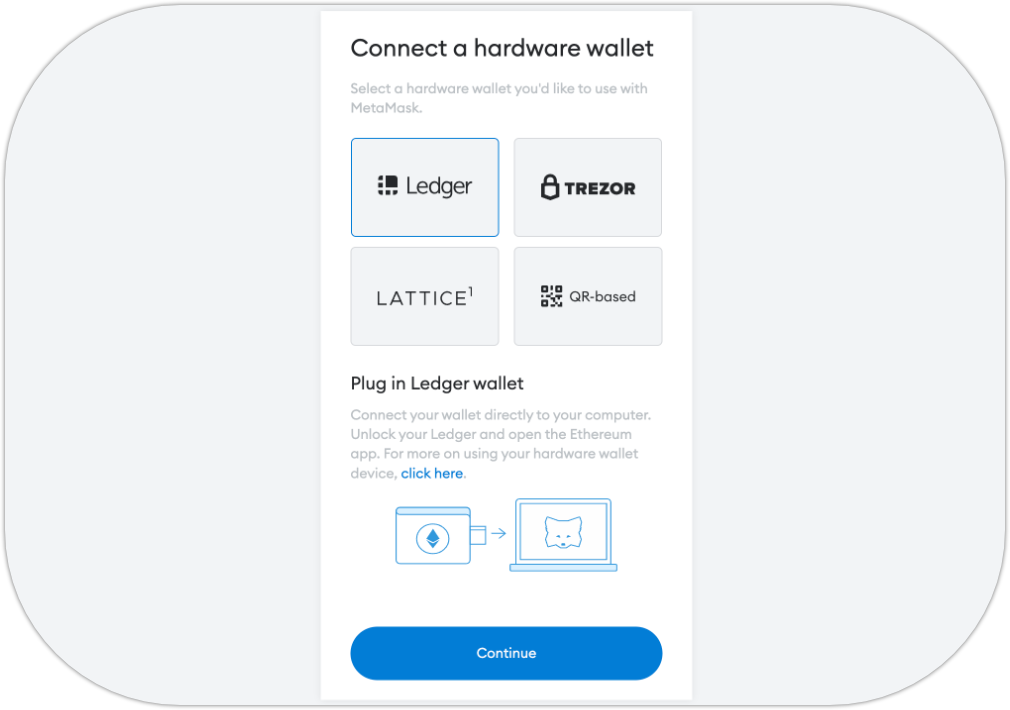
- Pair and Connect your Device when prompted by the browser;

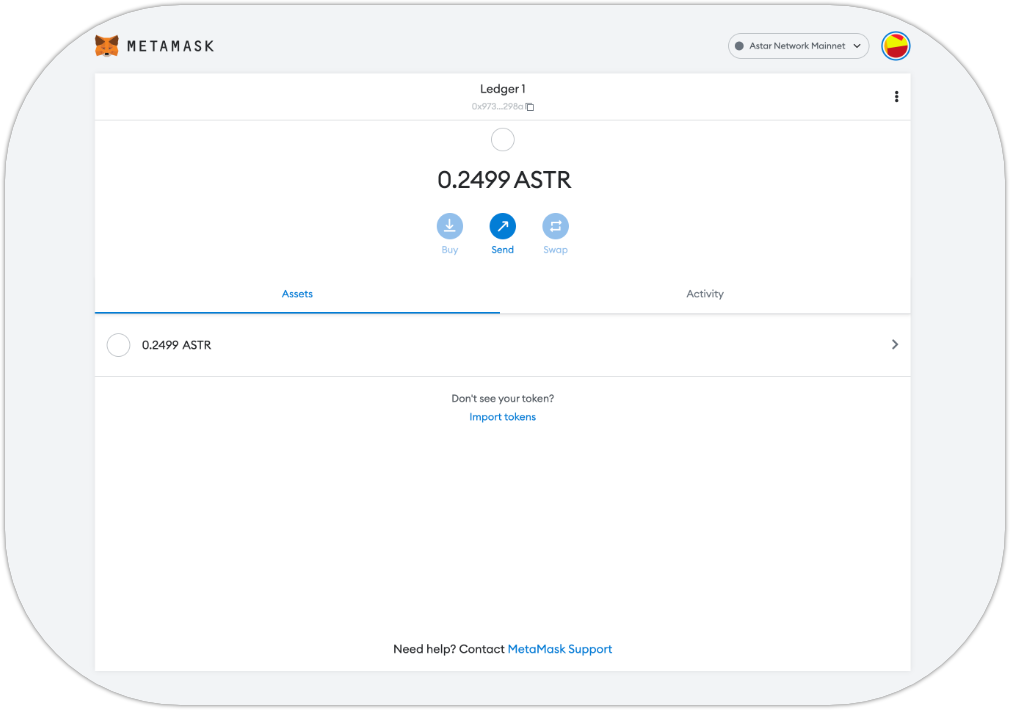
- Select an account you wish to connect and click Unlock;
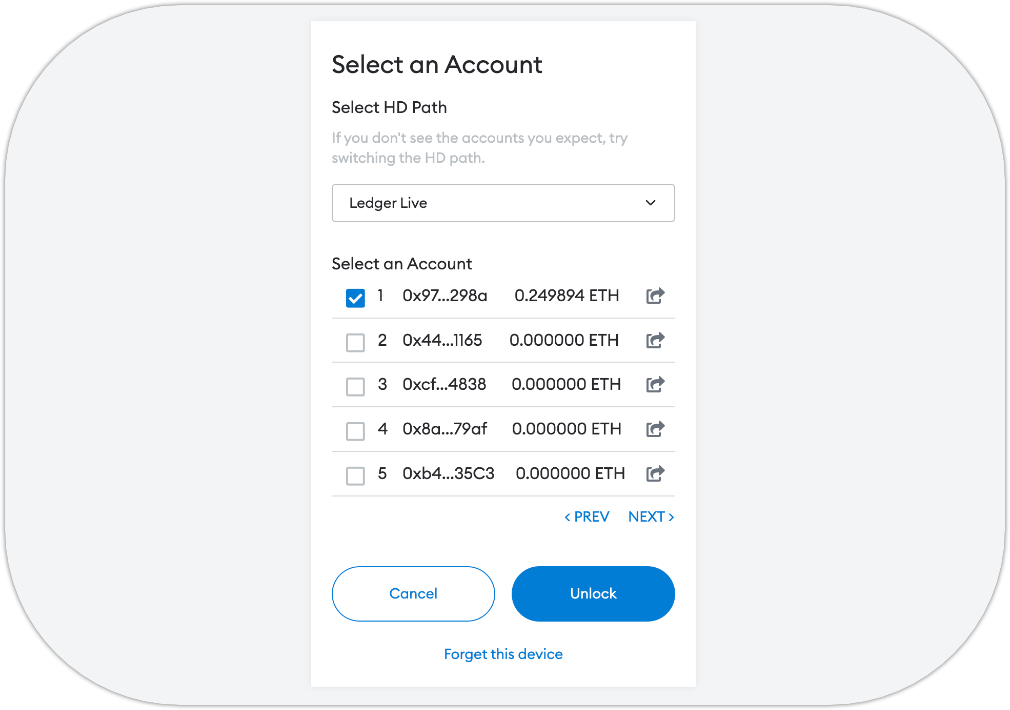
- You should now see your account and balance:
Receiving tokens
To receive tokens, copy the address of your connected account by clicking your account name in MetaMask header, and send some tokens to that address from your preferred source.
Sending tokens
- In MetaMask, click Send button and enter the address you wish to send to;
- Enter the amount to send and click Next;
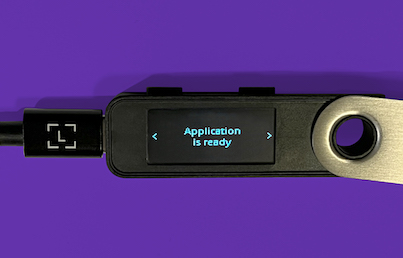
- Connect your Ledger device and unlock it;
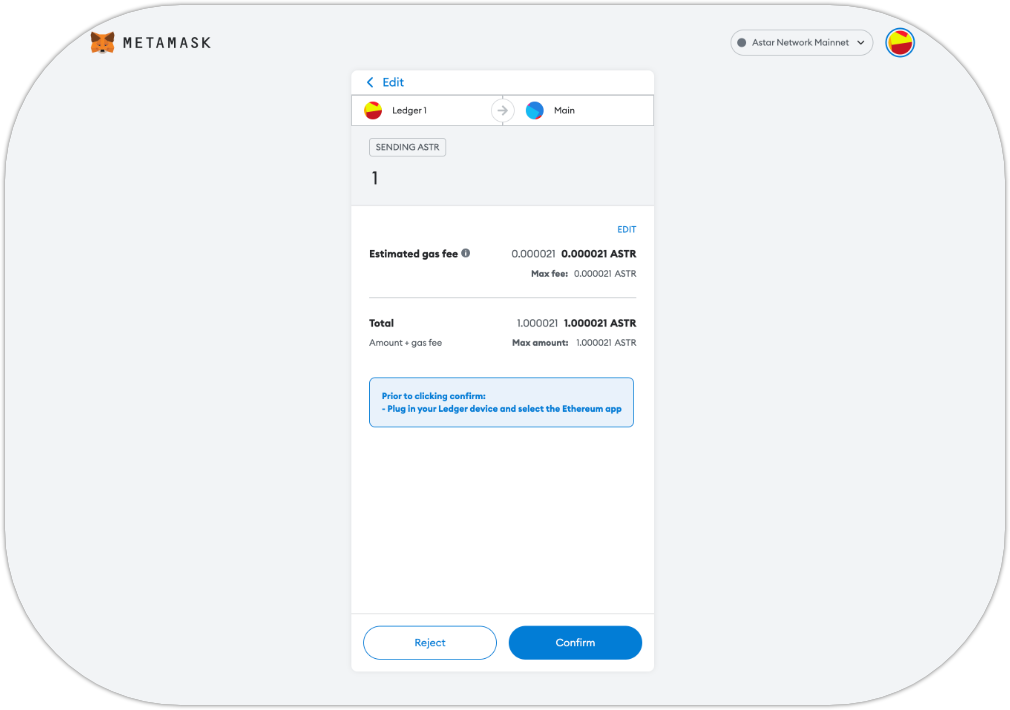
- When your Ledger device screen is showing
Application is ready, click Confirm in MetaMask;
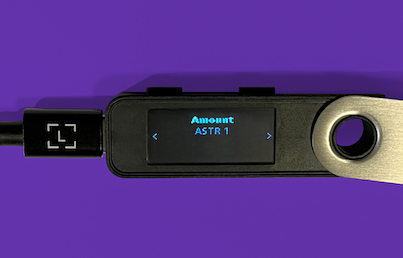
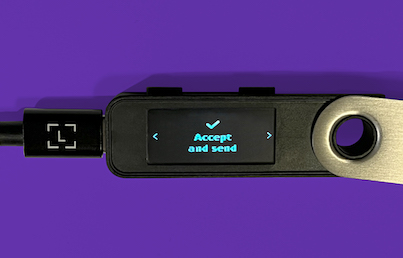
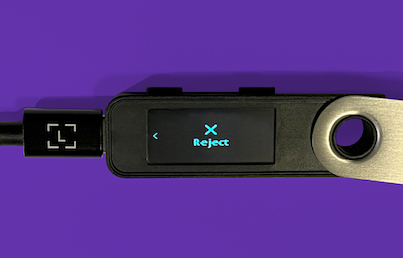
- Review the transaction on your Ledger device;
a) Check amount:
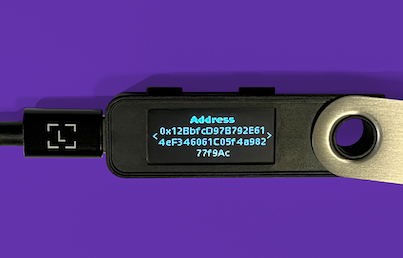
b) Check receiving address:
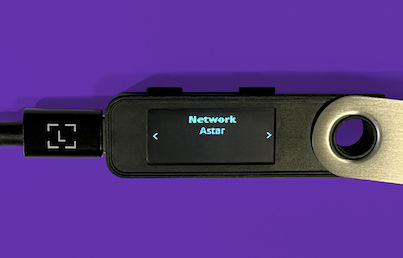
c) Check network:
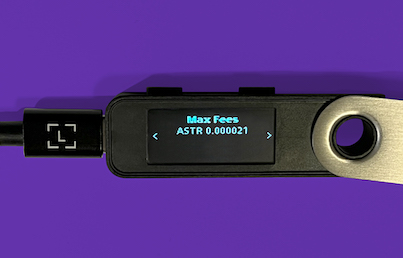
d) Check Fees:
- Check the transaction result in MetaMask
Activitytab.
Interacting with smart contracts
In order to interact with smart contracts, you need to enable blind signing in the Astar EVM app on your Ledger device:
- Open the app;
- Navigate to
Settingsand Confirm; - Confirm the
Blind signingoption, so it turns toEnabled; - Navigate to
Backand Confirm.