How to Use Astar WASM IDE?
Set up the entire process of writing, compiling, deploying, interacting, querying, and verifying with Astar WASM smart contracts."
1. Choose a Template
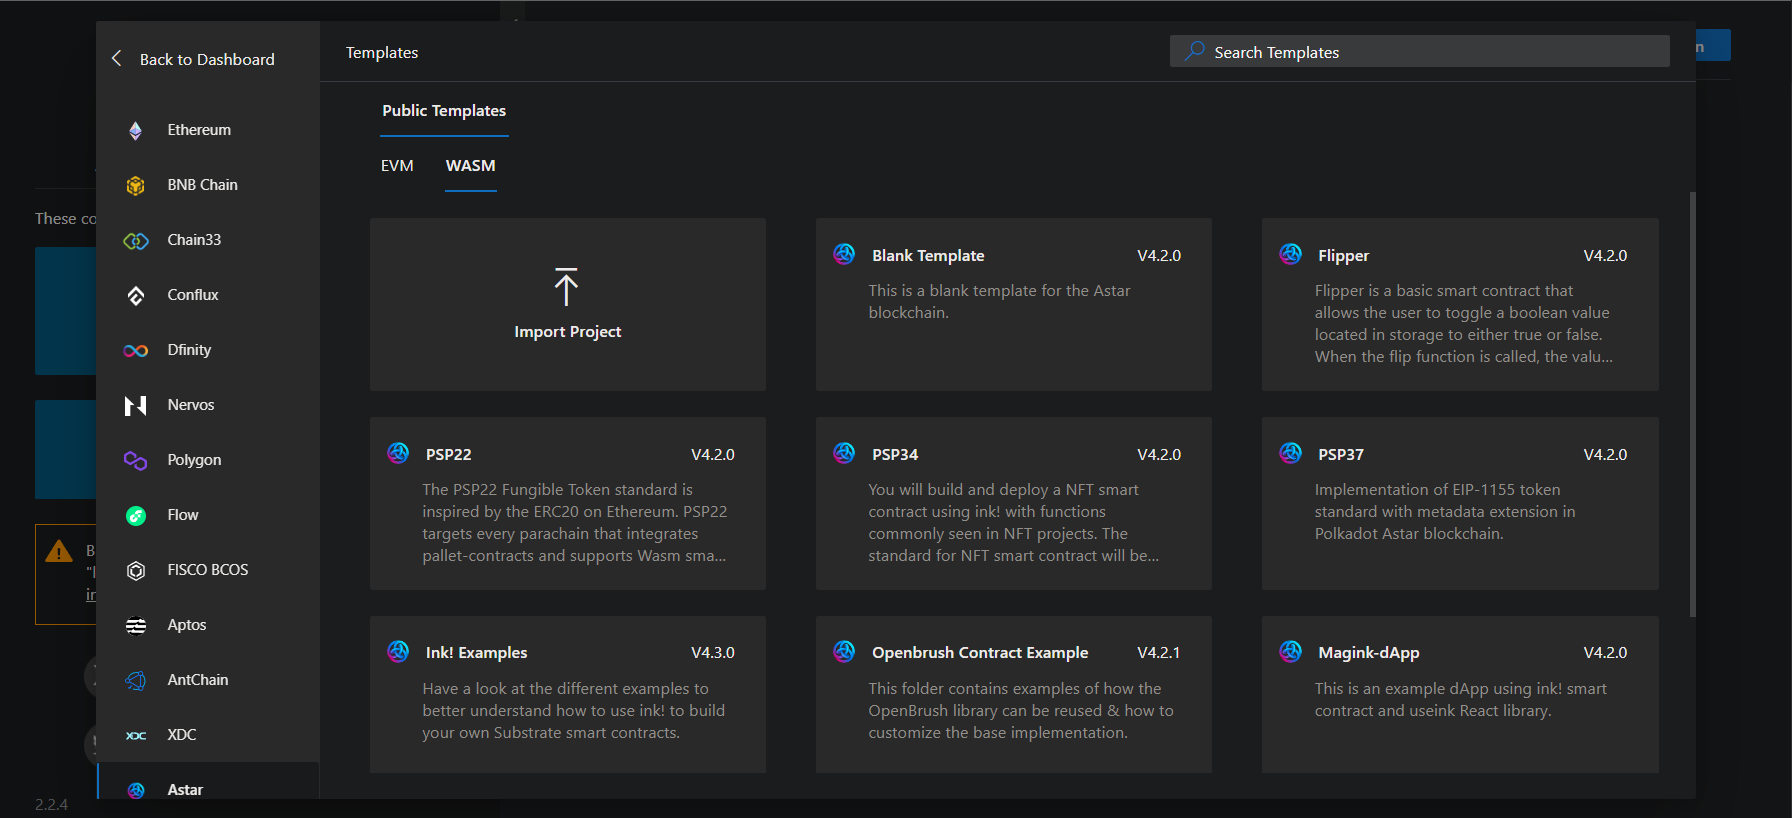
Astar WASM IDE offers developers a variety of basic or complex templates, such as Flipper, PSP22, PSP34, Magink-dApp, and more. Click to access a template.
2. Write a contract
Upon entering the project, the README.md file included in the folder will be automatically previewed.

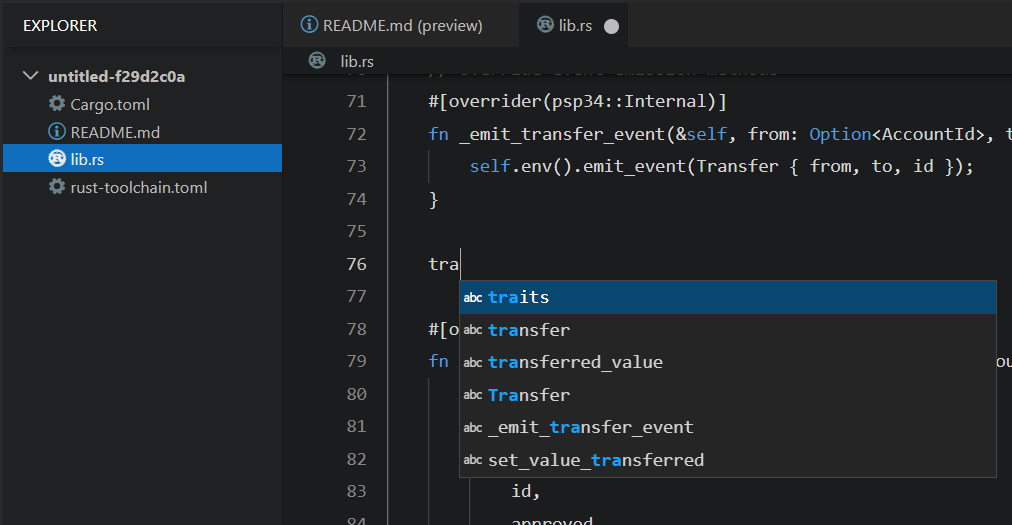
In the Explorer panel, you can create new files (or folders), refresh the directory, and download files. You can also directly click on the files that come with the template.
Click on a contract file to edit the code.
3. Compile the contract
Once the contract code is written, click the "Compiler" button on the right-hand menu to open the compilation module. Choose whether to enable "release" and "nightly" (usually not required), and then click "Build ***.rs" to initiate the compilation.
Compiling WASM contracts takes a few minutes, so in the meantime, we can proceed with the next step.

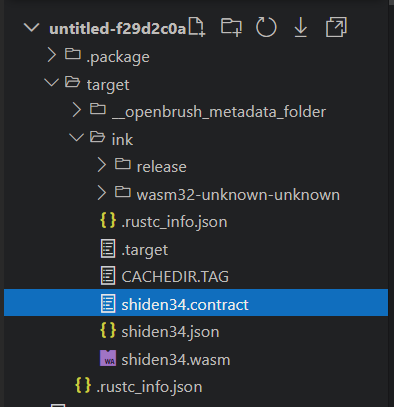
After a successful compilation, the left-hand Explorer panel will display the "target/ink" folder, and within that folder, you will find the "***.contract" file (used for deploying the contract).
4. Connect to Astar WASM
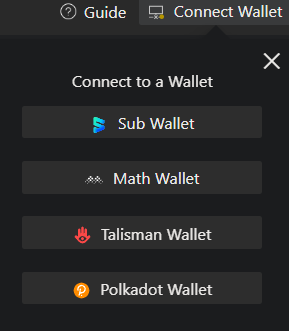
Before deploying the contract, you need to click on "Connect Wallet" in the upper right corner, choose your wallet, and use it to connect to the Astar blockchain.
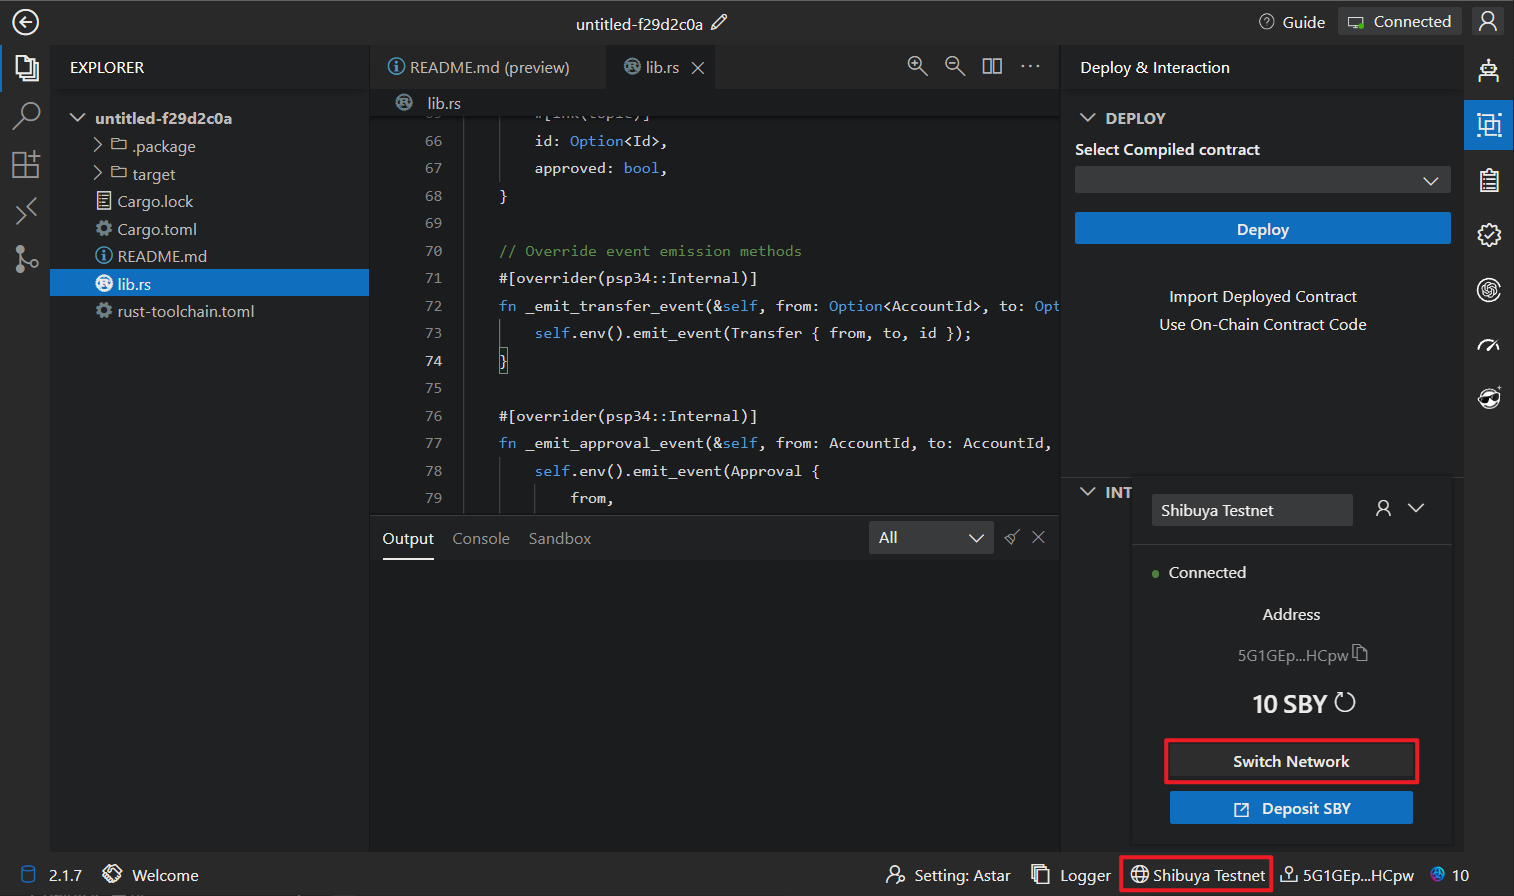
By default, it's connected to the Shibuya testnet. If you need to switch to another network, you can click on "Shibuya Testnet" in the bottom right corner to change the network.
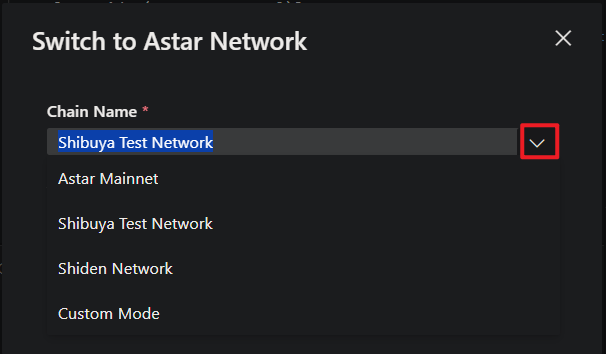
ChainIDE supports switching between four networks: Astar Mainnet, Shibuya Testnet, Shiden Mainnet, and Custom Network.
4.1 Connect to Swanky Node
Swanky Node is a Substrate-based blockchain designed to facilitate local development of Wasm smart contracts. If you require a substantial amount of tokens for testing and have high-speed interaction requirements, this section is worth exploring.
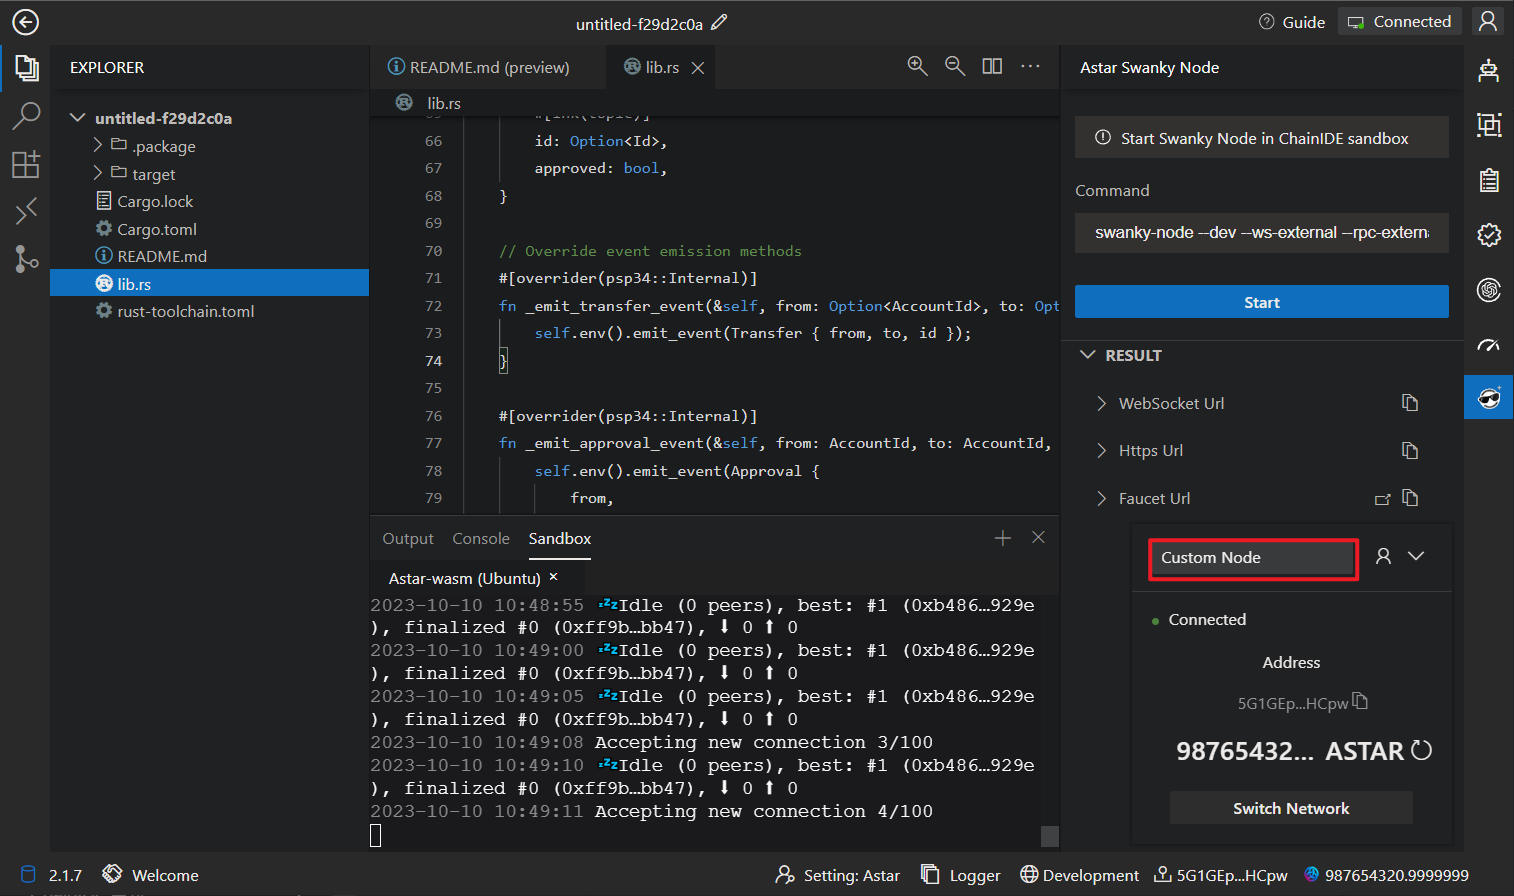
ChainIDE has integrated a graphical Swanky Node. Click on "Astar Swanky Node" on the right-hand side and then click "Start."

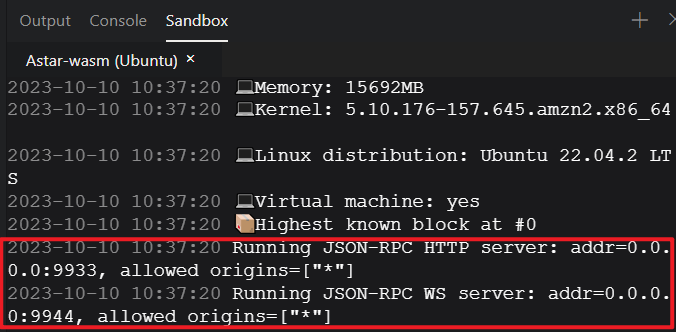
Wait for a few seconds until the Sandbox displays the following two lines.
Click on the "Jump" link in the Faucet URL to obtain test tokens on the Swanky Node's local network.
Choose an account with tokens and transfer some tokens to your own wallet.
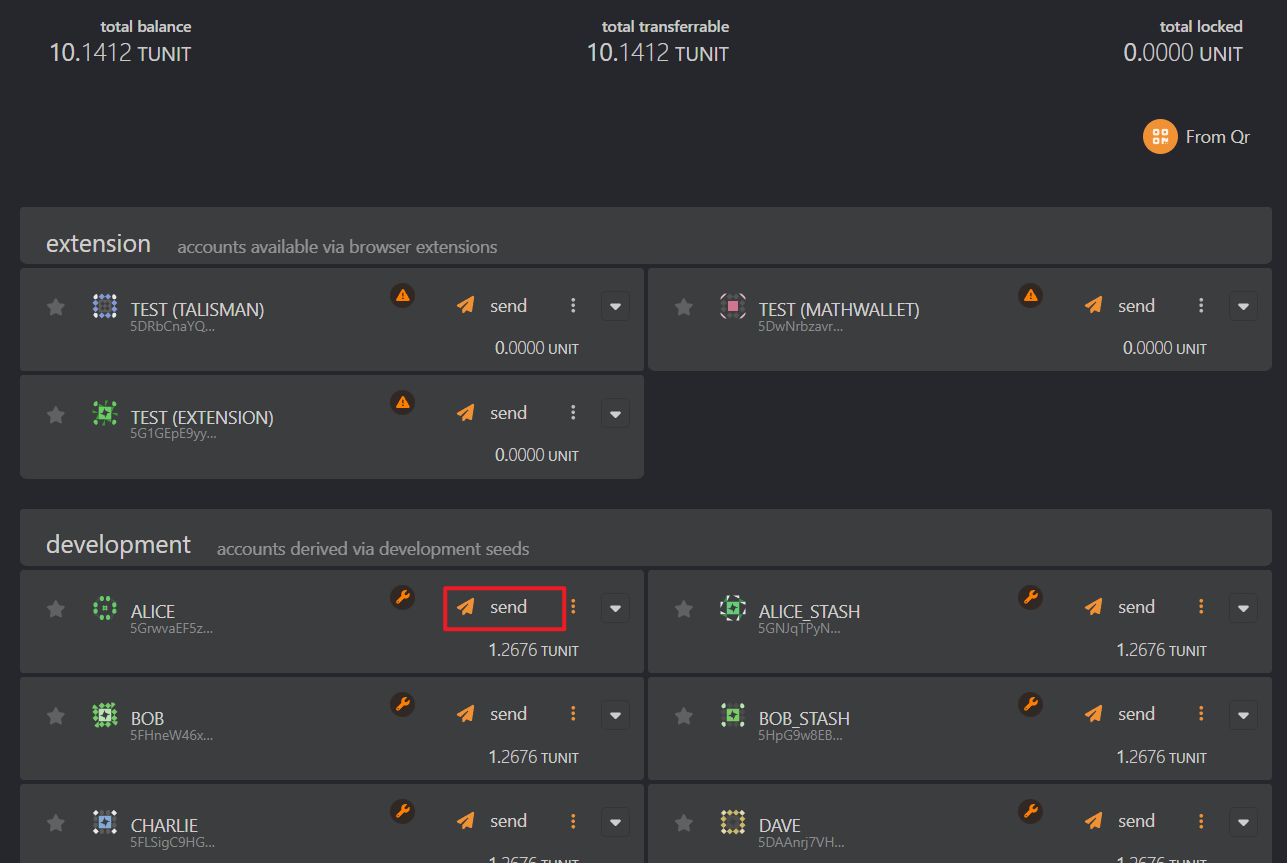

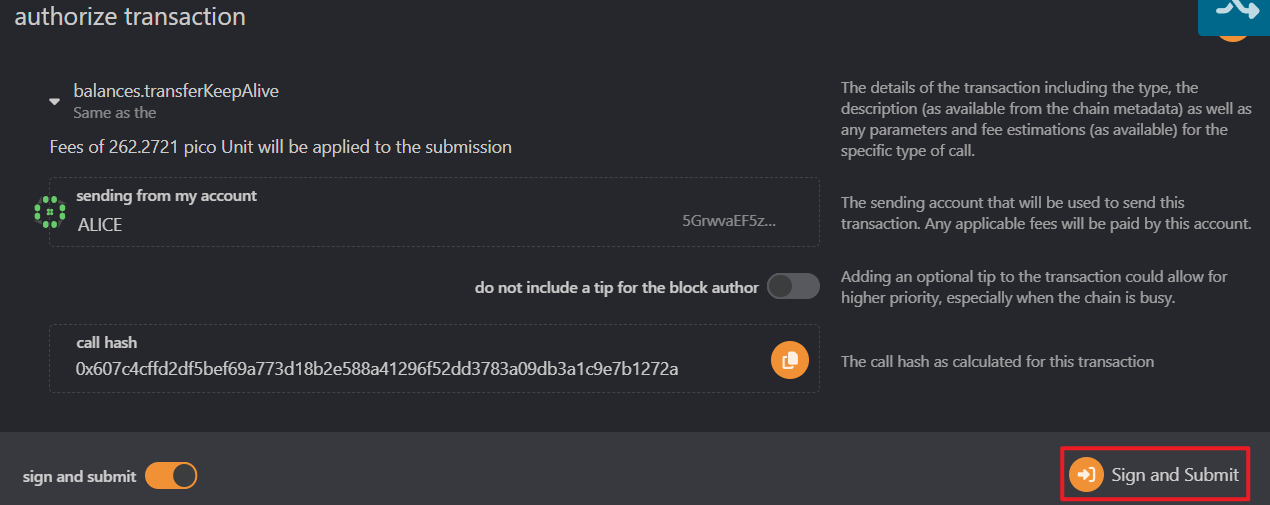
Return to the ChainIDE for Astar page and copy the WebSocket URL.
Refer to [step 3, "Connect to Astar WASM"](#3. Connect to Astar WASM), select "Custom Mode," and enter the WebSocket URL you copied in the previous step. Then, click "Switch."

Congratulations, you have successfully switched to the Swanky Node local network.
5. Deploy the contract
Click the "Deploy & Interaction" button on the right-hand side, which will bring up the deployment and interaction pages. Select the compiled contract, click "Deploy" to initiate the deployment (then confirm in your wallet). After successful contract deployment, the console will display the contract deployment result and relevant information.

In addition, you can click on "Import Deployed Contract" to import contracts that have already been deployed, or you can use "On-Chain Contract Code" to deploy contracts using a CodeHash.
6. Contract interaction
After a successful contract deployment, you can interact with the contract. Click on the deployed contract, choose the corresponding interface, and click "Submit" or "Get" to perform interactions.

7. Transaction Query
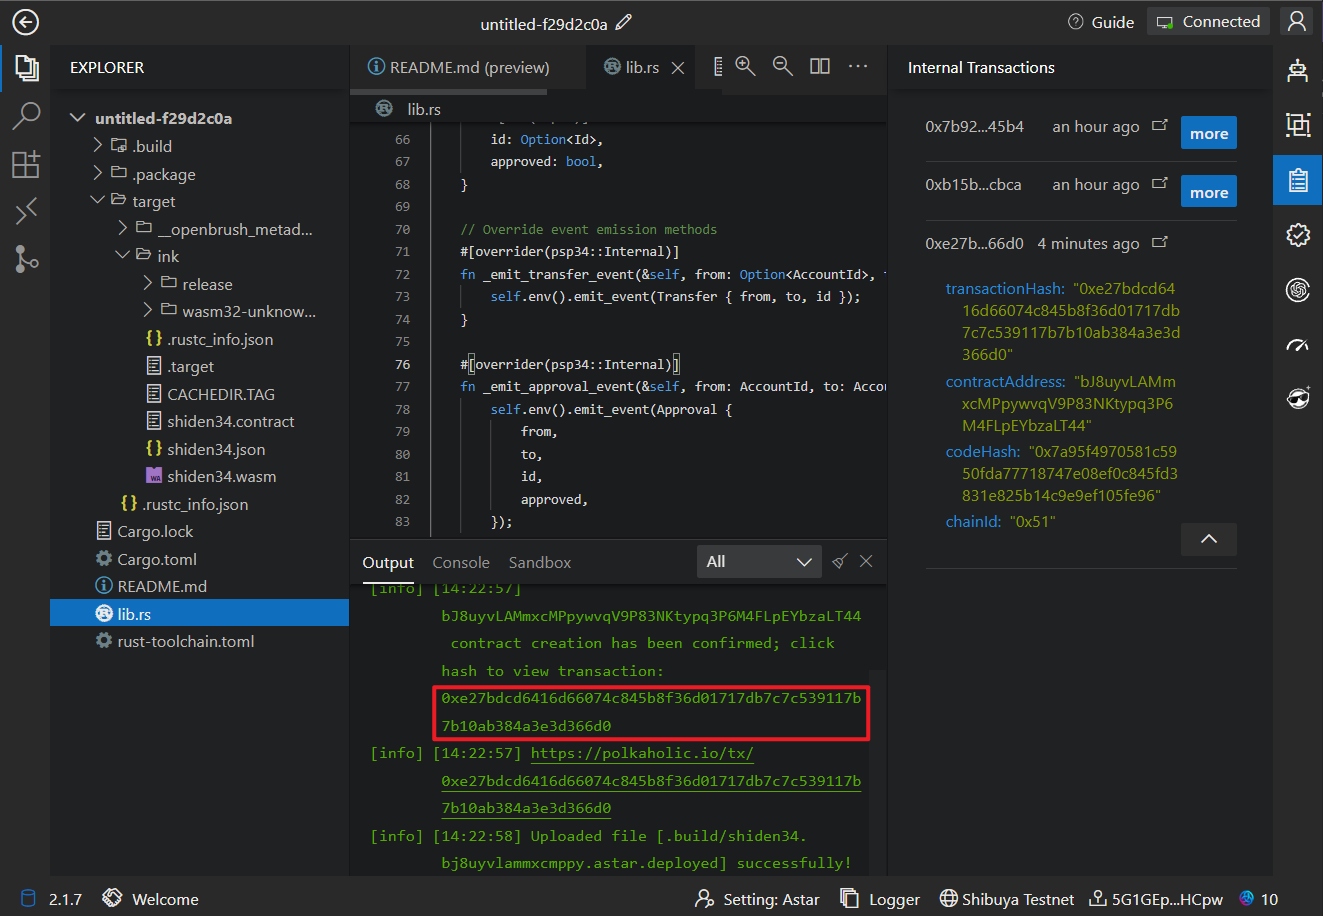
Click on the transaction hash in the Output section to view the specific details of each transaction.
8. Contract verification
Contracts compiled using ChainIDE can be submitted to Polkaholic for contract verification.
Click the "Scan Verifier" button on the right-hand side, select the network, code hash, and public mode, then click "Publish Verified Code" to initiate the contract verification process.

9. View WASM Developer dashboard
ChainIDE and Polkaholic have collaborated to develop the WASM Developer Dashboard.
Click the "WASM Developer Dashboard" button on the right-hand side to view information such as "Recent Code Stored," "Recent Contracts Instantiated," and "Recent Calls."

10. Astar WASM Sandbox
If you prefer command-line development, you can open the Astar WASM Sandbox, which comes pre-loaded with Swanky Suite, Git and Node.js V16.

11. Serve your dApp
ChainIDE Sandbox makes it easier to develop full-stack dApps by providing powerful features such as port-forwarding. To build the frontend for Astar dApps, you can utilize the magink-dApp template (ref: https://github.com/inkdevhub/magink-dapp) inside ChainIDE and build and test the frontend alongside smart contracts. Follow the below steps to set up the port manager to access the frontend.
11.1 Open Port Manager
Click on the left side's Port Manager
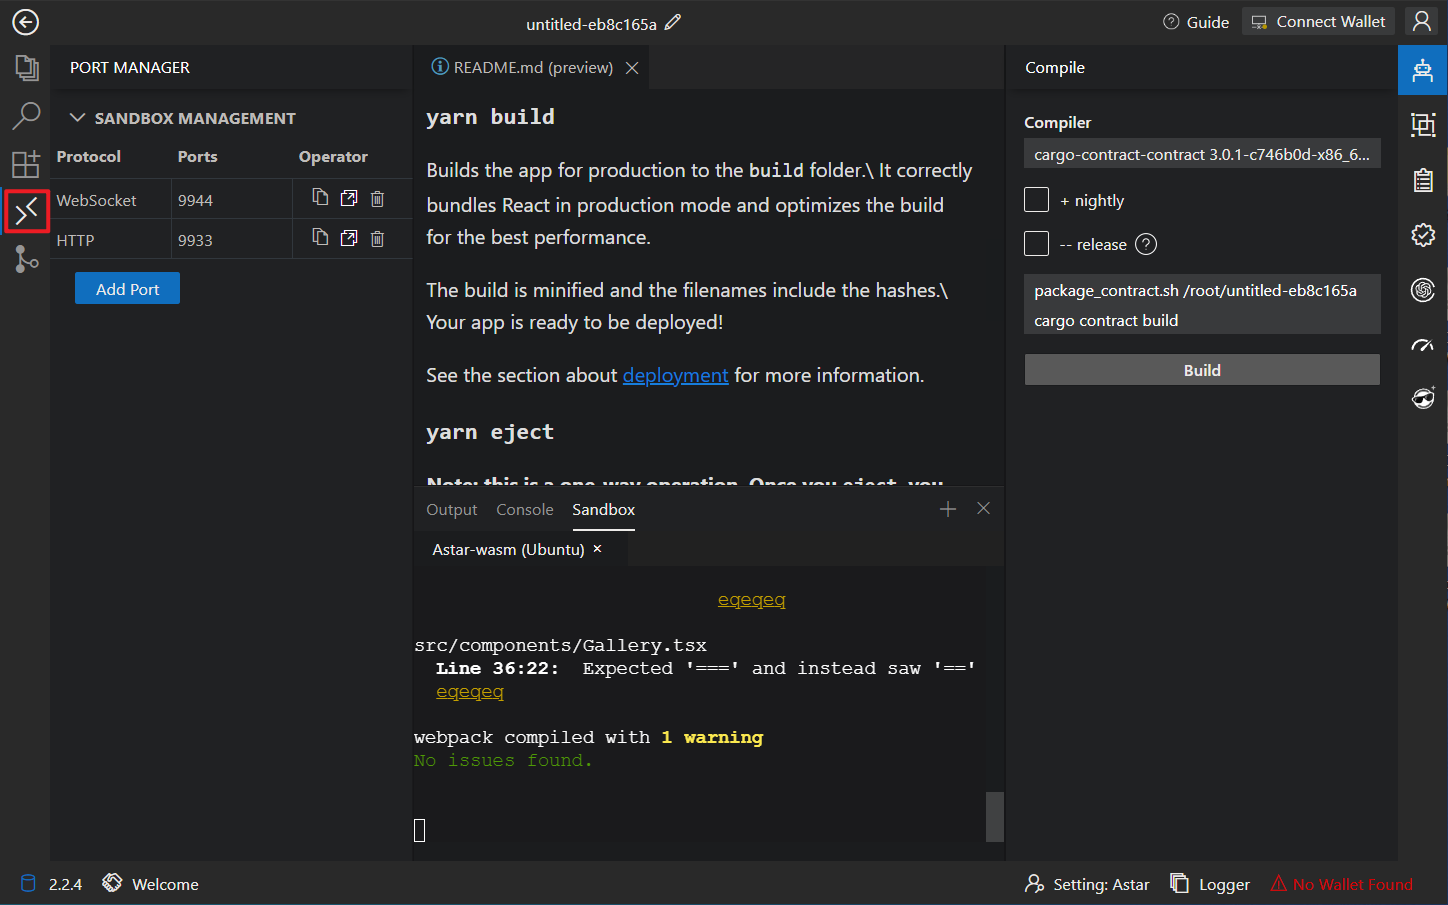
Click on "Add Port"
Select the relevant options and click "Add"
11.2 Access the frontend
Click the jump button to access the corresponding port

