Astar Safe (Gnosis Safe)
Build on the Gnosis Safe infrastructure: take advantage of the most modular, flexible, and secure wallet and identity solution in Ethereum. Astar Safe is available on Astar, Shiden, Shibuya, and zKatana networks.
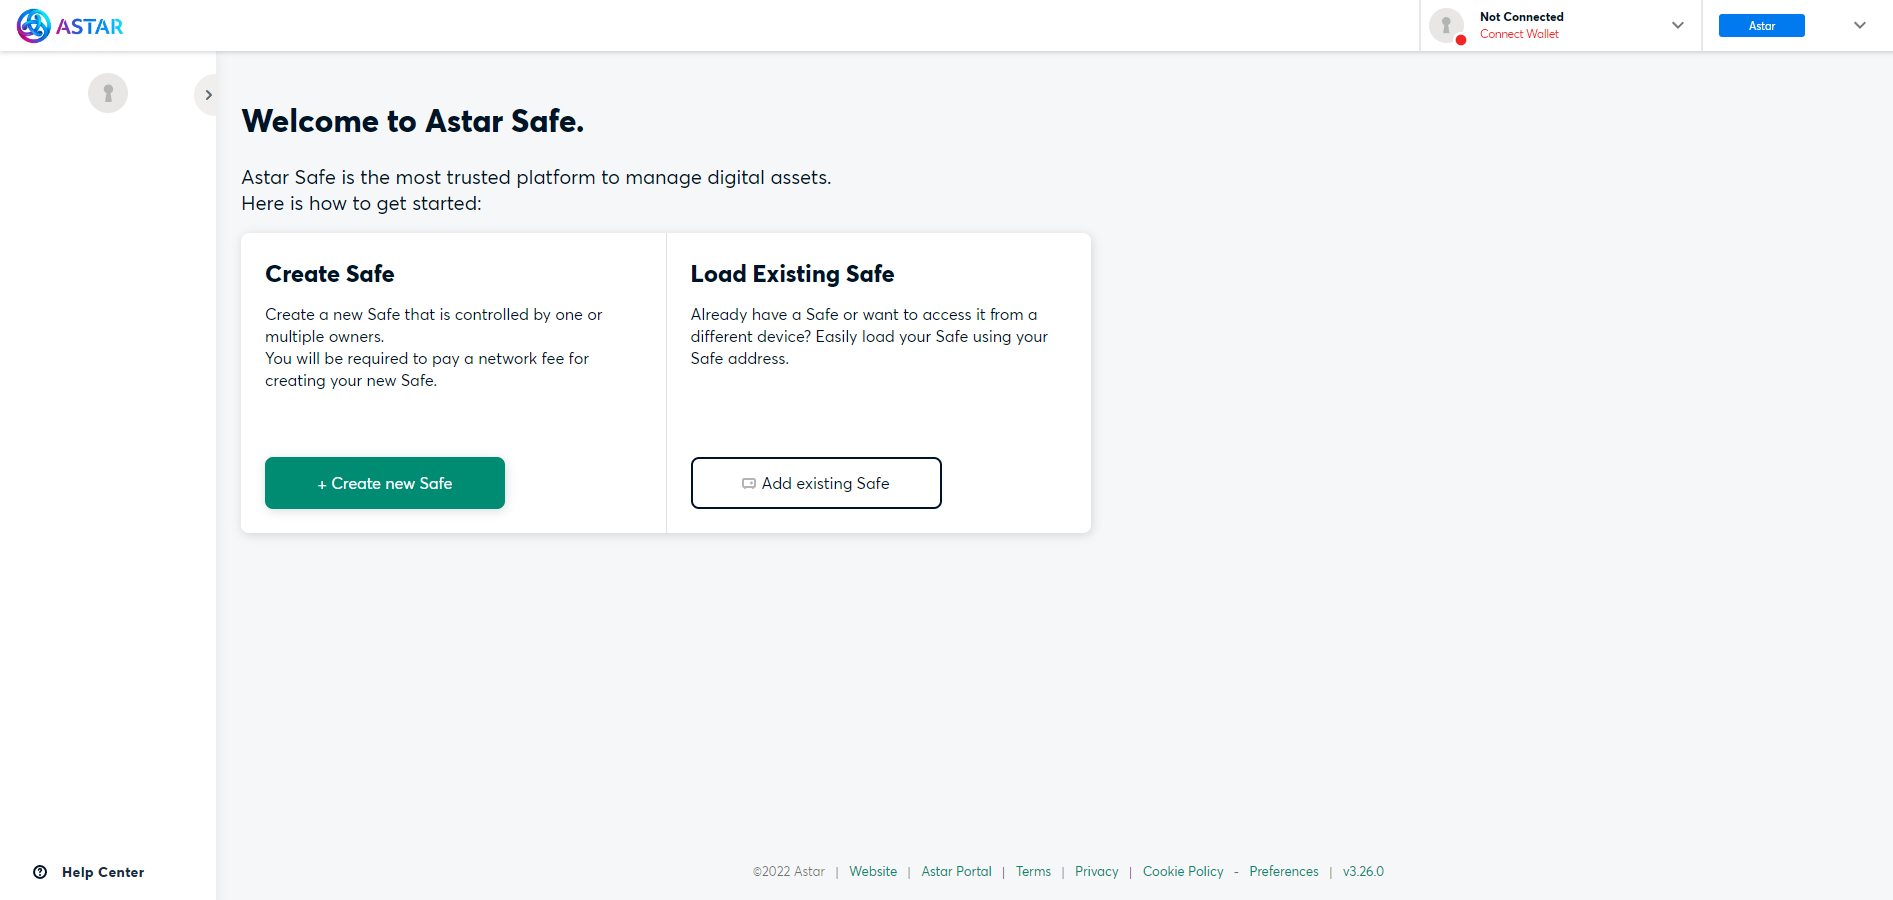
Create a Safe
To get started, navigate to Astar Safe.
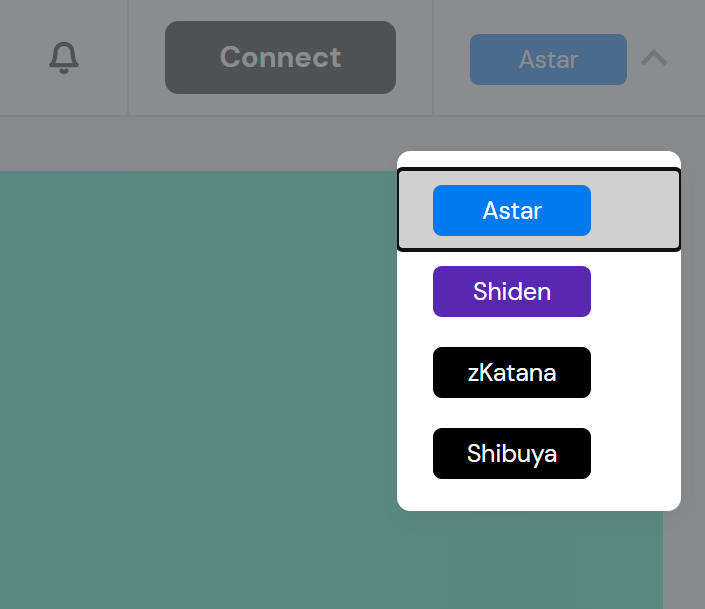
The current guide focuses on creating a MultiSig on Astar Network, but you can choose any supported network from the list.
Connect MetaMask
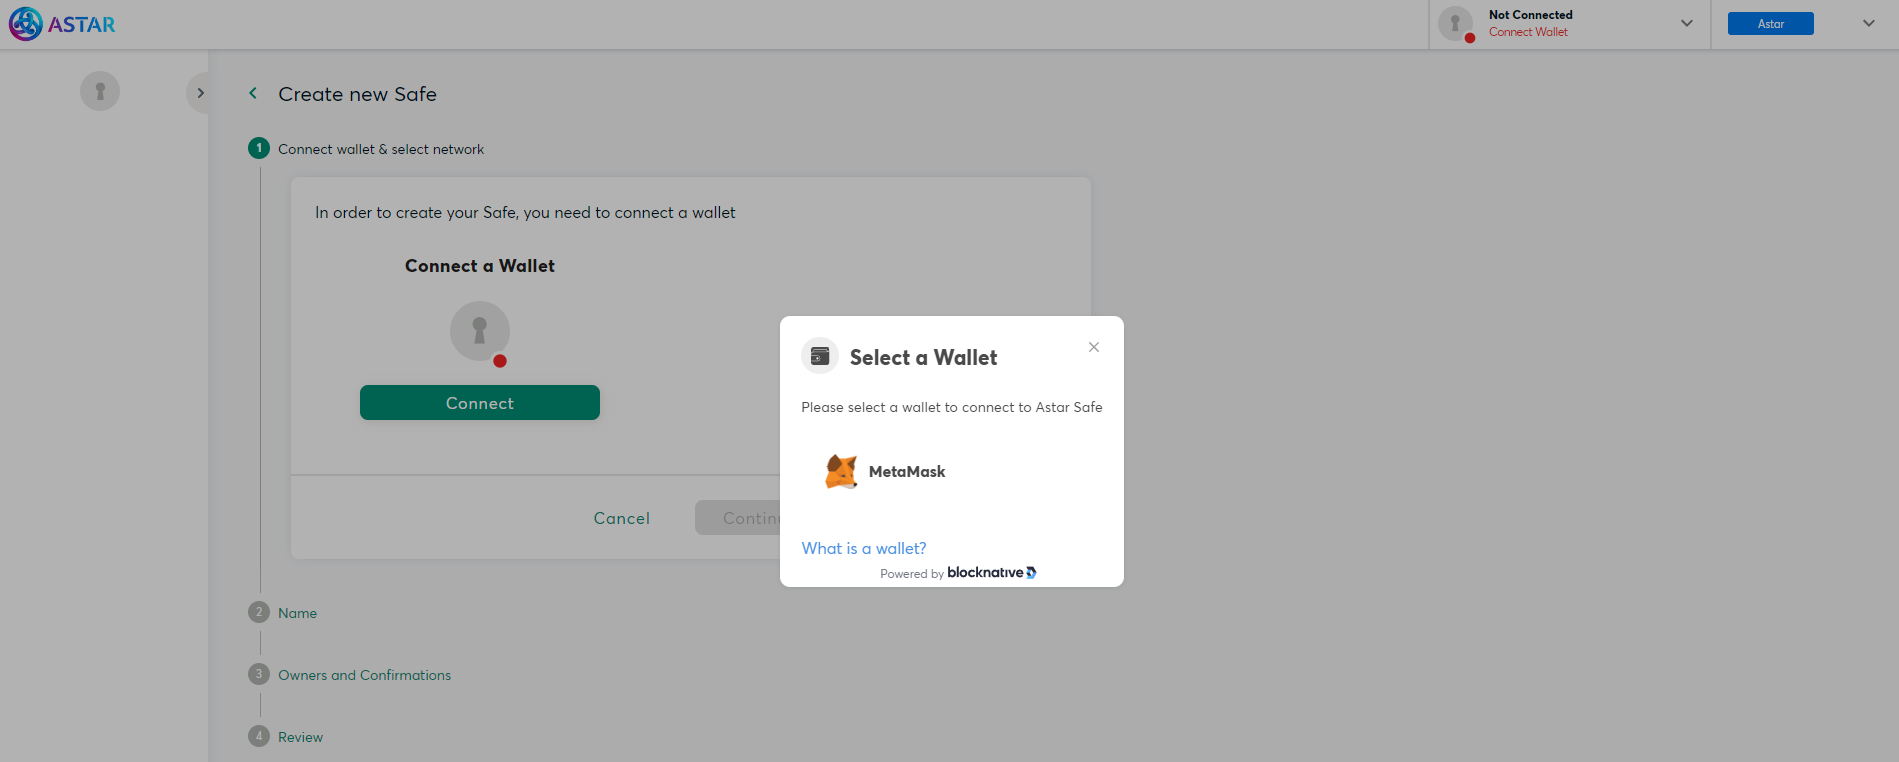
To create a new safe, first connect your wallet:
- Click Connect Wallet
- Select a wallet to connect. For this example, we use MetaMask.
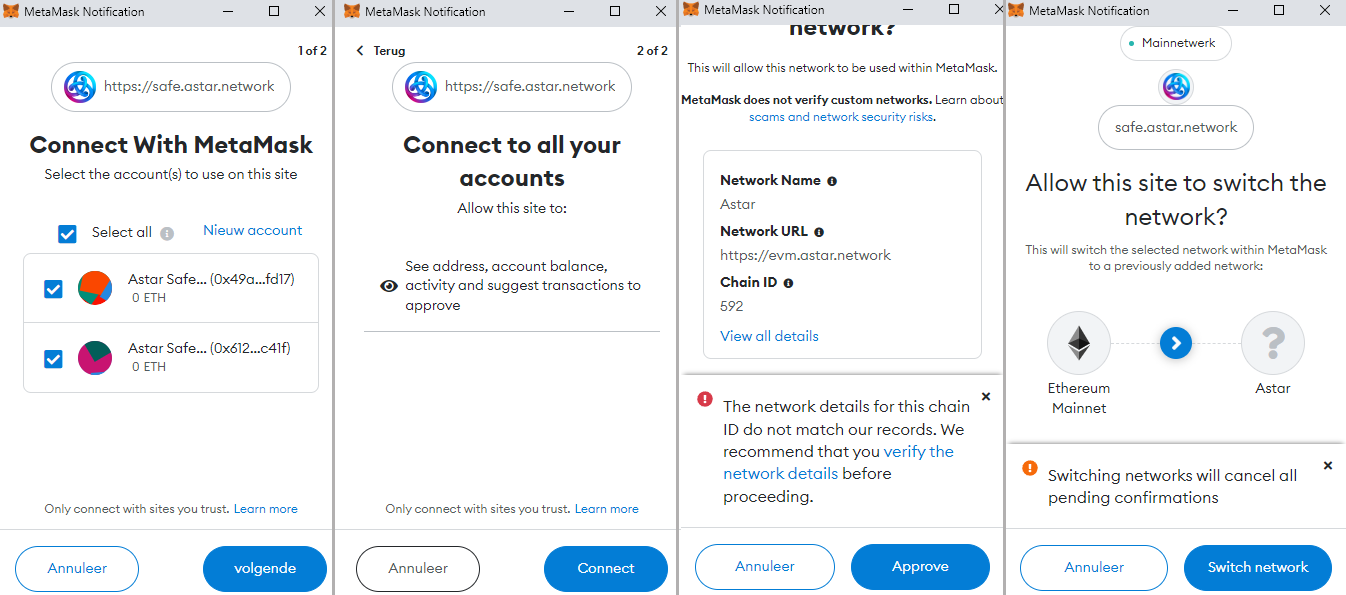
If you're not already signed into MetaMask, you will be prompted to sign in or download the MetaMask plugin. You will then be guided through adding and connecting your accounts, and adding and switching to the Astar Network:
- Select an account and connect to the Safe. You'll want to select at least 2 of the 3 owner accounts and then click Next. You may need to add additional accounts to your MetaMask Address Book For this example, two of the accounts have all been selected.
- Connect to the selected accounts by clicking Connect.
- If you are not connected to Astar Network, and you don't have the network added to your MetaMask, add it as a custom network by clicking Approve.
- Switch the network to Astar Network by clicking Switch Network.
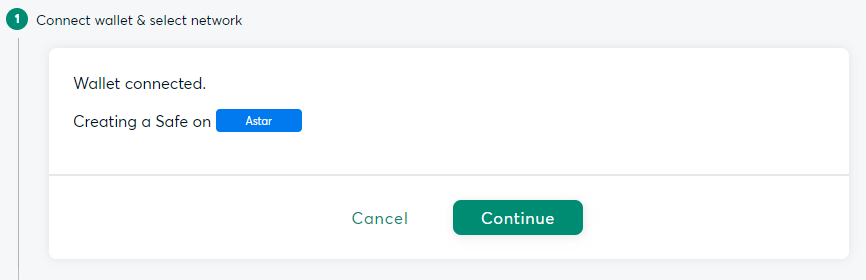
Your wallet is now connected and connected to the correct network. Let's continue by creating a Safe on Astar. Press Continue.
Create New Safe
To create a new Safe on Astar, click Continue. You will be taken to a wizard that will walk you through the process of creating your new Safe. By following these steps and creating your Safe, you are consenting to the terms of use and the privacy policy.
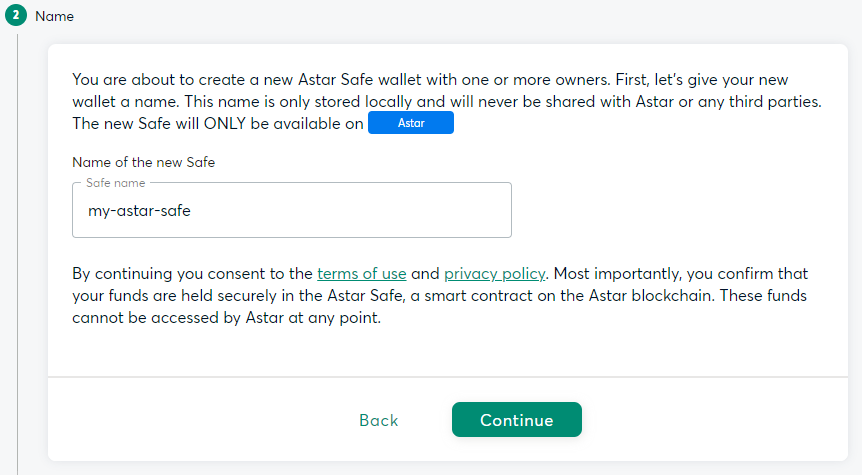
Let's begin by giving your Safe a name:
- Enter the name of your new Safe, for example
my-astar-safe. - Click Continue
Next up is the owners, and confirmations section of the wizard. In this section, you will add the owners of the Safe and specify the signing threshold. The threshold determines how many of the owners are required to confirm a transaction before the transaction gets executed.
There are a few options that can set when creating a Safe, such as number of owners, and varying signing threshold levels. Do note that it is not advised to create a Safe with a single owner, as it will be a single point of failure.
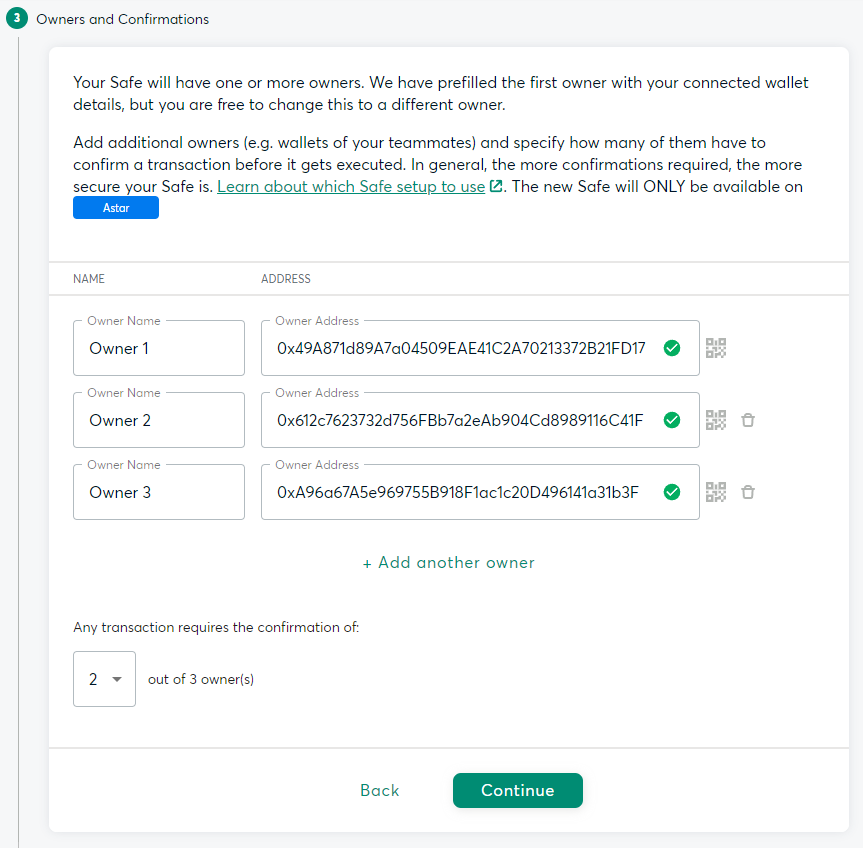
In this guide, you will create a MultiSig setup that has three owners, and requires a threshold of 2, so at least 2 out of the 3 owners keys are required to execute transactions through the Safe.
Your account information, as Owner 1, will be completed automatically, however, this can be modified if you would like to use a different account. In this example, the Owner 1 account has been prefilled. In addition to Owner 1, you can also add Owner 2 and Owner 3 as owners:
- Click Add another owner
- Enter Owner 2 as the second owner, along with his address:
0x612c7623732d756FBb7a2eAb904Cd8989116C41F - Enter Owner 3 as the third owner, along with his address:
0xA96a67A5e969755B918F1ac1c20D496141a31b3F - Set the confirmation threshold to 2 of 3 owners
- Click Review to go to the last step in the wizard
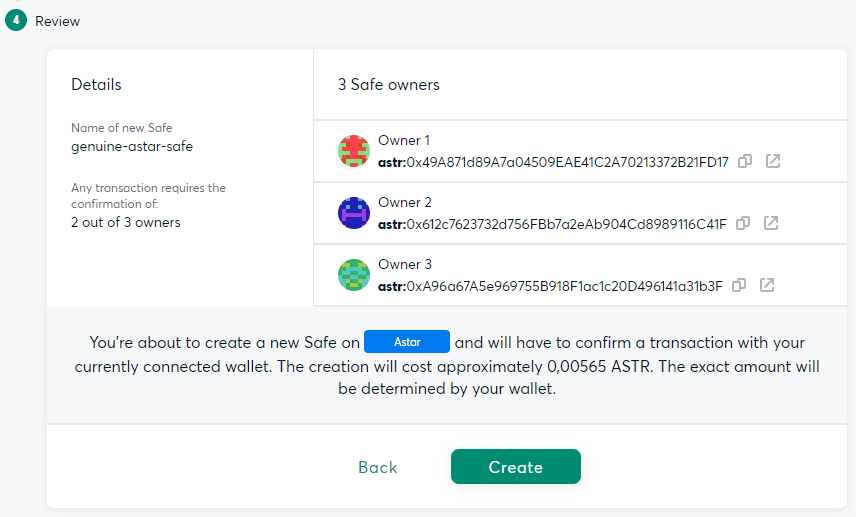
Finally, review and confirm the Safe and owner details before clicking Continue then:
- Click Create to create your new Safe. The creation of the Safe will cost approximately less than .001 ASTR tokens on Astar Network. MetaMask will pop up and prompt you to confirm the transaction.
- Click Confirm to send the transaction and create the Safe
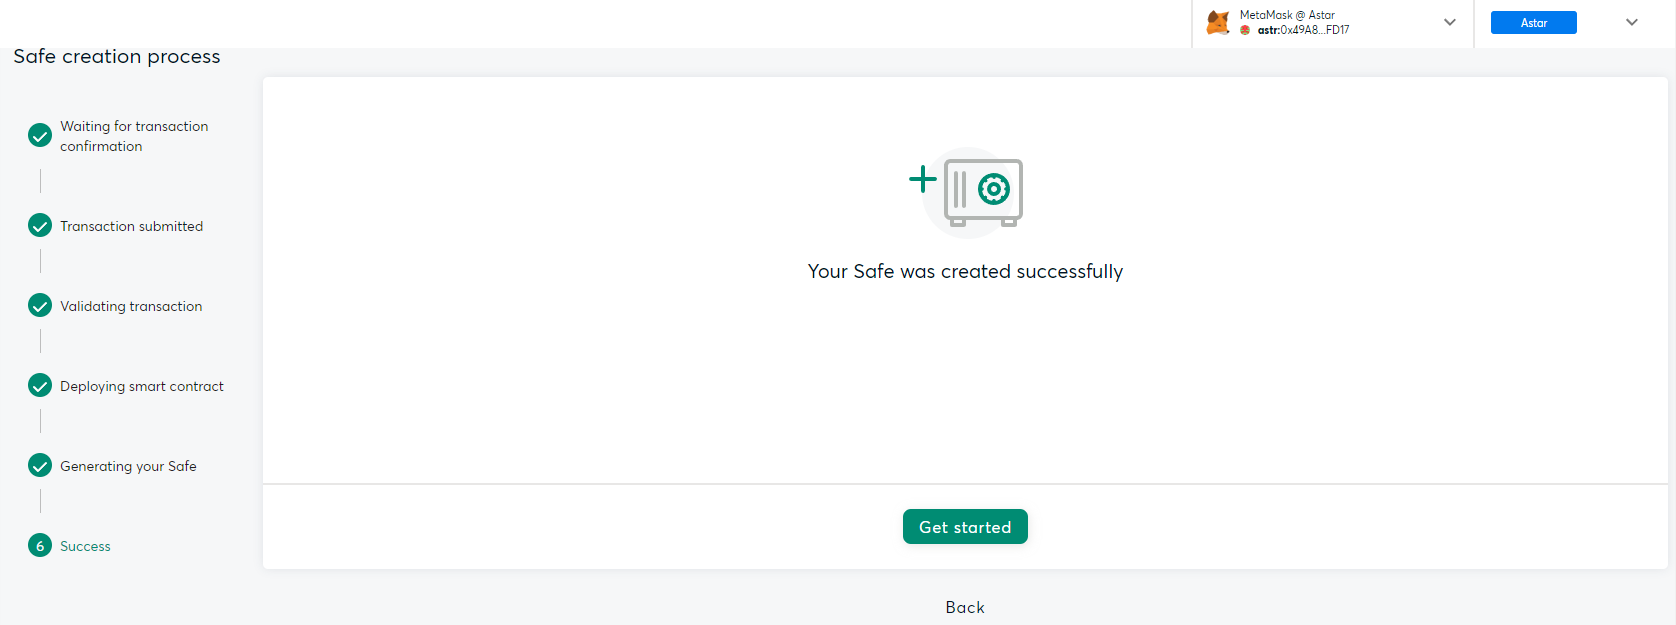
It will take a moment to process the transaction and create the Safe, and once it done you should see a message saying "Your Safe was created successfully". From there, click Get Started to load your Safe and start interacting with it.
Configure Safe
You can manage your Safe at any time, and change the parameters. To do so, click on the Settings option on the left-hand side menu.
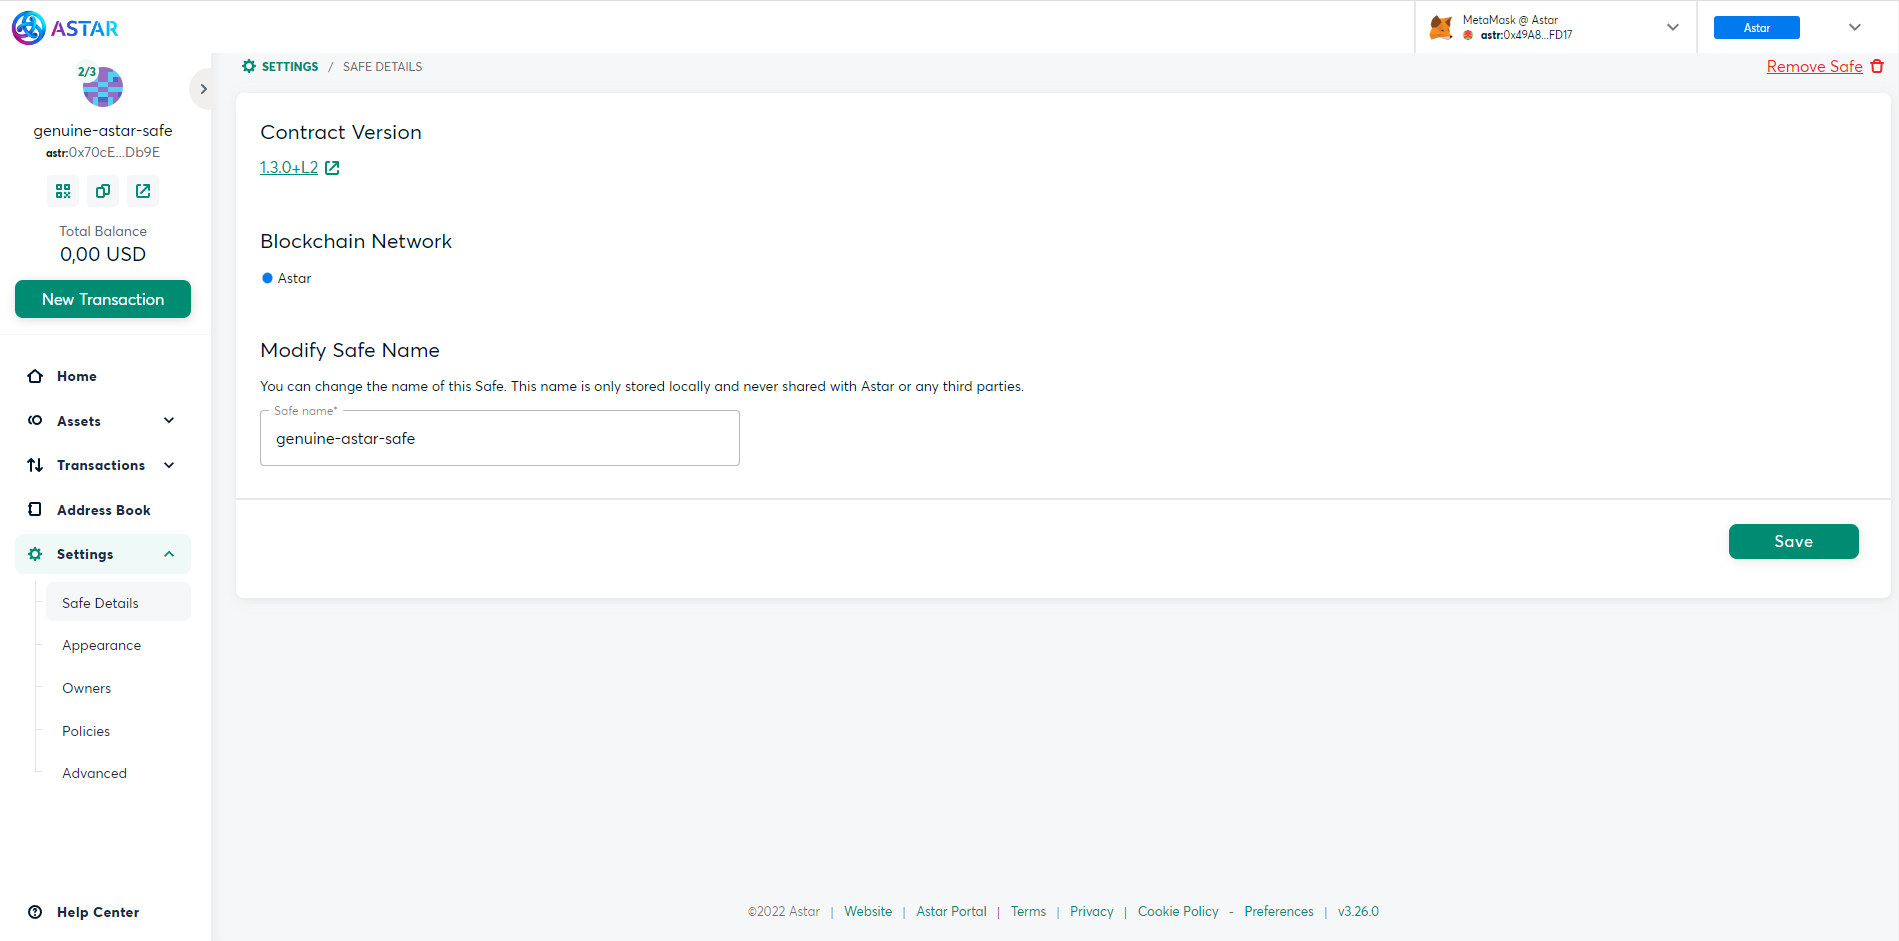
In there you should see the following options:
- Safe Details — allows you to change the Safe name. This is a local action that requires no on-chain interaction.
- Owners — allows you to initiate an on-chain proposal to add/remove owners to the Safe.
- Policies — allows you to initiate an on-chain proposal to change the MultiSig threshold to execute the proposal as a transaction
- Advanced — allows you to check other parameters from the Safe, such as the nonce, modules, and transaction guard.
Send and Receive Native Assets
Receive native Assets
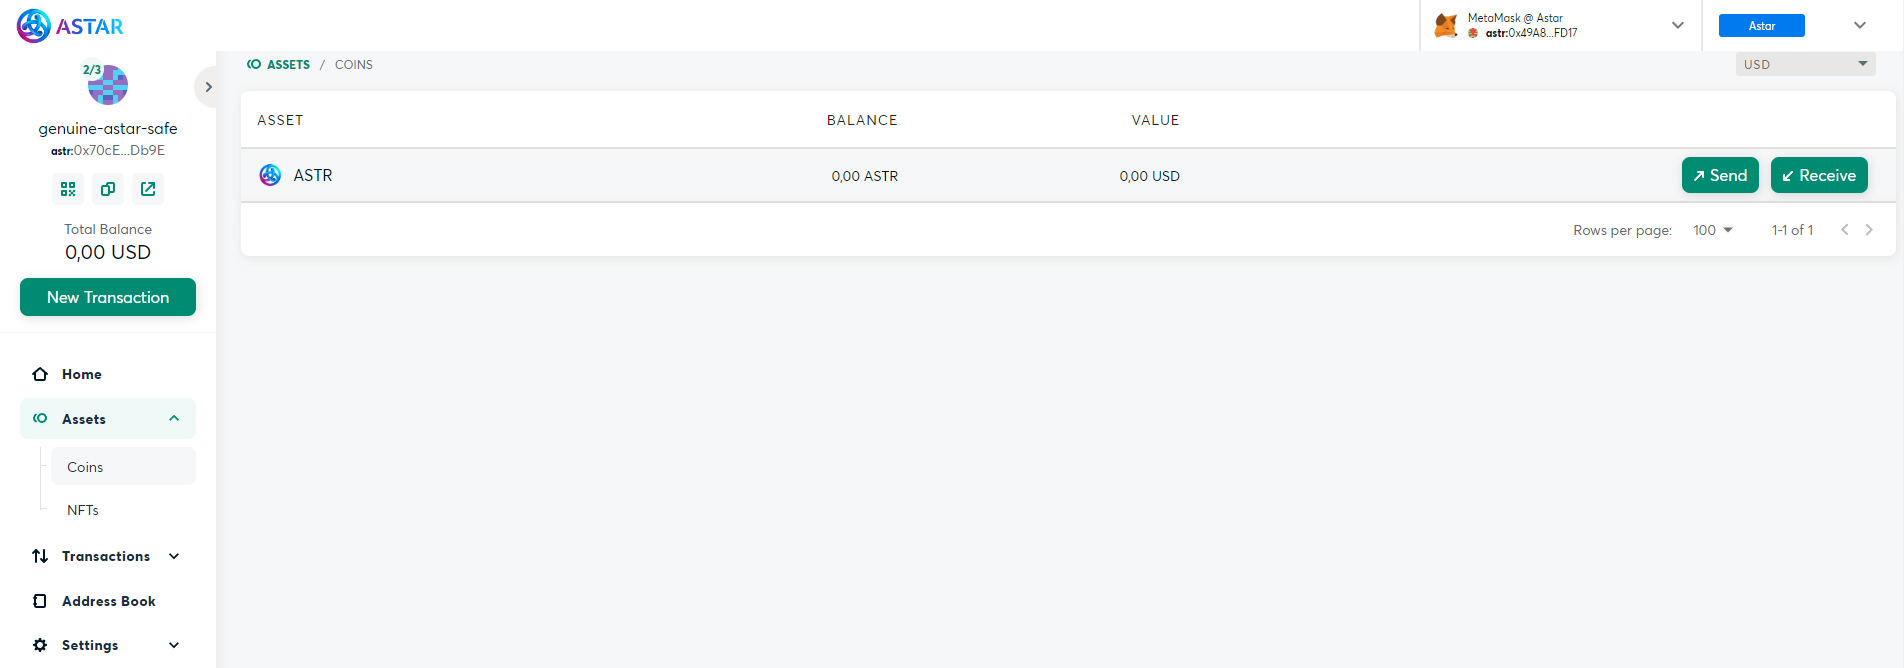
You can now start interacting with your Safe, and can send funds to it from any account with ASTR tokens. In this example, we will use the Owner 1 account. Hover over ASTR in the list of assets to reveal the Send and Receive buttons. Then click Receive.
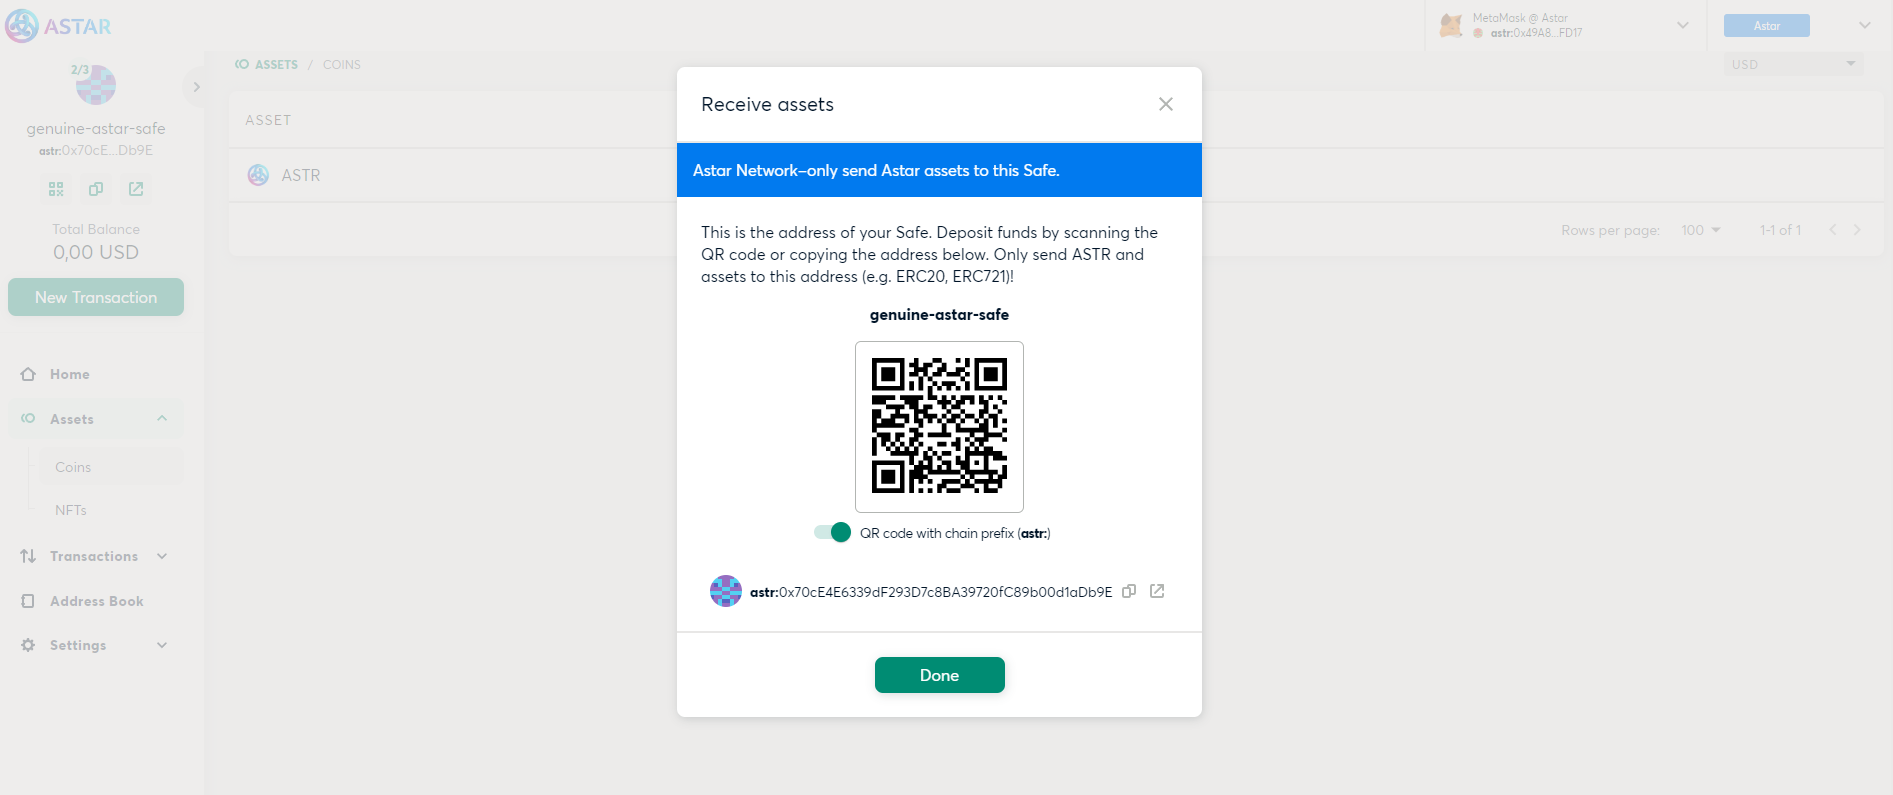
Next, open up MetaMask, and send some ASTR tokens to the MultiSig wallet. Once the transaction is complete, the balance of ASTR tokens will be updated within the Safe.
Send Native Assets
Now that there are some funds in the Safe, they can sent to another account. In this example, we will send 1 ASTR token to the Owner 2 address. Hover over ASTR in the list of assets, and this time click on Send. Fill in all the information and click Review. Double check all the information and click on Submit.
MetaMask will pop-up where you may notice that instead of signing a transaction, it's requesting that you sign a message. Click Sign to sign the message.
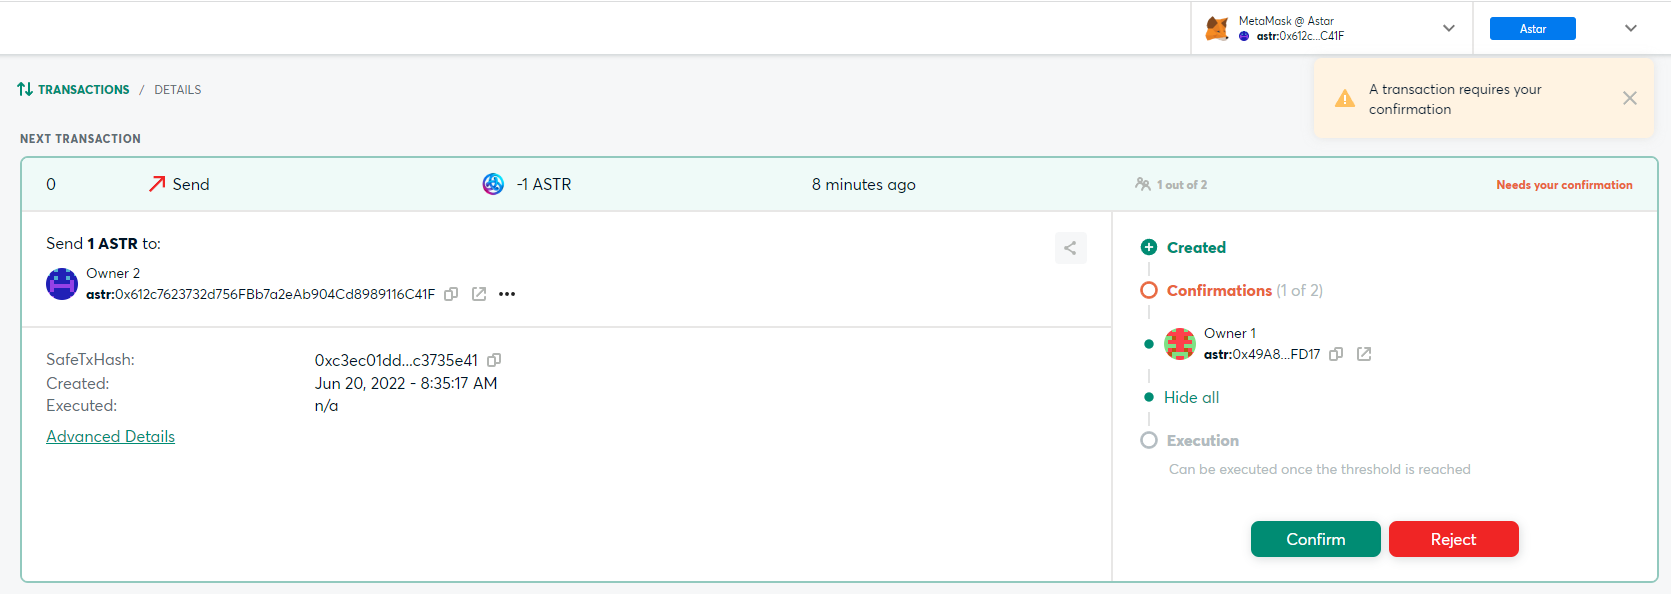
Now, return to the Safe, where under the Transactions tab, you should see that there has been a transaction proposal initiated to send 1 ASTR token to the Owner 2 address. However, you should also see that only 1 out of 2 confirmations have been received, and that one more owner is required to confirm the transaction, before it gets executed.
Confirm MultiSig Safe Transaction
The process of confirming (or rejecting) a transaction proposal is similar for all the use cases of a MultiSig Safe. One of the owners initiates the proposal to execute an action. The other owners can approve or reject the proposal. Once the signature threshold is reached, any owner can execute the transaction proposal if approved, or discard the transaction proposal if rejected.
In this example, if two of the three owners decide to reject the proposal, then the assets would remain in the Safe. However, in this case, you can confirm the transaction from either Owner 2 or Owner 3 account.
Switch accounts in MetaMask to Owner 2 account (or Owner 3). Then go back to the Safe connected as Owner 2. The Confirm button should now be enabled. As Owner 2, click Confirm to meet the threshold and send the transaction.
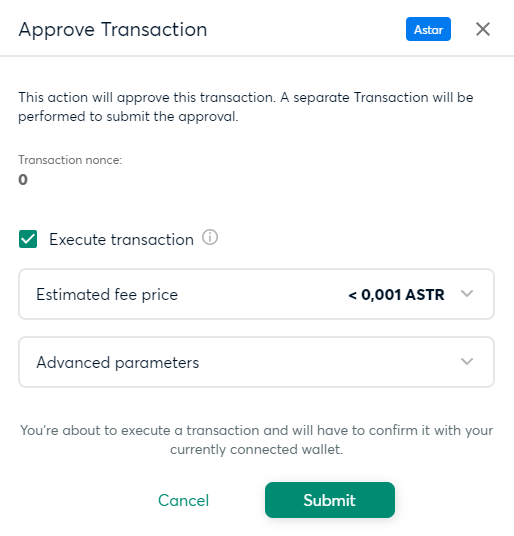
- Check the Execute transaction box to execute the transaction immediately after confirmation. You can un-check it for the transaction to be executed manually at a later time.
- Click Submit. MetaMask will pop-up and ask you to confirm the transaction, if everything looks good, you can click Confirm
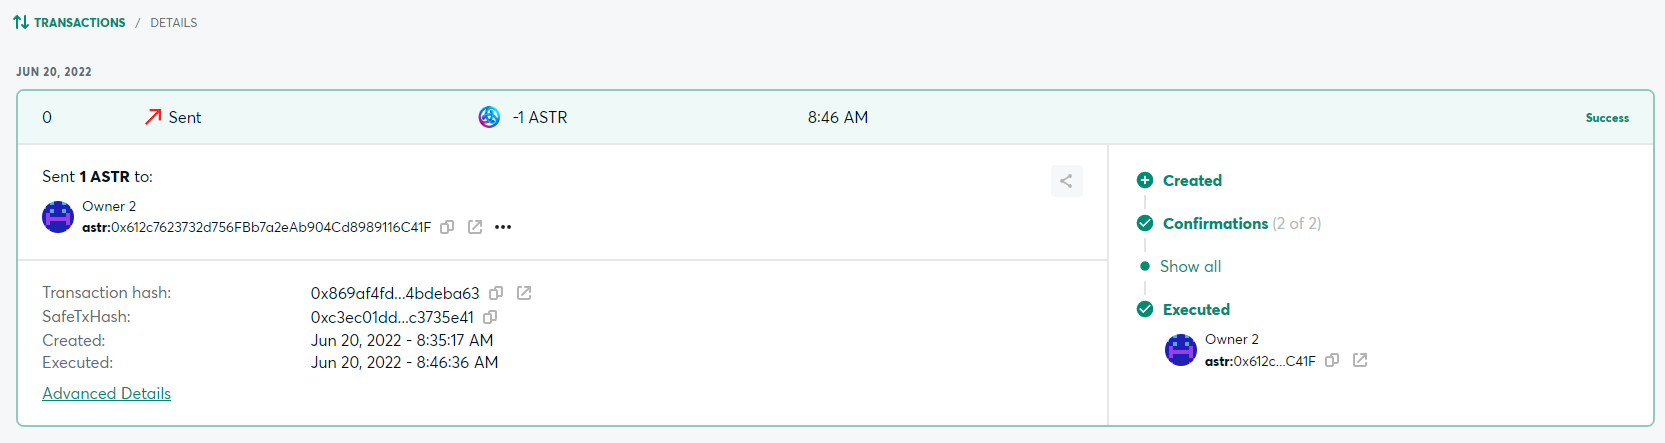
The transaction will be removed from the QUEUE tab and a record of the transaction can now be found under the HISTORY tab. In addition, Owner 2 balance has now increased by 1 ASTR token, and the Safe's balance for ASTR tokens has decreased.
Send and Receive Other Assets
Receive Other Assets
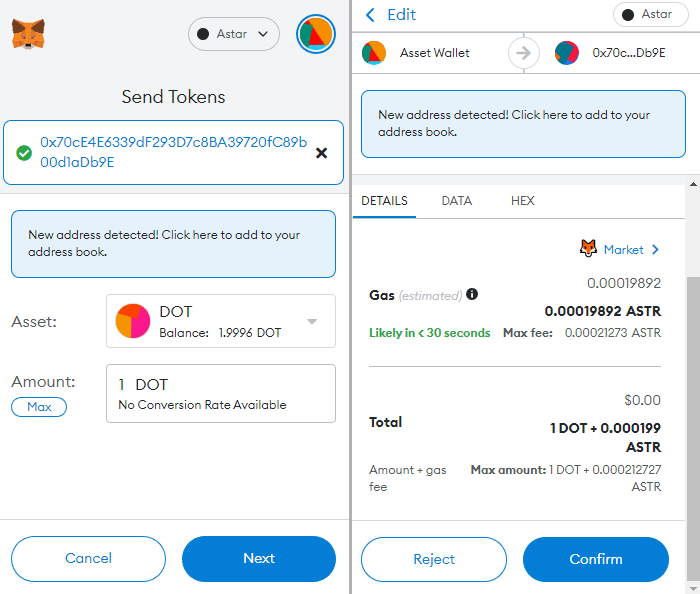
Next, we will send and receive some other assets from the Safe. In this example we will send some DOT to the Astar Safe. Open up MetaMask:
- Switch to the Assets tab and select DOT from the list.
- Click Send.
- Paste in the Safe's address.
- Enter amount of DOTs to send. Click Next.
- Review the transaction details and then click Confirm to send the transaction.
If you navigate back to the Safe, in the list of Assets you should now see DOT, and a balance of 1 DOT. It could take a few minutes for the DOT to appear, but will do so on it's own.
Send Other Assets
Now that you have loaded your Safe with DOT, you can send some from the Safe to another account. You can use the same workflow as sending and confirming native assets.
Smart contract interaction
To directly interact with smart contracts from your Astar Safe account, please follow this guide: