Overview
The Graph team have prepared a highly informative video featuring an overview of the Graph protocol along with some hands-on examples you can try here. This video covers everything you need to know to build support for The Graph into your full stack application, and create subgraphs to query the relevant data.
The Graph is a decentralized protocol for indexing and querying blockchain data that makes it possible to query historical data that is difficult to query from smart contracts directly.
Projects with complex smart contracts such as Uniswap and NFT projects like Bored Ape Yacht Club store data on the Ethereum blockchain, making it difficult to read anything but the most basic information.
In the case of Bored Ape Yacht Club, it's possible to perform basic read operations on the contract such as getting the owner of a certain Ape, getting the content URI of an Ape based on their ID, or the total supply, as these read operations are programmed directly into the smart contract. More advanced real-world queries and operations like aggregation, search, relationships, and non-trivial filtering however are not possible. For example, if we would like to query all Apes owned by a certain address and filter results by one of its characteristics, we cannot rely on the contract itself; it cannot provide historical information.
To obtain this kind of data, we would need to process every transfer event ever emitted from the BAYC smart contract, read the metadata from IPFS using the Token ID and IPFS hash, and then aggregate all the results. Put simply, to answer these kinds of (relatively) simple questions, it would take hours or even days for a decentralized application running in a browser to obtain a result, which is why The Graph exists - to make these kinds of queries simpler.
How do developers integrate The Graph?
Developers can either run a standalone Graph node and define their own subgraph(s), or choose a subgraph that is publicly available on the Graph's decentralized network. The Graph processes subgraphs and makes the data accessible through GraphQL, a popular query language.
Subgraph Overview
A subgraph is essentially a definition created by a developer that specifies which data The Graph should index from the blockchain, and how it should be stored.
To define a subgraph, developers write a manifest (in YAML format) and a set of GraphQL schemas. This tells The Graph which events to listen for on the blockchain, and how to map event data to entities that can be queried using GraphQL. Since developers define their own subgraphs, they have considerable flexibility in the way they index and expose blockchain data to their applications.
Prerequisites for using Subgraphs
- An account and API key on Subgraph Studio if using The Graph decentralized network, and balance of GRT tokens for queries.
- A standalone Graph node requires the following:
- Docker: Containerization platform for software solutions.
docker-compose: Used to automate interactions between docker containers.- JQ: JSON processor for graph requests.
- Before exploring the contents of the subgraph manifest file and building and deploying subgraphs, install the Graph CLI.
In this guide, we will walk through setting up an Astar node to gain more insight into transactions on the blockchain by providing indexing data to a standalone Graph node.
Running a standalone Graph Node
After successfully setting up an RPC node, the Graph node needs to be installed and configured to connect as a different container or virtual machine. If you are running a self-signed RPC node, you will need to set up an extra environment variable to allow for this, or run the Graph node on a different host.
The first step is to clone the Graph Node repository:
git clone [https://github.com/graphprotocol/graph-node/](https://github.com/graphprotocol/graph-node/) \\
&& cd graph-node/docker
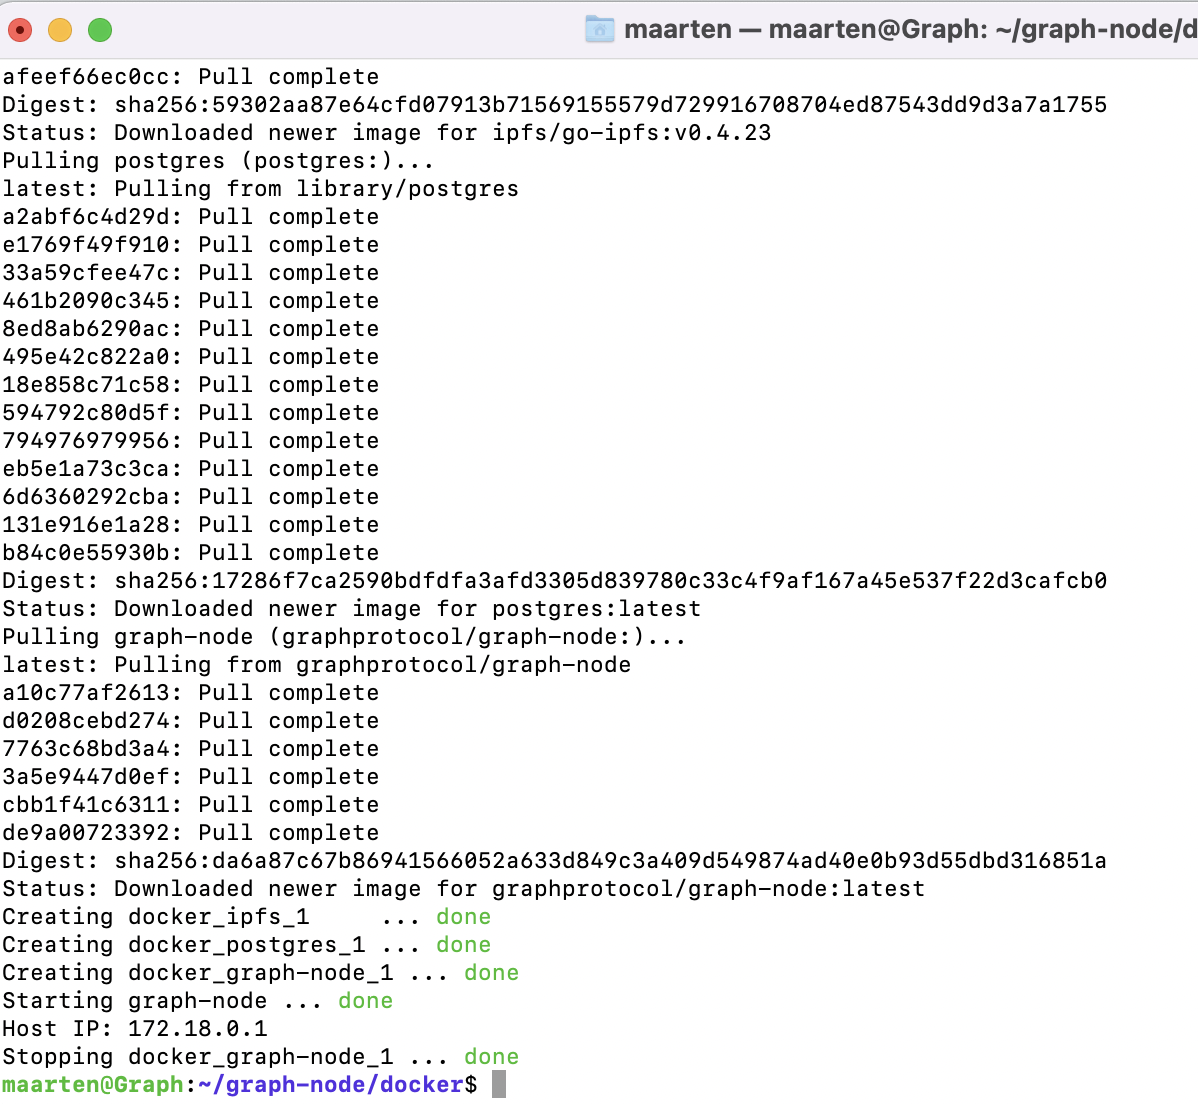
Next, execute the setup.sh file. This will pull all the necessary Docker images and write the necessary information to the docker-compose.yml file. Ensure that docker-compose and jq are installed.
sudo bash ./setup.sh
After running the command, the tail end of the output should be similar to that shown below:
Modifying the Ethereum Environment
Once everything is set up, you will need to modify the "Ethereum environment" inside the docker-compose.yml file, so that the Graph node points to the endpoint of the RPC that you are connecting with. Note that the setup.sh file detects the RPC's Host IP and writes its value, so you'll need to modify it accordingly.
Running The Graph containers
Run the following command:
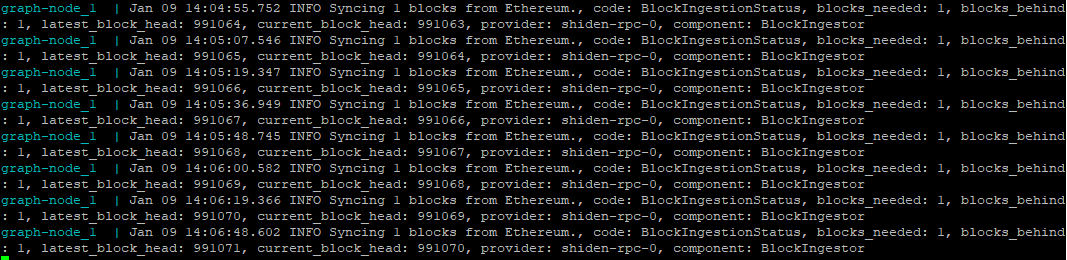
sudo docker-compose up
When everything is set up the log will appear as below:
How to Define a Subgraph using CLI
A subgraph extracts data from a blockchain, processing it and storing it so that it can be easily queried via GraphQL. A subgraph definition consists of a few files:
→ subgraph.yaml: a YAML file containing the subgraph manifest.
→ schema.graphql: a GraphQL schema that defines what data is stored for your subgraph, and how to query it via GraphQL.
→ AssemblyScript Mappings: AssemblyScript code that translates from the event data to the entities defined in your schema (e.g. mapping.ts in this tutorial).
Install the Graph CLI
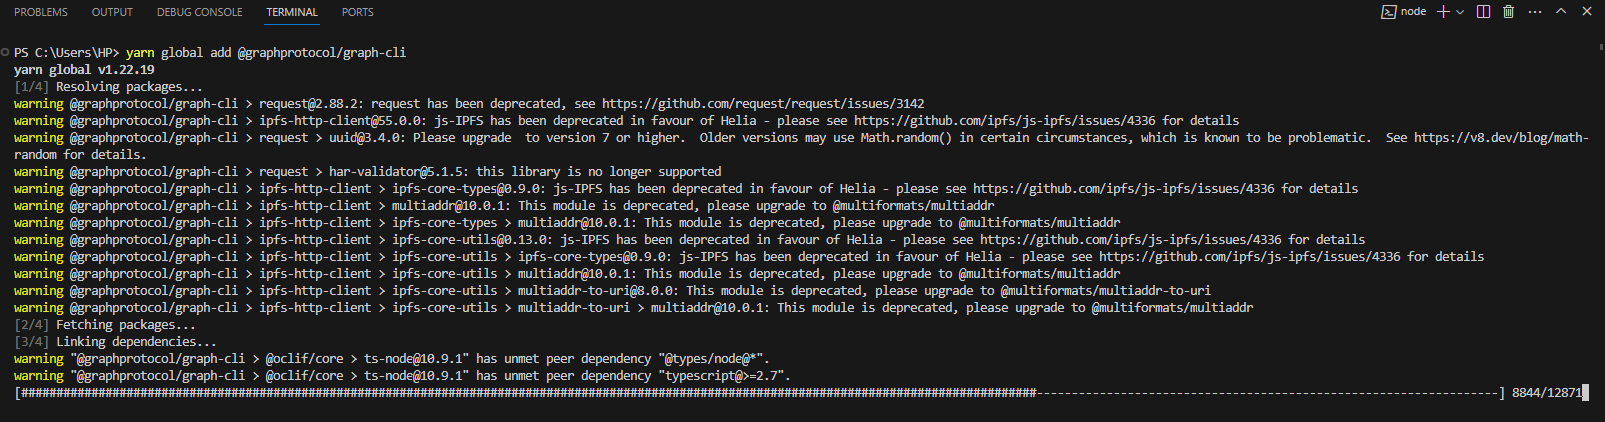
The Graph CLI is written in JavaScript, and you will need to install either yarn or npm to use it.
Install with yarn:
yarn global add @graphprotocol/graph-cli
Install with npm:
npm install -g @graphprotocol/graph-cli

Initialize the Subgraph Locally
Once installed, the graph init command can be used to set up a new subgraph project, either from an existing contract or from an example subgraph. This command can be used to create a subgraph on Subgraph Studio by passing in graph init --product subgraph-studio. If you already have a smart contract deployed to your preferred network, bootstrapping a new subgraph from that contract can be a good way to get started.
From An Existing Contract
The following command creates a subgraph that indexes all events of an existing contract. It attempts to fetch the contract ABI from Etherscan and fails back to requesting a local file path.
graph init \
  --product subgraph-studio
  --from-contract <CONTRACT_ADDRESS> \
  [--network <ETHEREUM_NETWORK>] \
  [--abi <FILE>] \
  <SUBGRAPH_SLUG> [<DIRECTORY>]
The <SUBGRAPH_SLUG> is the ID of your subgraph in Subgraph Studio, it can be found on your subgraph details page.
If any of the optional arguments are missing, graph init will fail back to interactive mode, shown below:

Add New dataSources To An Existing Subgraph
Since v0.31.0 the graph-cli supports adding new dataSources to an existing subgraph through the graph add command.
graph add <address> [<subgraph-manifest default: "./subgraph.yaml">]
Options:

      --abi <path>              Path to the contract ABI (default: download from Etherscan)
      --contract-name           Name of the contract (default: Contract)
      --merge-entities          Whether to merge entities with the same name (default: false)
      --network-file <path>     Networks config file path (default: "./networks.json")
The add command will fetch the ABI from Etherscan (unless an ABI path is specified with the --abi option), and will create a new dataSource in the same way that graph init command creates a dataSource --from-contract, updating the schema and mappings accordingly.
The --merge-entities option identifies how the developer would like to handle entity and event name conflicts:
If true: the new dataSource should use existing eventHandlers & entities.
If false: a new entity & event handler should be created with ${dataSourceName}{EventName}.
The contract address will be written to the networks.json for the relevant network.
Note: When using the interactive cli, after successfully running graph init, you'll be prompted to add a new dataSource.
The Subgraph Manifest
The subgraph manifest subgraph.yaml defines the smart contracts your subgraph indexes, which events from these contracts to pay attention to, and how to map event data to entities that Graph Node stores and allows to query. The full specification for subgraph manifests can be found here.
For the official example subgraph, the contents of subgraph.yaml are:
specVersion: 0.0.4
description: Gravatar for Ethereum
repository: https://github.com/graphprotocol/graph-tooling
schema:
  file: ./schema.graphql
dataSources:
  - kind: ethereum/contract
    name: Gravity
    network: mainnet
    source:
      address: '0x2E645469f354BB4F5c8a05B3b30A929361cf77eC'
      abi: Gravity
      startBlock: 6175244
    context:
      foo:
        type: Bool
        data: true
      bar:
        type: String
        data: 'bar'
    mapping:
      kind: ethereum/events
      apiVersion: 0.0.6
      language: wasm/assemblyscript
      entities:
        - Gravatar
      abis:
        - name: Gravity
          file: ./abis/Gravity.json
      eventHandlers:
        - event: NewGravatar(uint256,address,string,string)
          handler: handleNewGravatar
        - event: UpdatedGravatar(uint256,address,string,string)
          handler: handleUpdatedGravatar
      callHandlers:
        - function: createGravatar(string,string)
          handler: handleCreateGravatar
      blockHandlers:
        - handler: handleBlock
        - handler: handleBlockWithCall
          filter:
            kind: call
      file: ./src/mapping.ts
The important entries to update for the manifest are:
description: a human-readable description of what the subgraph is. This description is displayed by the Graph Explorer when the subgraph is deployed to the Hosted Service.
repository: the URL of the repository where the subgraph manifest can be found. This is also displayed by The Graph Explorer.
features: a list of all used feature names.
dataSources.source: the address of the smart contract the subgraph uses as a source, and the ABI of the smart contract to use. The address is optional; omitting it allows the subgraph to index matching events from all contracts.
dataSources.source.startBlock: the optional number of the block that the data source starts indexing from. In most cases, we suggest using the block in which the contract was created.
dataSources.context: key-value pairs that can be used within subgraph mappings. Supports various data types like Bool, String, Int, Int8, BigDecimal, Bytes, List, and BigInt. Each variable needs to specify its type and data. These context variables are then accessible in the mapping files, offering more configurable options for subgraph development.
dataSources.mapping.entities: the entities that the data source writes to the store. The schema for each entity is defined in the schema.graphql file.
dataSources.mapping.abis: one or more named ABI files for the source contract as well as any other smart contracts that you interact with from within the mappings.
dataSources.mapping.eventHandlers: lists the smart contract events this subgraph reacts to and the handlers in the mapping—./src/mapping.ts in the example—that transform these events into entities in the store.
dataSources.mapping.callHandlers: lists the smart contract functions this subgraph reacts to and handlers in the mapping that transform the inputs and outputs to function calls into entities in the store.
dataSources.mapping.blockHandlers: lists the blocks this subgraph reacts to and handlers in the mapping to run when a block is appended to the chain. Without a filter, the block handler will be run every block. An optional call-filter can be provided by adding a filter field with kind: call to the handler. This will only run the handler if the block contains at least one call to the data source contract.
A single subgraph can index data from multiple smart contracts. Add an entry for each contract from which data needs to be indexed to the dataSources array.
The triggers for a data source within a block are ordered using the following process:
- Event and call triggers are first ordered by transaction index within the block.
- Event and call triggers within the same transaction are ordered using a convention: event triggers first then call triggers, each type respecting the order they are defined in the manifest.
- Block triggers are run after event and call triggers, in the order they are defined in the manifest.
These ordering rules are subject to change.
How to Define a Subgraph using Subgraph Studio
If you are using The Graph's Subgraph Studio, there is no need to spin up a standalone Graph node. After creating your account you can jump straight into defining a subgraph.
In order to use your subgraph with the Graph's decentralized network services, you will need to create an API key. It is also recommended that you add signal to your subgraph with at least 10,000 GRT.
- Login to Subgraph Studio with your Github account, and connect your wallet:
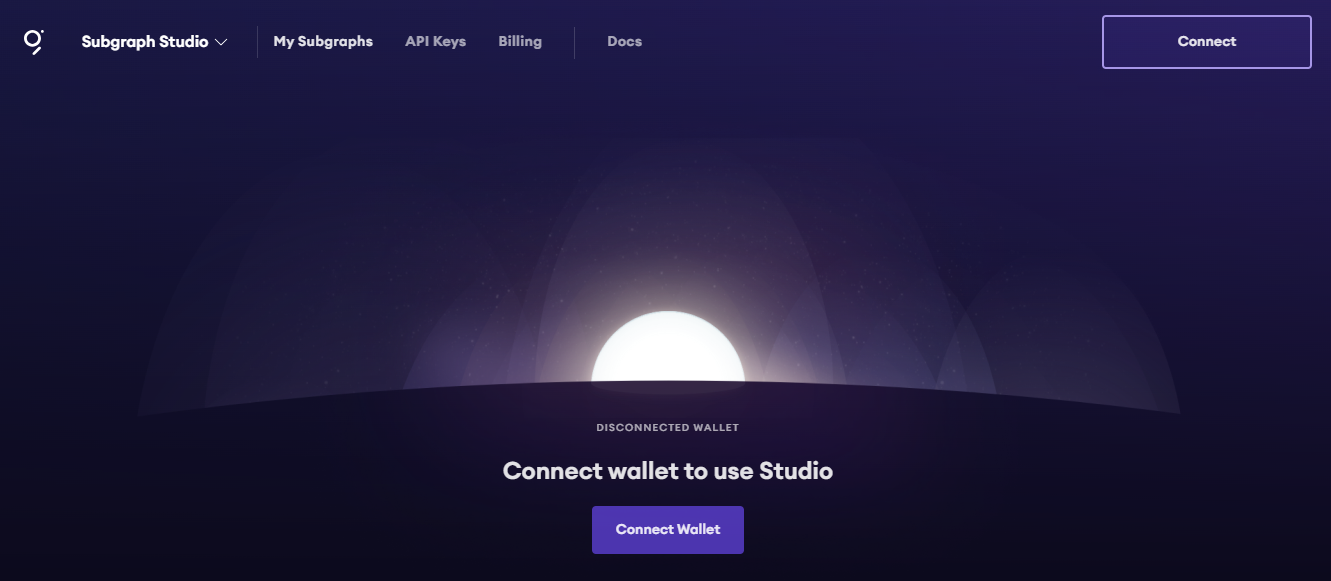
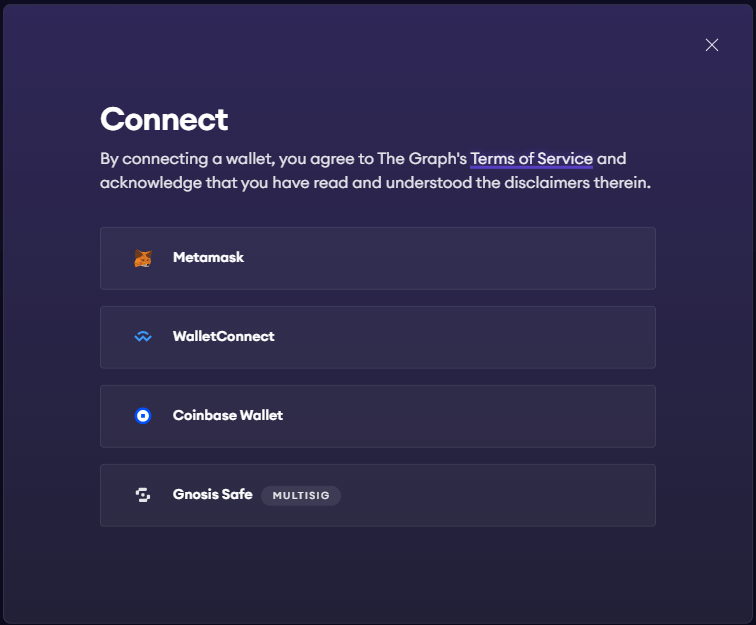
-
API keys are required to use subgraphs. Click on the API Keys tab and then create an API Key.
-
Return to My Dashboard tab and click 'Create a Subgraph'.
-
Add relevant details to your Subgraph.
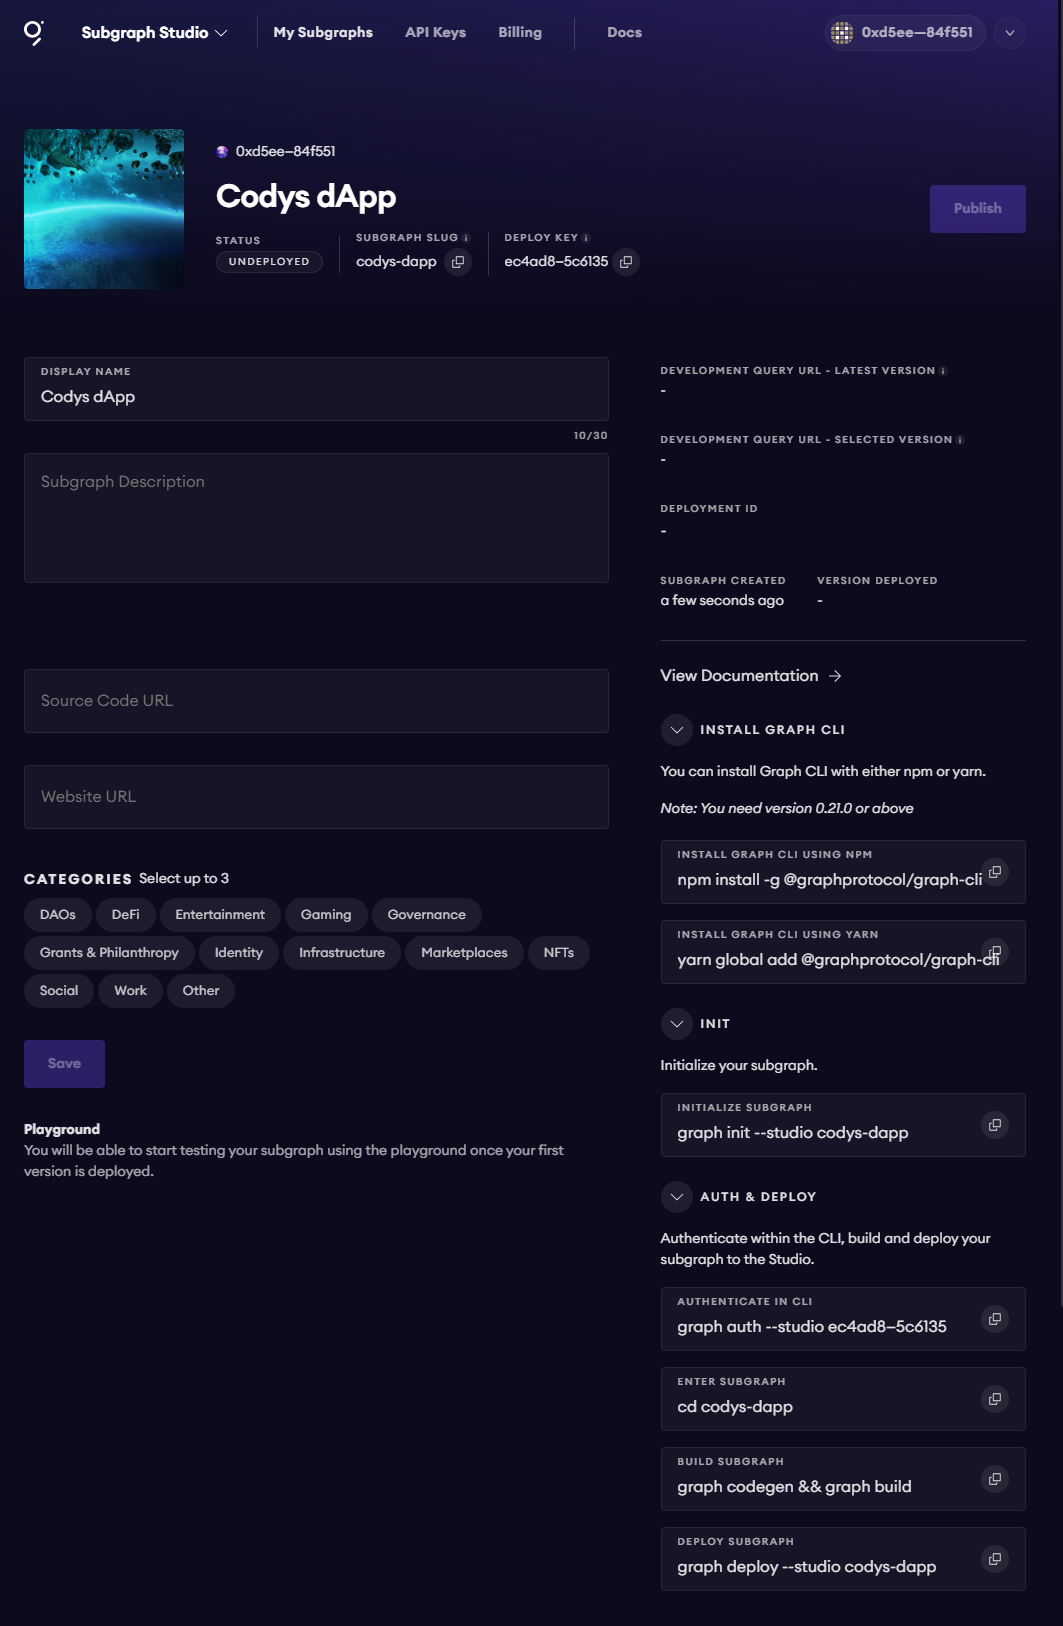
At this point, the new subgraph is ready to initialize by following the instructions on the right-hand side.
For more information and advanced configuration, consult the Graph Documentation