How to run a local Astar blockchain for contract testing
TL;DR
Compared with using Shibuya testnet, testing on a local Astar blockchain can provide higher throughput, quicker response, and more privacy since the only node of the network runs on your local device. Building a local Astar blockchain is essential for relatively large project development and testing.
In this guide, we will walk you through the process of setting up a local Astar node, running the local blockchain, accessing the blockchain via your local explorer, and configuring the local blockchain in other developer tools.
What is a local Astar blockchain
A local Astar blockchain is a single-node network running on your local device which can simulate the on-chain environment of Astar Network and be used for local testing without needing any network connections. You can set up a local blockchain by downloading the latest Astar collator node code from Github and building from source, or directly run the binary built for your environment.
Running a local blockchain is common for smart contract development and testing.
Why should I run a local Astar blockchain
Compared to the Shibuya testnet, running a local Astar blockchain will have the following benefits:
- Higher throughput and quicker response compared to using Shibuya testnet, which may save you a lot of testing time.
- Privacy of testing data and development history since the only node is on your local device and only you have access to the network.
- Self-customized release version and testing conditions. By using a local blockchain for testing and development, you will be able to choose the node release version and customize the testing conditions, e.g. rolling back the network for 10000 blocks.
Instructions
Download the latest Astar-collator binary file
A binary file is an executable program that is already compiled with a specific environment. In this guide, we will demonstrate how to build the local blockchain using binary files since it is the most widely used approach.
If you prefer building from source code with your local environment, follow the guide here.
Download the latest release of the Astar collator for macOS for Ubuntu:
Please make sure you are running a macOS or Ubuntu with the appropriate version. For macOS, please use a version above MacOS 12.0.
Please rename the binary file to astar, for illustration purposes the consistency of the command lines in this tutorial.
Add execution permission to the binary file
-
Change the directory to the folder containing the
astarbinary filecd local-astar-cookbook -
Add execution permission to the binary file.
Note: if you are using a Mac, you may need an extra step to configure the security settings:- Go to Apple menu > System Settings > Privacy & Security.
- Under security, add the
astarbinary file that you just downloaded to the whitelist. - Continue with the following command.
chmod +x ./astar -
Now you can double-check the version of your Astar collator node:
./astar --version
Configure and run the local blockchain
Run the local network with the following configurations:
--port 30333: useport 30333for P2P TCP connection--rpc-port 9944: useport 9944for RPC, both WS(s) and HTTP(s)--rpc-cors all: accept any origins for HTTP and WebSocket connections--alice: enableAlicesession keys--dev: launch the network in development mode
./astar --port 30333 --rpc-port 9944 --rpc-cors all --alice --dev
You will be able to see the local Astar collator node info and new blocksafter successfully running it.


You can check a full list of subcommand and explanation using the following command:
./astar help
Access the local blockchain via explorer
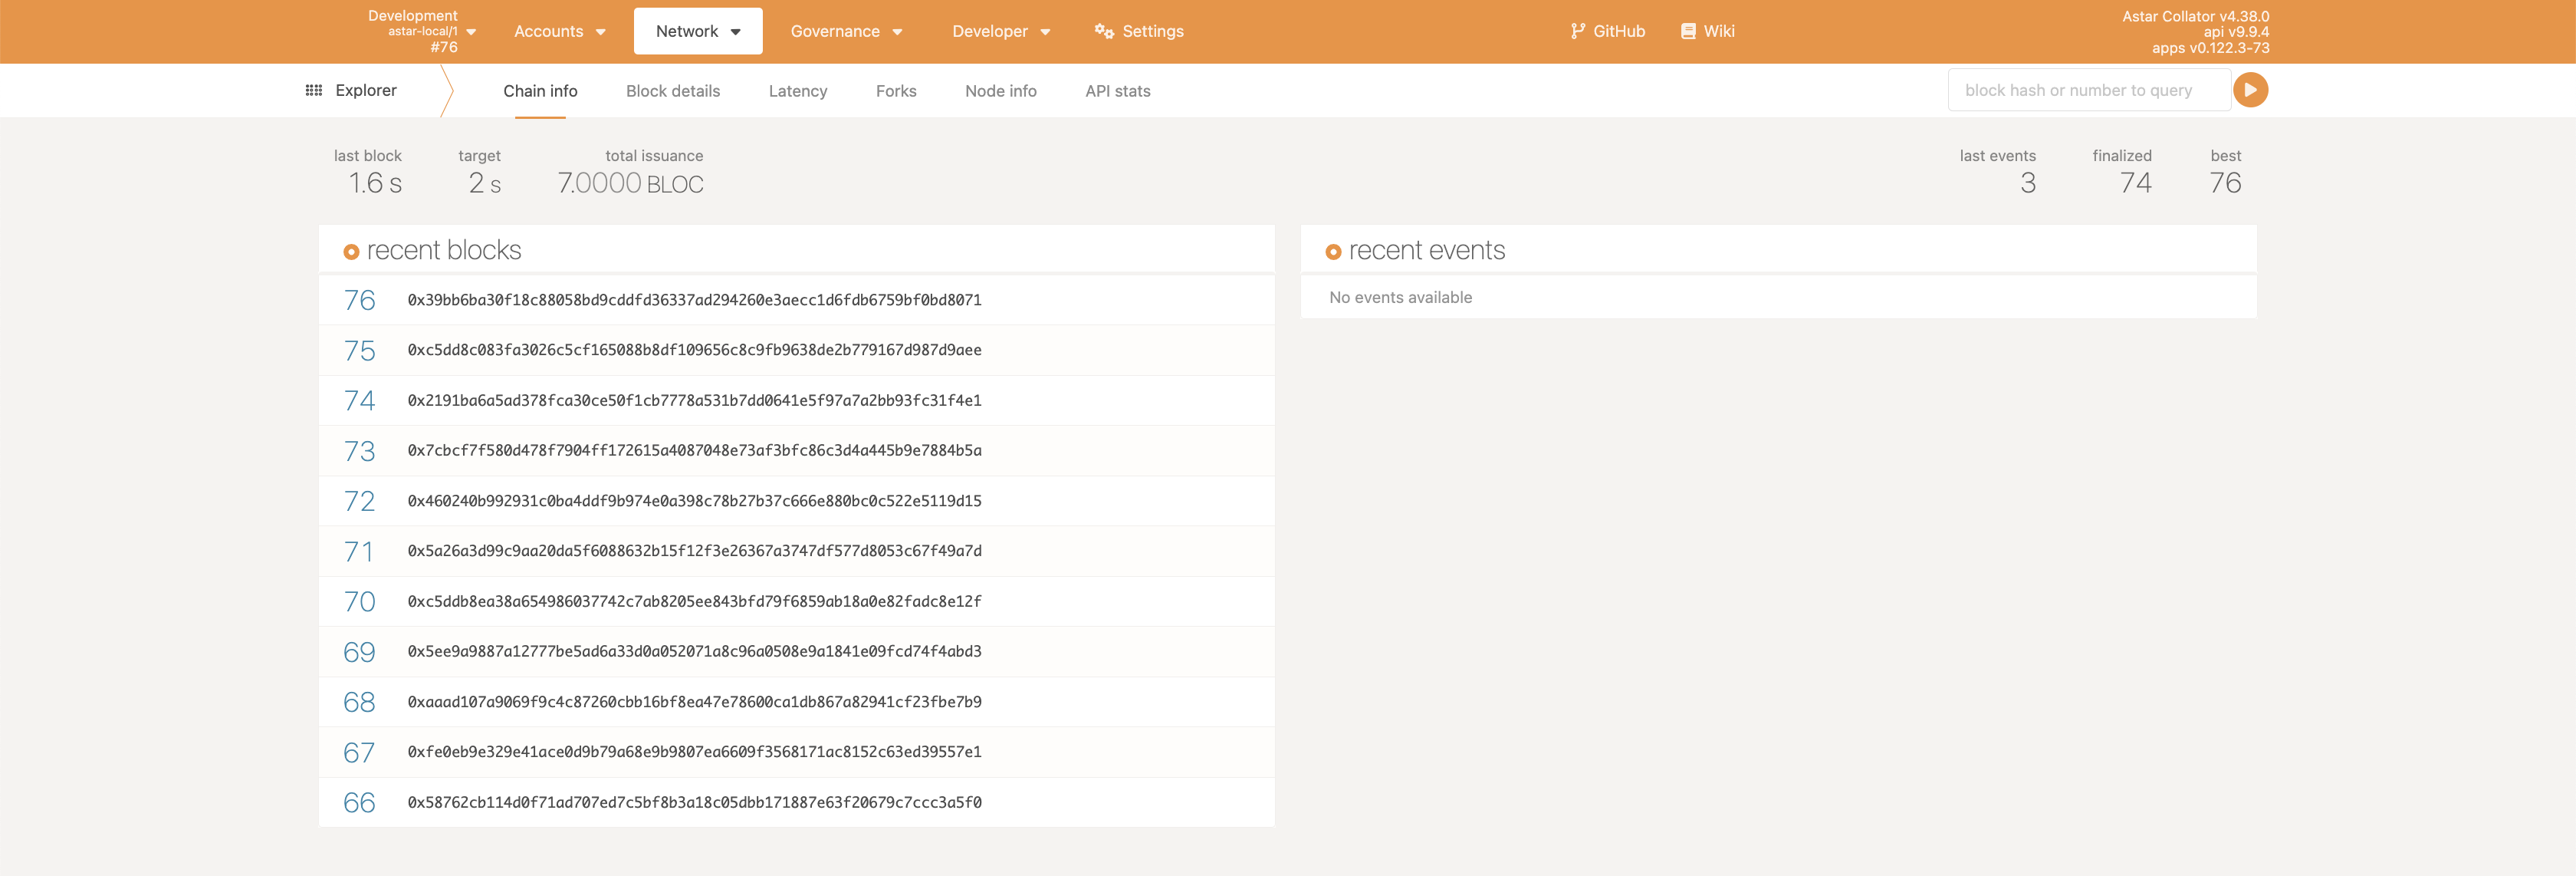
- Go to local explorer
- You will be able to to view the recent blocks, accounts info, etc. as the on-chain environment of Astar Network
Configure the local blockchain in other dev tools
When using the local blockchain with other dev tools including MetaMask, Hardhat, Remix, Truffle, please configure the network with the following info to connect with the local blockchain:
| Network Name | Local Astar Testnet 0 |
|---|---|
| New RPC URL | http://127.0.0.1:9944 |
| Chain ID | 4369 |
| Currency Symbol | ASTL |
Appendix: useful subcommand in smart contract testings
When using the local blockchain with other dev tools including MetaMask, Hardhat, Remix, Truffle, please configure the network with the following info to connect with the local blockchain:
build-spec: build a chain specificationcheck-block: validate blocksexport-blocks: export blocksexport-genesis-state: export the genesis state of the parachainexport-genesis-wasm: export the genesis wasm of the parachainexport-state: export the state of a given block into a chain spechelp: print this message or the help of the given subcommand(s)import-blocks: import blockskey: key management cli utilitiespurge-chain: remove the whole chainrevert: revert the chain to a previous statesign: sign a message, with a given (secret) keyvanity: generate a seed that provides a vanity addressverify: verify a signature for a message, provided on STDIN, with a given (public or secret) key