How to use Truffle to deploy on Shibuya
TL;DR
This cookbook gives you a basic idea of how to use Truffle and deploy a simple test smart contract on our Shibuya testnet.
What is Truffle?
Truffle is a popular development framework for Ethereum based blockchain. It offers a suite of tools that make it easier to develop and deploy smart contracts on the EVM(Ethereum Virtual Machine) blockchain. Some of the key features of Truffle include:
- A suite of development and testing tools, including a code compiler, a testing framework, and a debugger.
- Support for popular programming languages, including Solidity and JavaScript.
- Integration with popular Ethereum wallets, such as MetaMask and Ledger.
- Automated contract deployment and management tools.
Overall, Truffle is designed to make it easier for developers to build and deploy decentralized applications (dApps) on the EVM blockchain.
Builders Guide
Step 1: Project Setup
Let’s set up a project folder first. We create a project directory and navigate into that directory:
mkdir truffleApp
cd truffleApp
If you haven’t installed Truffle yet, please do so by running the command below:
npm install -g truffle
We initialize Truffle to create our project:
truffle init
Now we see something like below to confirm the project is initialized:

Make sure you install HDWalletProvider which we will use later:
npm install @truffle/hdwallet-provider --save
Step 2: Start Coding
Now, we would see the following file structure:
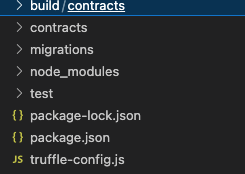
From here, we create a file for smart contract called HelloShibuya.sol inside the contracts directory:
pragma solidity ^0.8.15;

contract HelloShibuya {
   string public greet = "Hello Shibuya!";
}
We need to add a migration file called 1_deploy_contract.js inside the migrations directory:
var HelloShibuya = artifacts.require("HelloShibuya");

module.exports = function (deployer) {
    deployer.deploy(HelloShibuya);
};
Step 3: Configure Settings
Now we add information for the Shibuya testnet in truffle-config.js. For the endpoint, take a look and use one of Shibuya endpoints provided here.
require('dotenv').config();
const mnemonic = process.env.MNEMONIC;
const HDWalletProvider = require('@truffle/hdwallet-provider');

module.exports = {

  networks: {
    shibuya: {
      provider: () => new HDWalletProvider(mnemonic, `https://shibuya.public.blastapi.io`),
      network_id: 81,
      confirmations: 10,
      timeoutBlocks: 200,
      skipDryRun: true,
      from: "0x(your Shibuya account address)"
    },
Be aware that we need to declare mnemonic which is used by HDWalletProvider in the truffle-config.js file to verify the account supplying funds during contract deployment. To set mnemonic variable, you would set it as an environment variable in .env file in the root directory.
npm i dotenv
MNEMONIC="(Your secret recovery phase)"
We can find our secret recovery phase for our account in the Metamask by going through Settings, Security & Privacy, and then Reveal Secret Recovery Phrase.
Step 4: Deployment
Finally, we have everything ready and we can compile the smart contract we made:
truffle compile
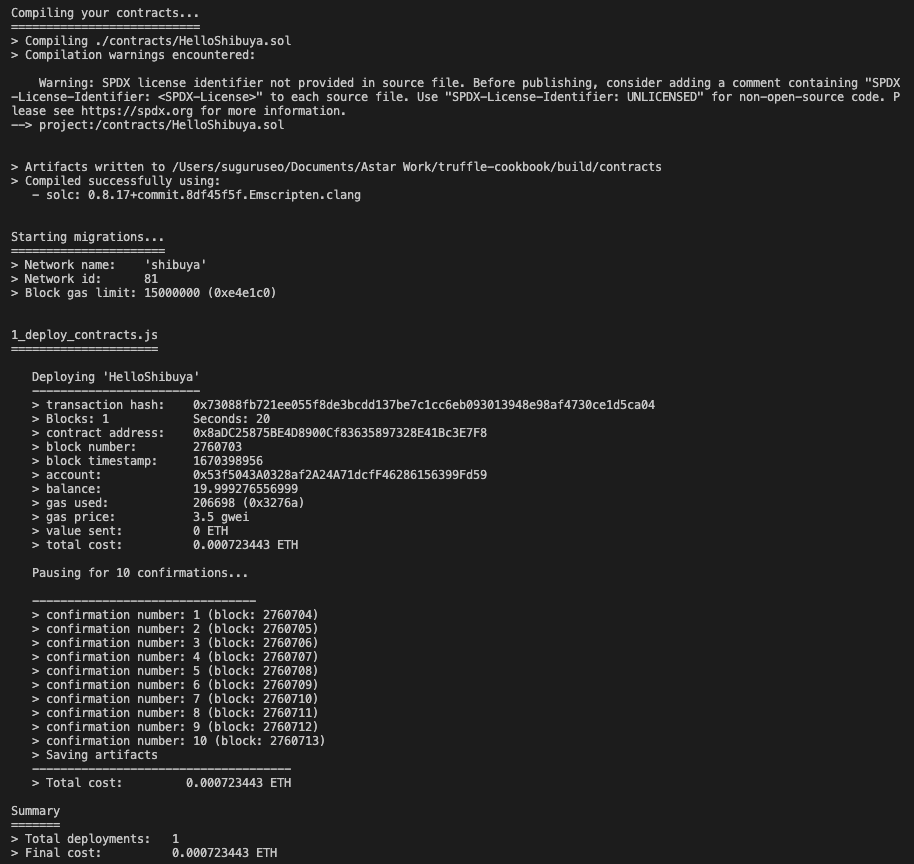
truffle migrate --network shibuya
We would see something like below to confirm our smart contract is deployed on Shibuya testnet.
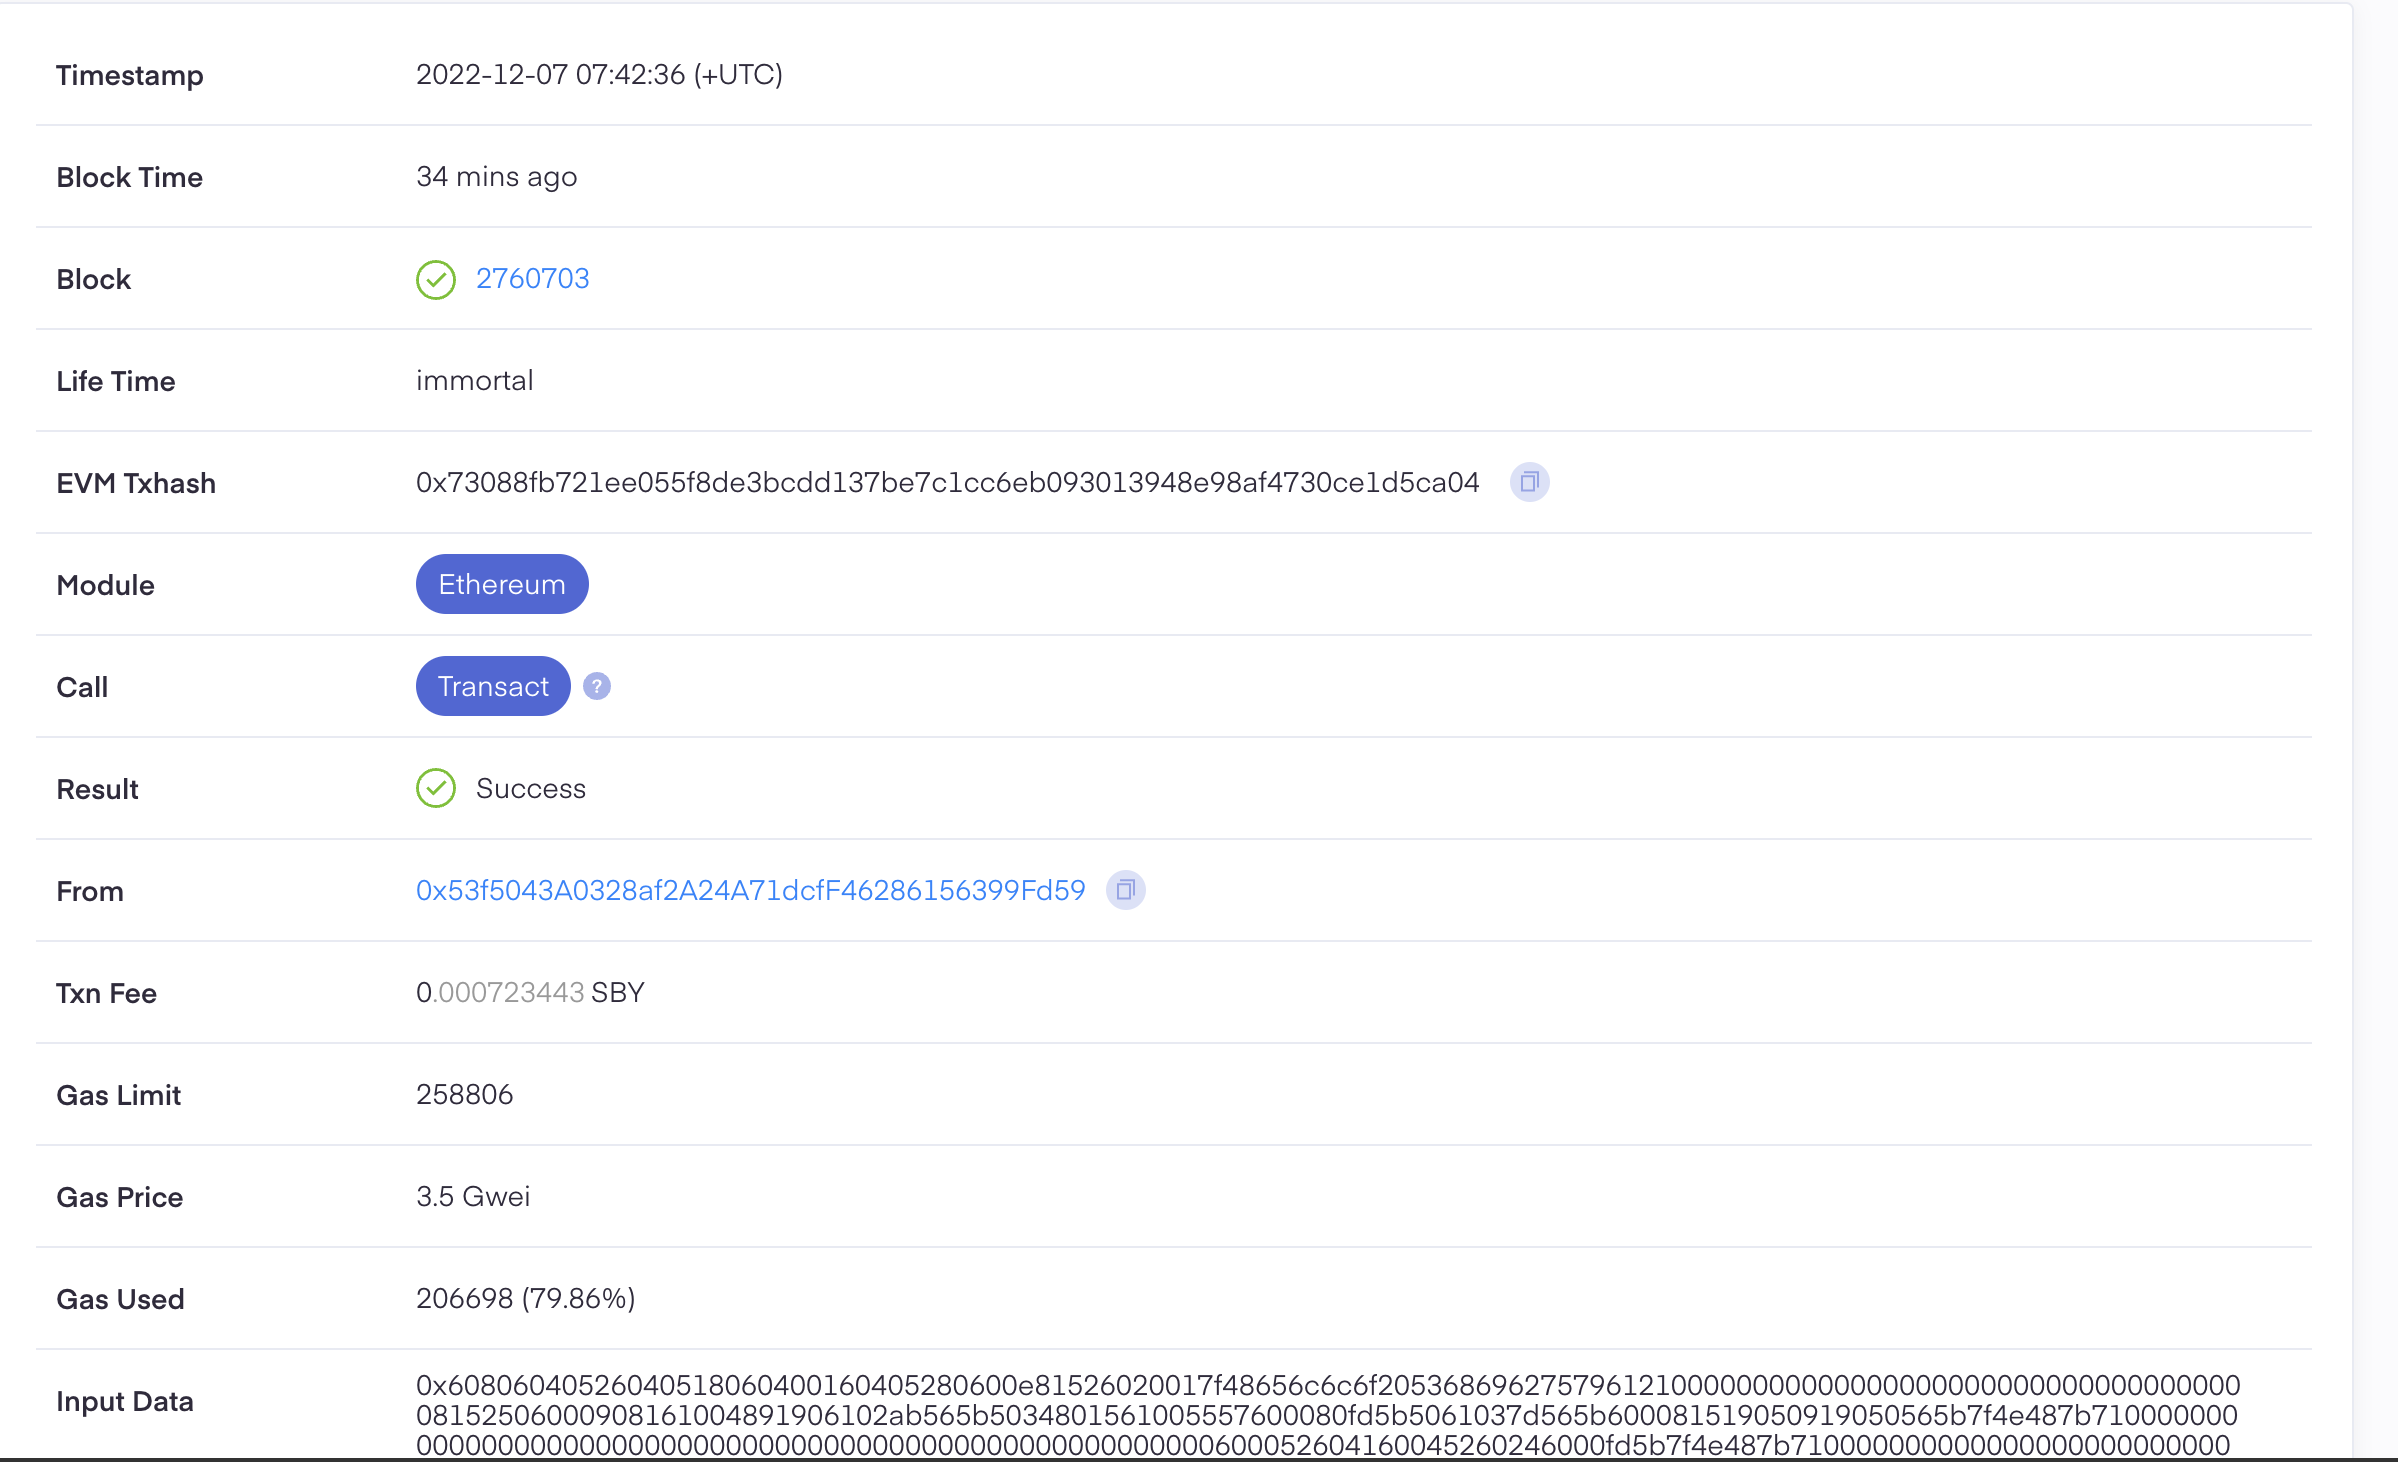
We can confirm this also by looking at the explorer Subscan.
If you have any questions, please feel free to ask us in our official discord channel.