Particle Network Smart Wallet-as-a-Service
Particle Network's Wallet Abstraction services enable universal, Web2-adjacent onboarding and interactions. Its core technology, Smart Wallet-as-a-Service (WaaS) aims to onboard users into MPC-secured smart accounts supporting any chain. It also allows developers to offer an improved user experience through modular, fully customizable EOA/AA embedded wallets. Particle supports its Smart Wallet-as-a-Service through a Modular L1 powering chain abstraction, acting as a settlement layer across chains for a seamless multi-chain experience.
Particle supports Astar zkEVM Testnet through both EOA interactions and native ERC-4337 SimpleAccount implementations.
Using Particle Network Wallet-as-a-Service for a secure, flexible embedded wallet implementation on Astar is quite simple.
Create an application
To use Particle Network's Smart Wallet-as-a-Service on Astar, you'll need to begin by creating an account on the Particle Network dashboard and spinning up an application.
- Navigate to the Particle Network dashboard, then sign up or log in
-
Once logged in, create a new project
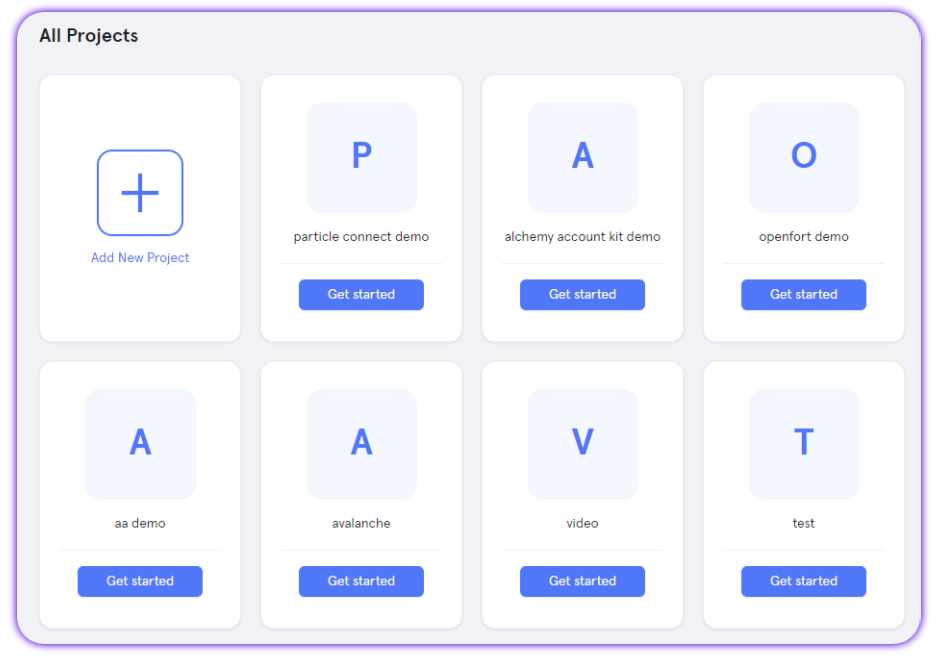
-
Once logged in, create a new project.

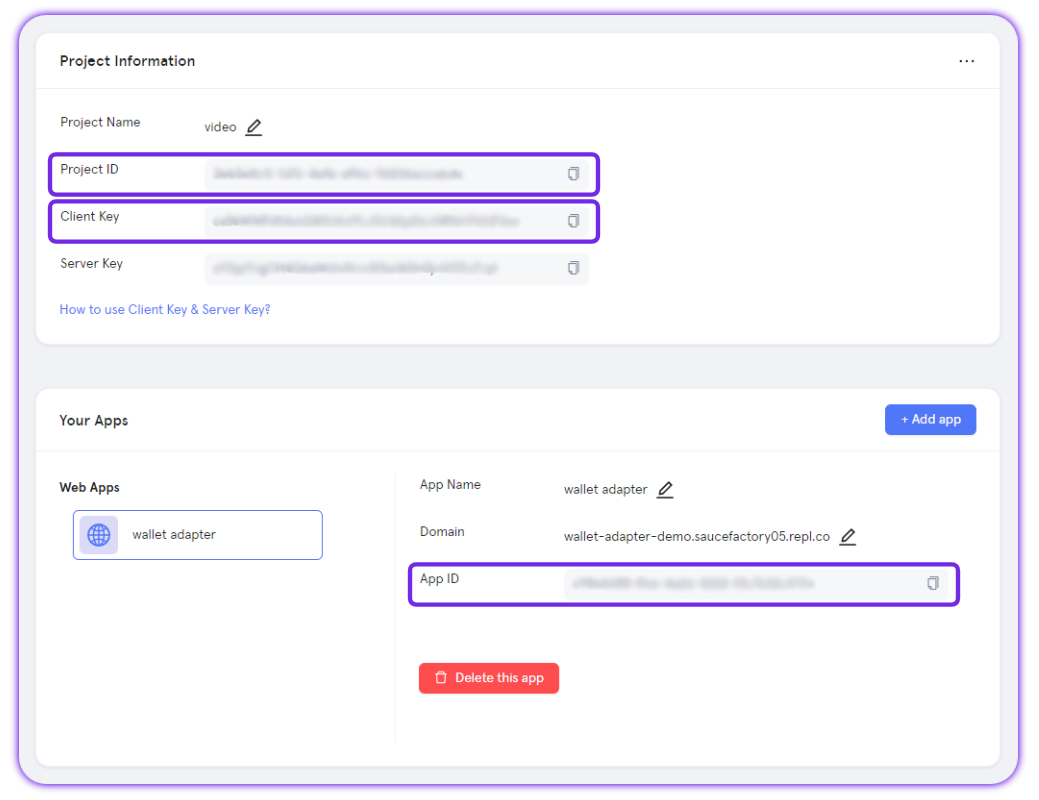
- Enter the new project and create a new application
- Finally, copy the project ID, client key, and app ID
Install dependencies
To integrate Particle Network within your Astar application, you'll need to install a number of dependencies- the specifics of which depend on whether you intend on purely using the default EOA generated by Particle's Wallet-as-a-Service, or if you intend to leverage an attached smart account.
For both EOA & smart account utilization, install @particle-network/auth
npm install @particle-network/auth

// OR

yarn add @particle-network/auth
If you'd like to natively use ERC-4337 account abstraction, also install @particle-network/aa
npm install @particle-network/aa

// OR

yarn add @particle-network/aa
Configure Particle Network
With an application made and dependencies installed, you can move on to configuring ParticleNetwork from @particle-network/auth, and if applicable, SmartAccount from @particle-network/aa.
import { ParticleNetwork } from '@particle-network/auth';
import { AstarzkEVMTestnet } from '@particle-network/chains';
import { SmartAccount } from '@particle-network/aa';

// Project ID, client key, and app ID from https://dashboard.particle.network
const config = {
  projectId: process.env.REACT_APP_PROJECT_ID,
  clientKey: process.env.REACT_APP_CLIENT_KEY,
  appId: process.env.REACT_APP_APP_ID,
};

const particle = new ParticleNetwork({
  ...config,
  chainName: AstarzkEVMTestnet.name,
  chainId: AstarzkEVMTestnet.id,
  wallet: { displayWalletEntry: true }
});

// If using AA
const smartAccount = new SmartAccount(new ParticleProvider(particle.auth), {
  ...config,
  aaOptions: {
    simple: [{ chainId: AstarzkEVMTestnet.id, version: '1.0.0' }]
  }
});
At this point, you've signed up to the Particle dashboard and created an application, installed all required dependencies, and configured ParticleNetwork, along with SmartAccount if applicable.
Example of utilization
With the aforementioned established, Particle Network can be used similarly to as is shown in the example application below.
Specifically, this application creates a smart account (of type "SimpleAccount") on Astar zkEVM Testnet through social login, then uses it to send a test transaction of 0.001 ASTR.
import React, { useState, useEffect } from 'react';
import { ParticleNetwork } from '@particle-network/auth';
import { ParticleProvider } from '@particle-network/provider';
import { AstarzkEVMTestnet } from '@particle-network/chains';
import { AAWrapProvider, SmartAccount } from '@particle-network/aa';
import { ethers } from 'ethers';

const config = {
  projectId: process.env.REACT_APP_PROJECT_ID,
  clientKey: process.env.REACT_APP_CLIENT_KEY,
  appId: process.env.REACT_APP_APP_ID,
};

const particle = new ParticleNetwork({
  ...config,
  chainName: AstarzkEVMTestnet.name,
  chainId: AstarzkEVMTestnet.id,
  wallet: { displayWalletEntry: true }
});

const smartAccount = new SmartAccount(new ParticleProvider(particle.auth), {
  ...config,
  aaOptions: {
    simple: [{ chainId: AstarzkEVMTestnet.id, version: '1.0.0' }]
  }
});

const customProvider = new ethers.providers.Web3Provider(new AAWrapProvider(smartAccount), "any");

particle.setERC4337({
  name: 'SIMPLE',
  version: '1.0.0'
});

const App = () => {
  const [userInfo, setUserInfo] = useState(null);
  const [balance, setBalance] = useState(null);

  useEffect(() => {
    if (userInfo) {
      fetchBalance();
    }
  }, [userInfo]);

  const fetchBalance = async () => {
    const address = await smartAccount.getAddress();
    const balance = await customProvider.getBalance(address);
    setBalance(ethers.utils.formatEther(balance));
  };

  const handleLogin = async (preferredAuthType) => {
    const user = !particle.auth.isLogin() ? await particle.auth.login({preferredAuthType}) : particle.auth.getUserInfo();
    setUserInfo(user);
  }

  const executeUserOp = async () => {
    const signer = customProvider.getSigner();
    const tx = {
      to: "0x000000000000000000000000000000000000dEaD",
      value: ethers.utils.parseEther("0.001"),
    };
    const txResponse = await signer.sendTransaction(tx);
    const txReceipt = await txResponse.wait();
    console.log('Transaction hash:', txReceipt.transactionHash);
  };

  return (
    <div className="App">
      {!userInfo ? (
        <div>
          <button onClick={() => handleLogin('google')}>Sign in with Google</button>
          <button onClick={() => handleLogin('twitter')}>Sign in with Twitter</button>
        </div>
      ) : (
        <div>
          <h2>{userInfo.name}</h2>
          <div>
            <small>{balance} ASTR</small>
            <button onClick={executeUserOp}>Execute User Operation</button>
          </div>
        </div>
      )}
    </div>
  );
};

export default App;