Register dApp
Once you have been approved by the Astar Council under Astar governance, you can take the following steps:
Step 1: Native wallet & Verified Smart-contract
Before you can register your dApp or project, make sure you have :
1. An Astar Native developer wallet with some tokens to cover gas fee. No Ledger hardware wallet or EVM wallet.
You can use one of the following wallets:
Polkadot.js (Recommended)
The Polkadot{.js} plugin provides a reasonable balance of security and usability. It provides a separate local mechanism to generate your address and interact with the Astar portal. We recommend users who are new to our ecosystem and want to create an Astar native address use this wallet. If you don't have the Polkadot JS extension you will receive a popup in our portal when you try to connect your wallet.
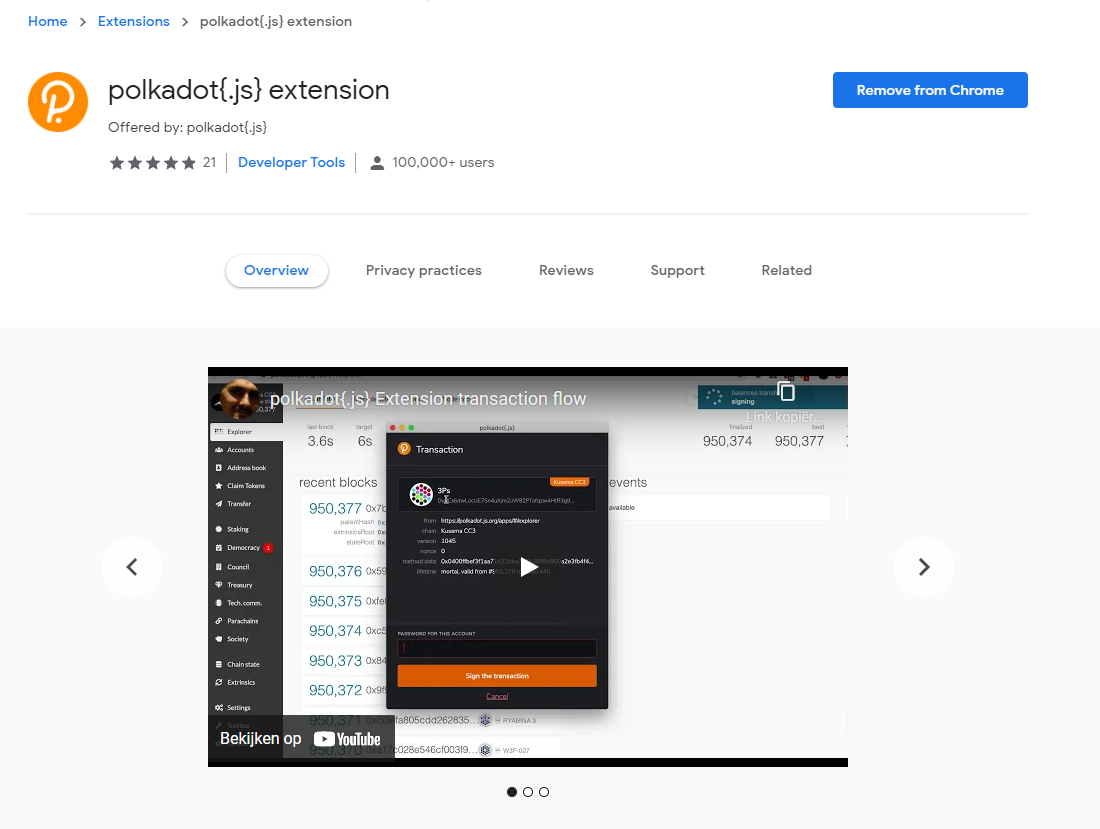
Install the Browser Plugin
The browser plugin is available for both Google Chrome (and Chromium-based browsers like Brave) and Firefox. After installing the plugin, you should see the orange and white Polkadot{.js} logo in your browser menu bar.
Create Account
Open the Polkadot{.js} browser extension by clicking the logo on the top bar of your browser. You will see a browser popup.

Click the big plus button Create new account. The Polkadot{.js} plugin will then use system randomness to make a new seed for you and display it to you in the form of twelve words.
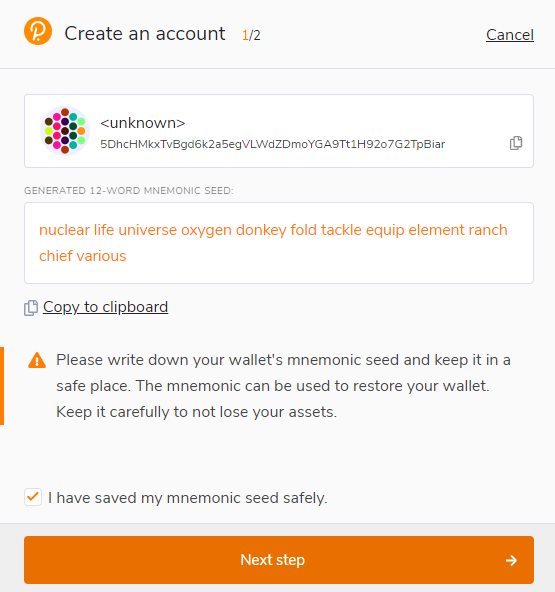
You should back up these words. Please, store the seed somewhere safe, secret, and secure. If you cannot access your account via Polkadot{.js} for some reason, you can re-enter your seed through the Add account menu by selecting Import account from pre-existing seed.
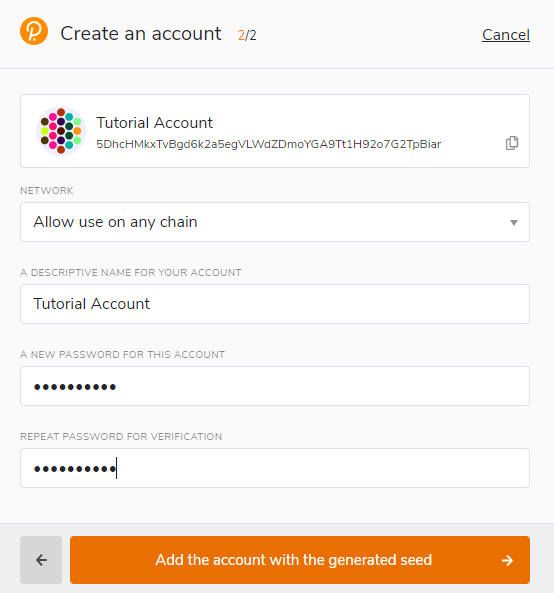
Best to create an account that is allowed on any chain in the Polkadot ecosystem including Astar or Shiden Network. Your account will automatically change format when connected to a chain.
A descriptive name is arbitrary and for your use only. It is not stored on the blockchain and will not be visible to other users who look at your address via a block explorer. If you're juggling multiple accounts, it helps to make this as descriptive and detailed as needed.
The password will be used to encrypt this account's information. You will need to re-enter it when using the account for any kind of outgoing transaction or when using it to cryptographically sign a message.
After clicking on Add the account with the generated seed, your account is created. We recommend also saving your account as json file somewhere safe.
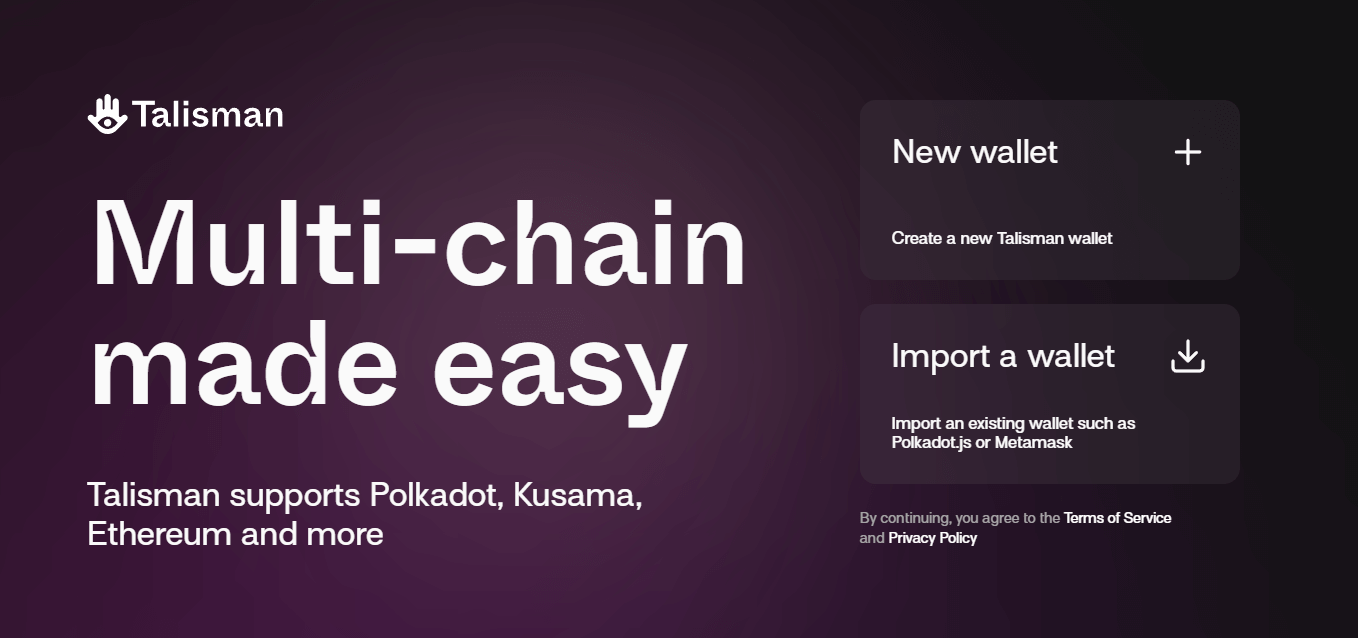
Talisman
Install the Browser Extension
The extension is available on chrome and firefox.
Create a New Account
Once the extension is downloaded you can proceed to setup your account.
- In order to set up a wallet, click
New wallet.
- Add a password for your account and click
Continue.

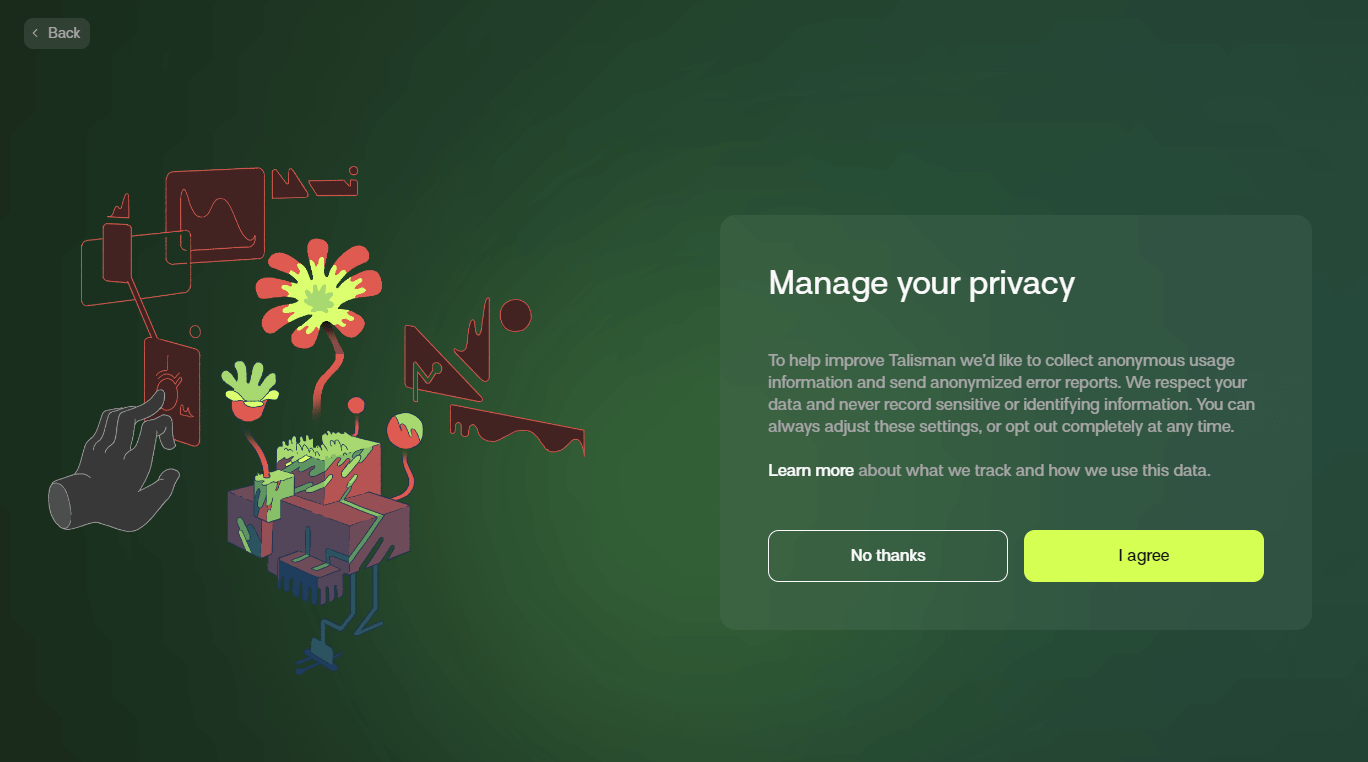
- Last step is to decide on allowing anonymous information to help talisman improve the wallet. Click any option and the setup is finished!
Create a new account in video
Don't forget to Back Up Your Secret Phrase! Consult this guide if necessary.
Subwallet
Install the Browser Extension
The extension is available on chrome and firefox.
Create a New Account
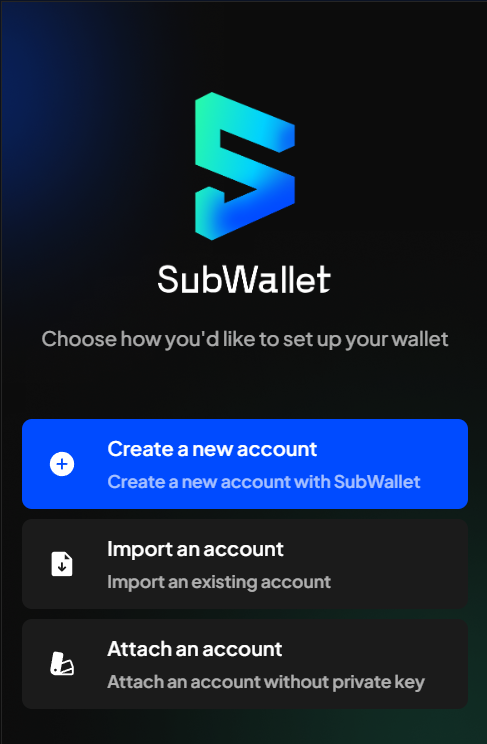
- After installing SubWallet extension, open the wallet and choose
Create a new account;
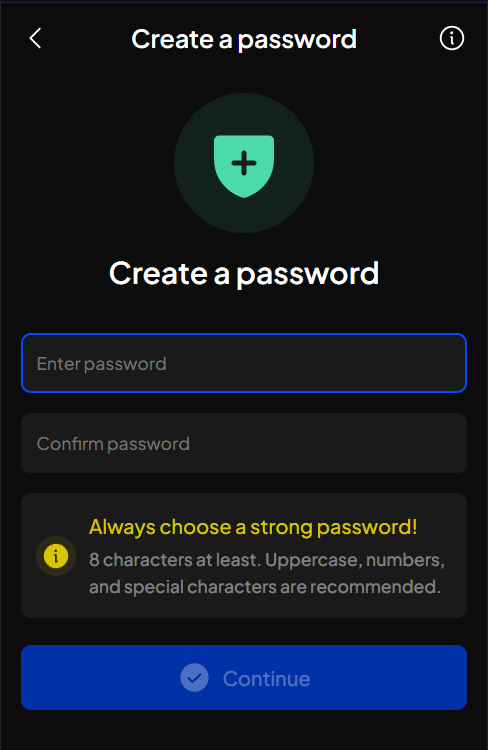
- Create a master password and click
Continue;
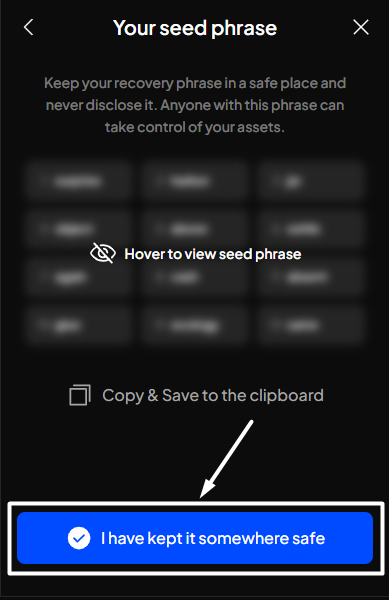
- Keep your recovery phrase (also known as seed phrase or secret phrase) in a safe place;
- Your account has been successfully set up. Click
Exitto get to Homepage;
Create a new account in video
Connect your wallet to Astar Portal
Visit the Astar Portal and connect your wallet. Once signed in, you'll see your native Astar address on the home page.
Format: YQnbw3oWxBnCUarnbePrjFcrSgVPP2jqTZYzWcccmN8fXhd
2. Deploy a Smart-Contract in our ecosystem and verify the contract in an explorer.
-
The first option is to use one of your own smart contracts and verify it.
-
The second option is reserved for those who don't handle smart contracts. Deploy our
helloworld.solcontract and provide all the information in the header of the contract. Template contract.
The smart contract can be on Astar Native (WASM) or Astar EVM (Public Endpoints). (Not on Astar zkEVM)
For the explorer, you can use:
- Subscan for Astar Native;
- Blockscout EVM for EVM;
3. Once the vote is passed, share your addresses with the Astar Foundation.
You can share your Astar native address and the verified smart-contract address in the discussion of your dApp Staking application on the Astar Forum;
The Astar Foundation will whitelist your addresses for dApp Staking registration and inform you that you can proceed to step 2.
Step 2: Register your dApp on the Astar Portal
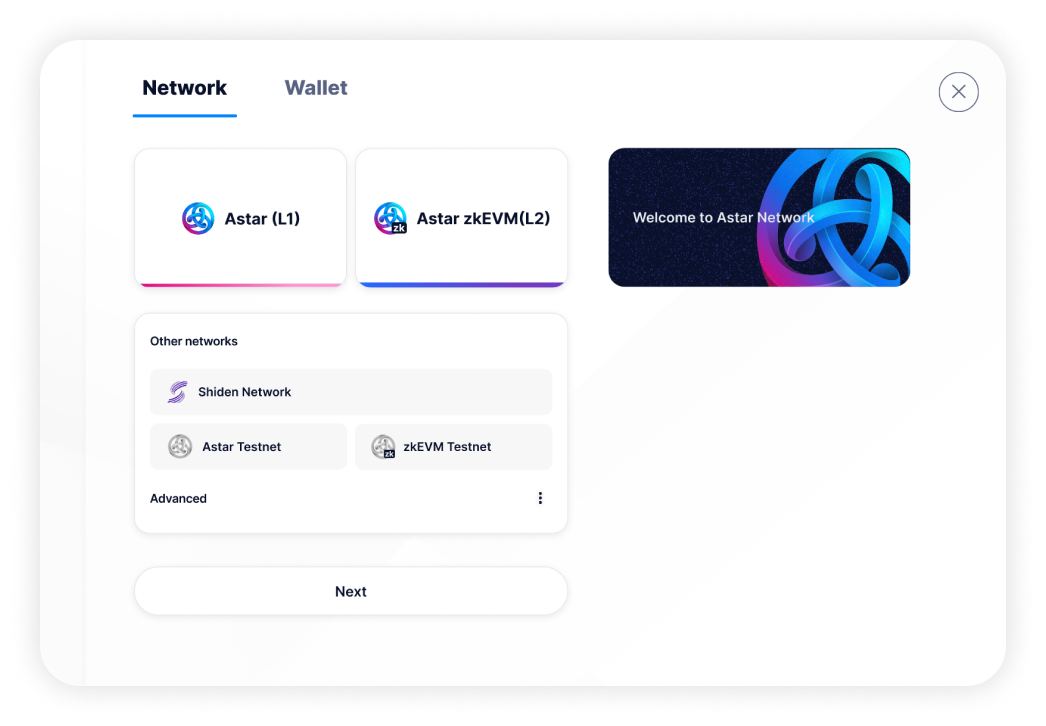
After whitelisting, visit the dApp Staking page on the Astar portal.
Connect your native wallet and choose the network on which you are going to register for dApp Staking (Astar Network or Shiden Network);
If the wallet has been whitelisted, a banner with a Register Now button, like the one below, will appear:
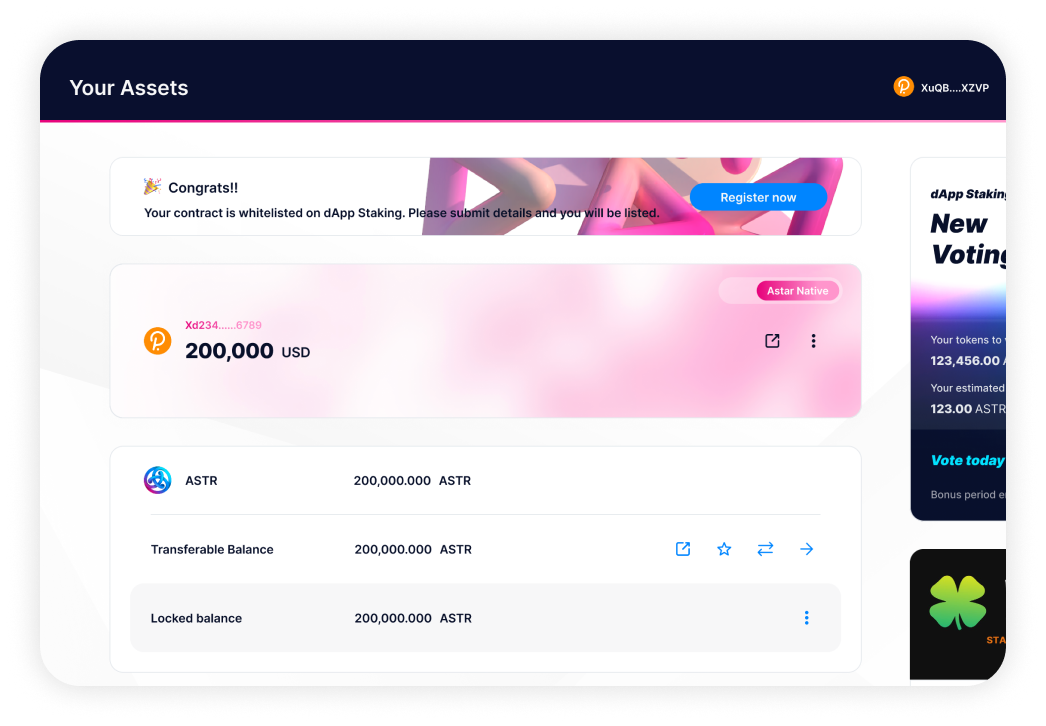
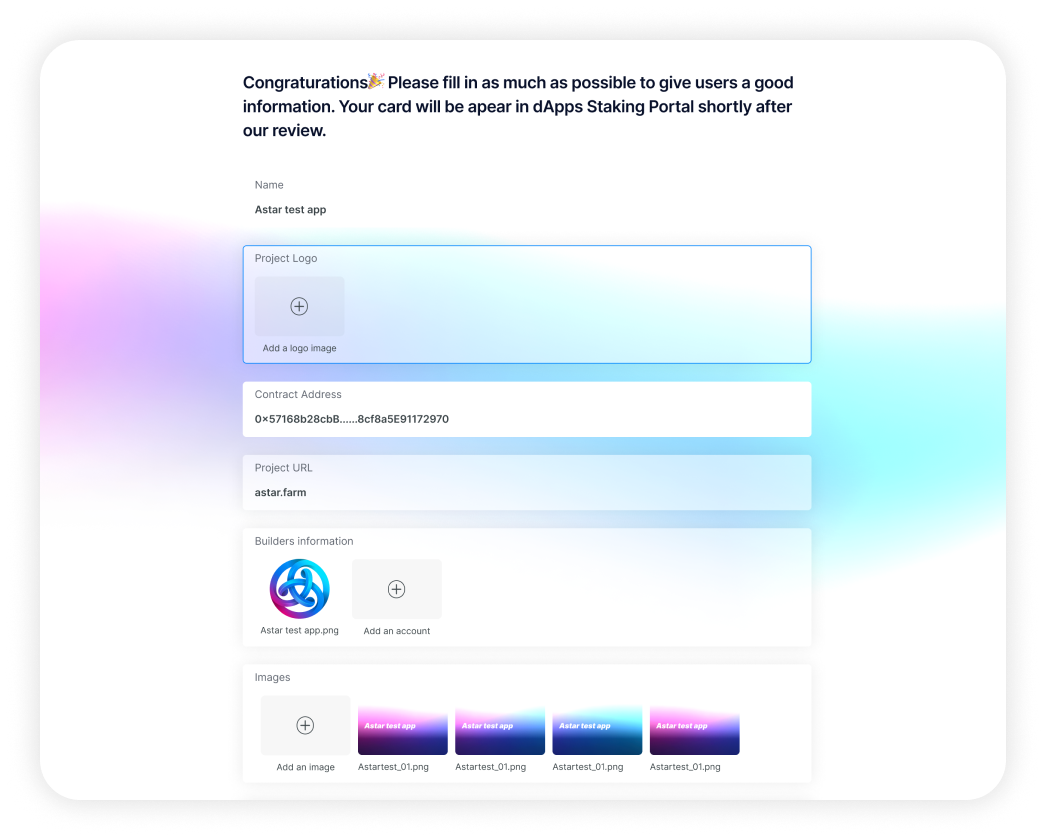
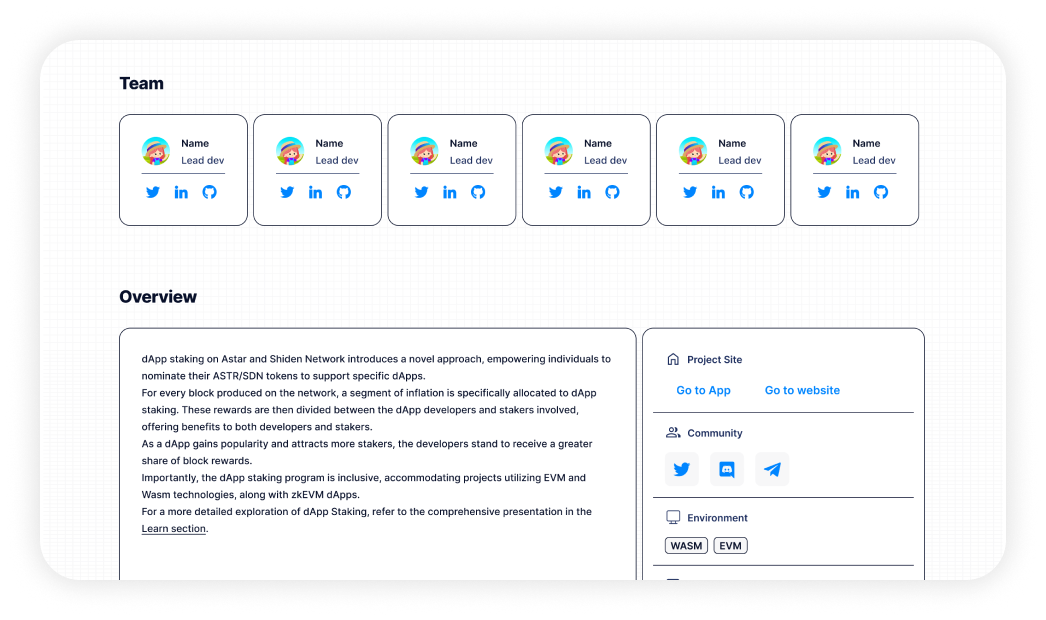
Click on Register Now and fill in the form with all your project details:
- Name of your dApp or project;
- Logo (Recommended size 512x512 px);
- Contract addres (automatically filled);
- Project URL;
- At least 4 images of your project (Recommended a images with size 16:9 within 1 MB);
- Builders information (person contributing to the project);
- Description of the project;
- Community links;
- Category and tags;
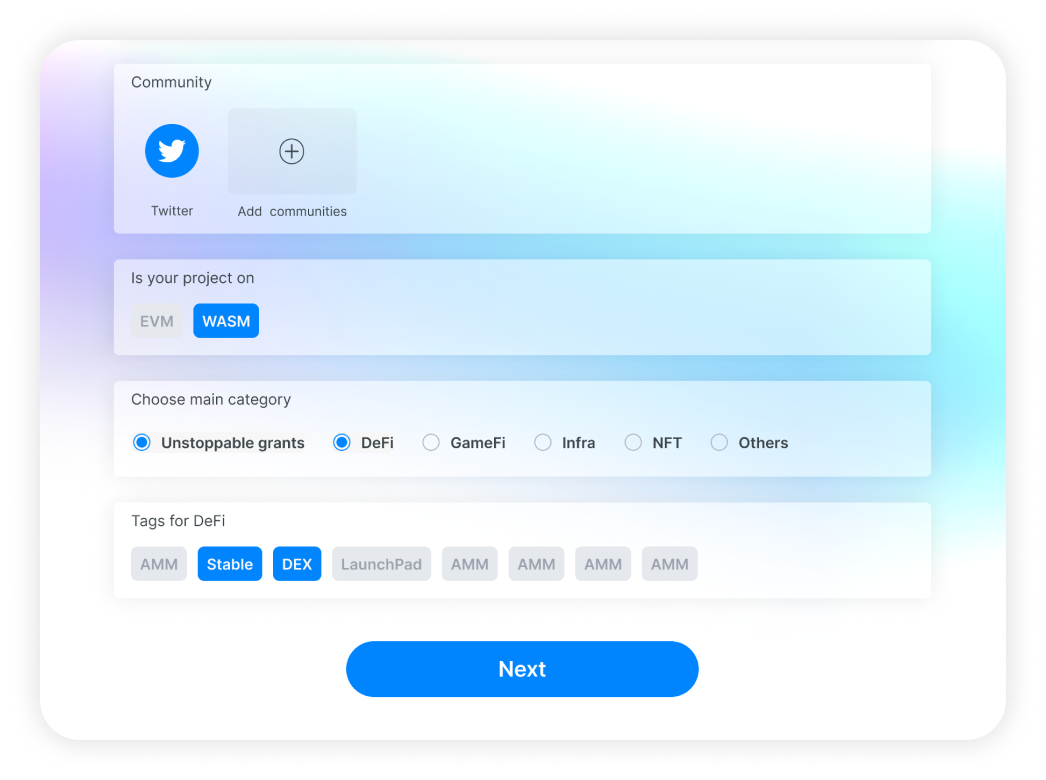
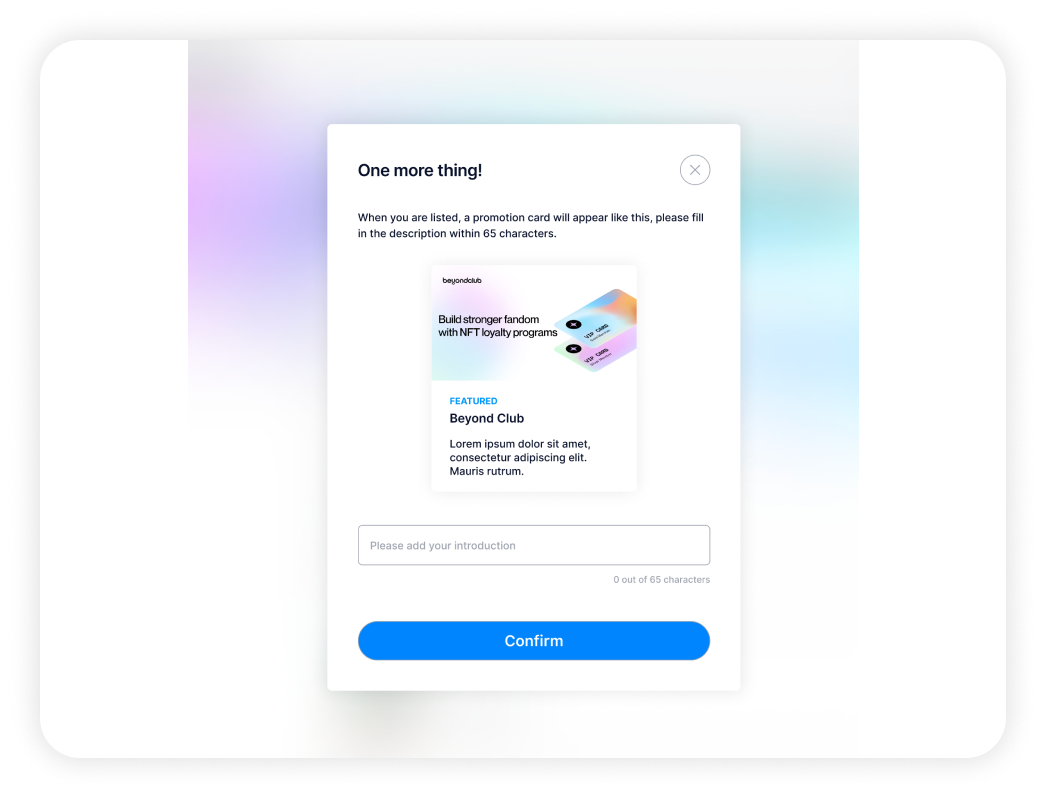
Once you've filled in all your details, click Next button and enter the description that will appear on your New Listing Card;
Finally, click on Register and sign the transaction on the network;
Congratulations! 🎉 Your project is now listed in dApp Staking and you can start your campaign and communication to attract stakers.
When your dApp is deployed, we would appreciate it if you shared this with your community. We have created a template that you can use to write the article. You can find it here.